Drying Herbs in a Food Dehydrator: Temperatures and Times
Set the dehydrator low, 35 to 40°C (95 to 104°F), spread herbs in a single layer, and check for crisp leaves. This guide has a herb-by-herb chart and storage steps.
The Cobalt Hollow Team
November 3, 2026 · 7 min read
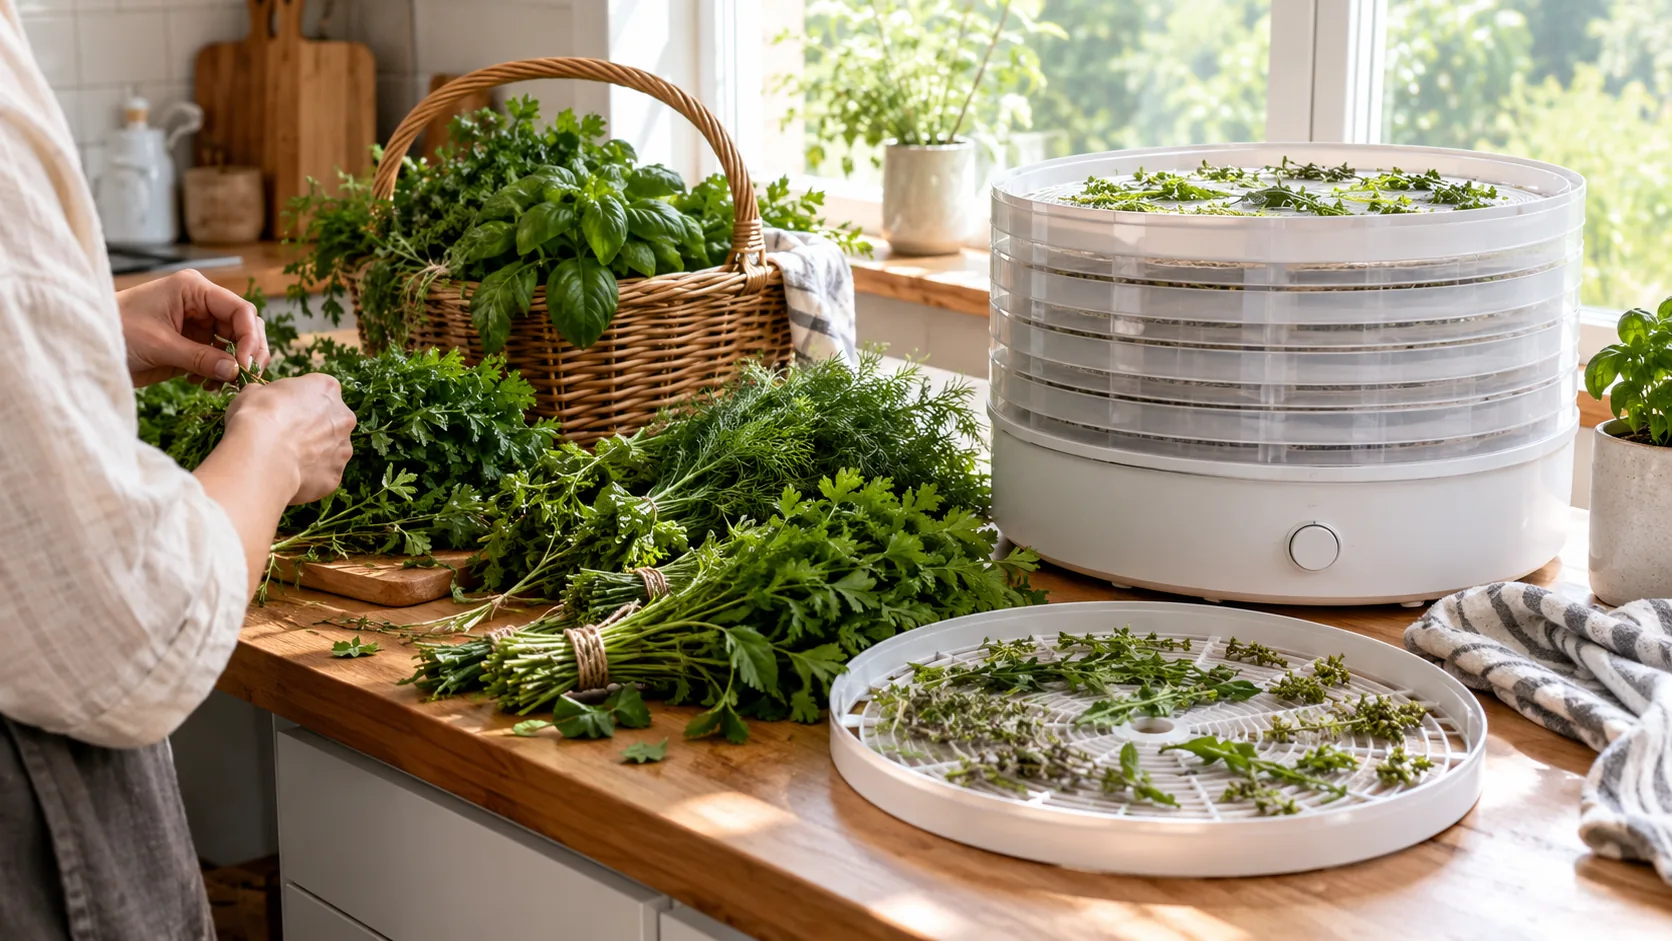
Drying herbs in a food dehydrator works because you control the temperature and the airflow. Set the dial low, 35 to 40°C (95 to 104°F), spread clean, dry leaves in a single layer, and check them until they crumble. Tender herbs such as basil and mint sit at the low end, while sturdy herbs such as rosemary and thyme take a little more heat and a longer run.
Below you will find a herb-by-herb chart with the temperature and check order for each herb, the prep steps, how to test for dryness, and how to store the result so the flavor holds.
Is a food dehydrator good for drying herbs?
Yes. A dehydrator draws moisture out with warm, moving air, and a thermostat lets you hold the heat low. Herbs are dried at a low setting to keep their aroma, so an adjustable dial is the feature to look for.
Compared with hanging bundles, a dehydrator does not depend on the weather or the humidity in your kitchen. Trays keep leaves flat and separated, so air reaches every surface. If you only dry a few sprigs a year, air-drying in a dark place is fine. If you harvest by the basket, trays make sense.
The CrispHarvest food dehydrator has a temperature dial from 30 to 70°C (86 to 158°F), a built-in timer, a fan that moves warm air across each tray and five stacked trays. Its lower settings suit delicate items like herbs, and the higher end of the range is used for jerky. If you also dry meat, see our beef jerky recipe for a food dehydrator for those settings.
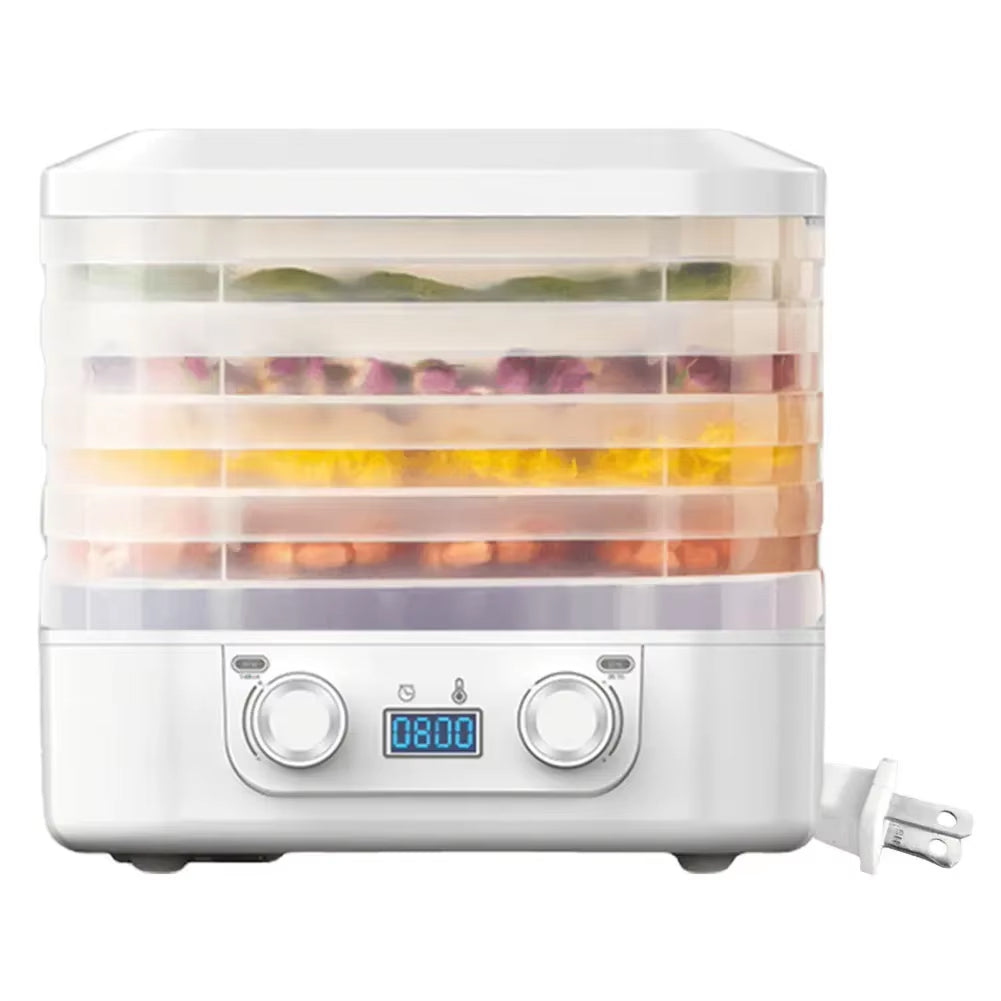 In this guideCrispHarvest$149.99View
Prepare the herbs
- Harvest in the morning after the dew has dried, before the plant flowers if you want leaf flavor.
- Shake off insects and remove yellowed or damaged leaves.
- Rinse only if the herbs are dirty, then pat them dry or spin them until no surface water remains. Excess moisture lengthens drying and can dull the color.
- Leave small leaves on the stem. Strip larger leaves, such as basil and sage, and keep them whole.
- Spread everything in a single layer with space between pieces so the fan can move air across each tray.
Do not chop herbs before drying. Whole leaves keep more of their oils and crush easily once dry.
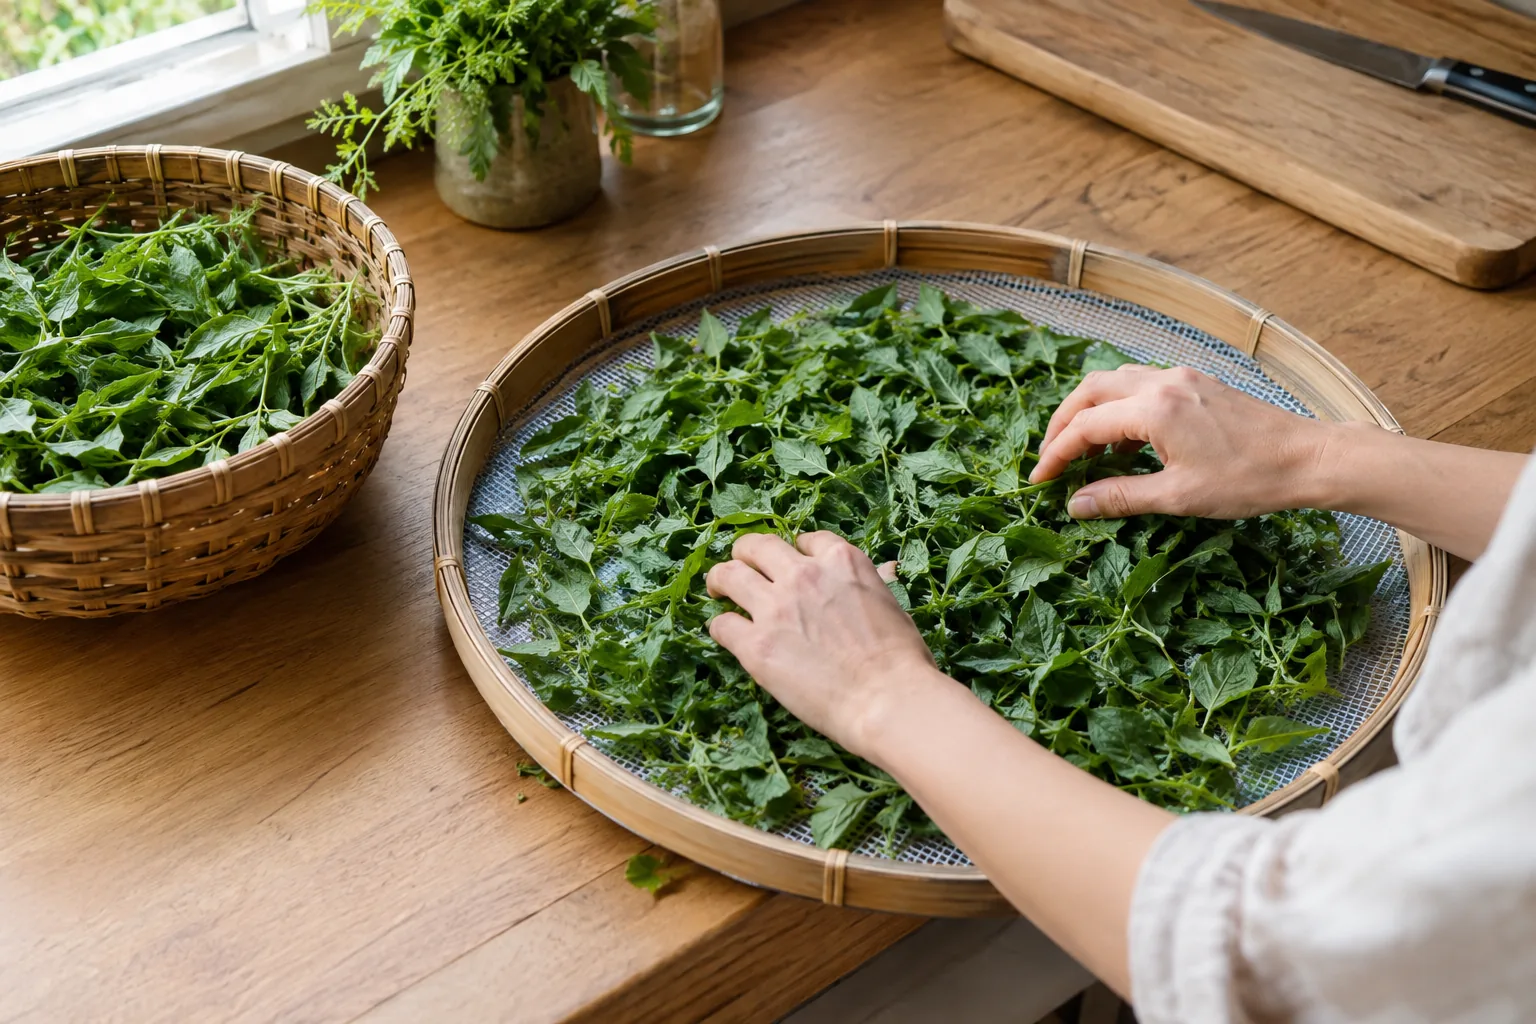
Drying herbs in a food dehydrator: temperature chart
Use this chart as a starting point for drying herbs in food dehydrator trays. Humidity, how full the trays are, and leaf thickness all change the result, so rely on the crush test below rather than the clock. The "check" column says which herbs to test first and which to test later. Thin, tender leaves finish first; thick or woody herbs need the longest run.
| Herb | Temperature | Check | Done when |
|---|---|---|---|
| Basil (leaves) | 35°C (95°F) | Early | Leaves crumble, stay green |
| Mint | 35°C (95°F) | Early | Leaves crumble off the stem |
| Parsley | 35°C (95°F) | Early | Brittle, no soft spots |
| Cilantro | 35°C (95°F) | Early | Brittle, no soft spots |
| Dill (fronds) | 35°C (95°F) | Early | Fronds snap |
| Lemon balm | 35°C (95°F) | Early | Leaves crumble |
| Lavender (buds) | 35°C (95°F) | Early | Buds rub off the stem |
| Oregano | 40°C (104°F) | Later | Leaves strip off dry stems |
| Thyme | 40°C (104°F) | Later | Leaves fall from the stem |
| Sage | 40°C (104°F) | Later | Leaves stiff, crumble |
| Rosemary | 40°C (104°F) | Later | Needles snap, not bend |
Open the unit for the first test once the leaves on the top tray look dry, then look again at regular intervals and pull each tray as its herbs finish. Load only one herb type per batch, or at least one temperature group. Strong herbs such as oregano can scent a tray of mint.
Field note
Rotate the trays once partway through and pull each tray as soon as its herbs are dry. Thin leaves on the top tray can finish well before thick ones below.
How to tell herbs are dry
Take a leaf off the tray, let it cool briefly, and do the crush test between your fingers. It should crumble into flakes. If it bends, feels cool, or leaves a damp smudge, give it more time. This test, not the timer, decides when drying herbs in a food dehydrator is finished.
Stems matter too. Thick stems hold moisture longer than leaves, so snap one. A clean snap means it is dry. Herbs that go into a jar while still soft can mold, so when in doubt, dry them a little longer.
Common mistakes
- Setting the dial high to rush the batch. Heat drives off the aroma along with the water.
- Piling leaves on top of each other, which leaves damp pockets.
- Jarring warm herbs. Let them cool to room temperature first.
- Mixing thick and thin herbs on one tray.
Which herbs should you skip or handle differently?
Some herbs are harder to dry well. Basil can darken if dried slowly or at too high a setting, and chives, cilantro and parsley have a milder flavor once dried. Some cooks freeze these instead, and use the dehydrator for oregano, thyme, rosemary, sage and mint.
Skip any plant you cannot identify with certainty, and do not dry wilted or moldy herbs or any sprayed with something not meant for food. For other foods, the question of what not to put in a dehydrator comes down to the manual: check which foods the maker lists, and ask the maker or a food preservation office about meat, dairy or oily foods before trying them.
Freeze dryer vs food dehydrator for herbs
A freeze dryer freezes the food and then draws moisture out under vacuum. A food dehydrator moves warm air over the food. When you compare freeze dry vs food dehydrator, the main differences are the process, the equipment and the room it needs.
| Feature | Food dehydrator | Freeze dryer |
|---|---|---|
| How it dries | Warm air from a fan | Freezing, then vacuum |
| Home setup | Countertop trays | Larger, dedicated machine |
| Control for herbs | Low temperature dial and timer | Set by the machine cycle |
| Other uses | Fruit, jerky, fruit leather | Varied foods and meals |
For dried herbs, a dehydrator with a low setting does the job. See our guide to making fruit leather in a food dehydrator if you want to put the same trays to work on fruit.
Drying herbs without a dehydrator
If you do not have one, you have options.
- Air-drying: tie small bundles, hang them upside down in a dark, warm, airy room, and cover with a paper bag with holes for dust.
- Oven: use the lowest setting, prop the door slightly open, and check often. Some ovens do not go as low as a dehydrator dial.
- Microwave: short bursts between paper towels, checking each time. Follow the manual.
- Air fryer: only if the manual lists a dehydrate or low-heat setting. Strong airflow can blow light leaves around.
Oven and microwave drying are harder to hold at a steady low setting, which is why a dial and fan suit tender herbs.
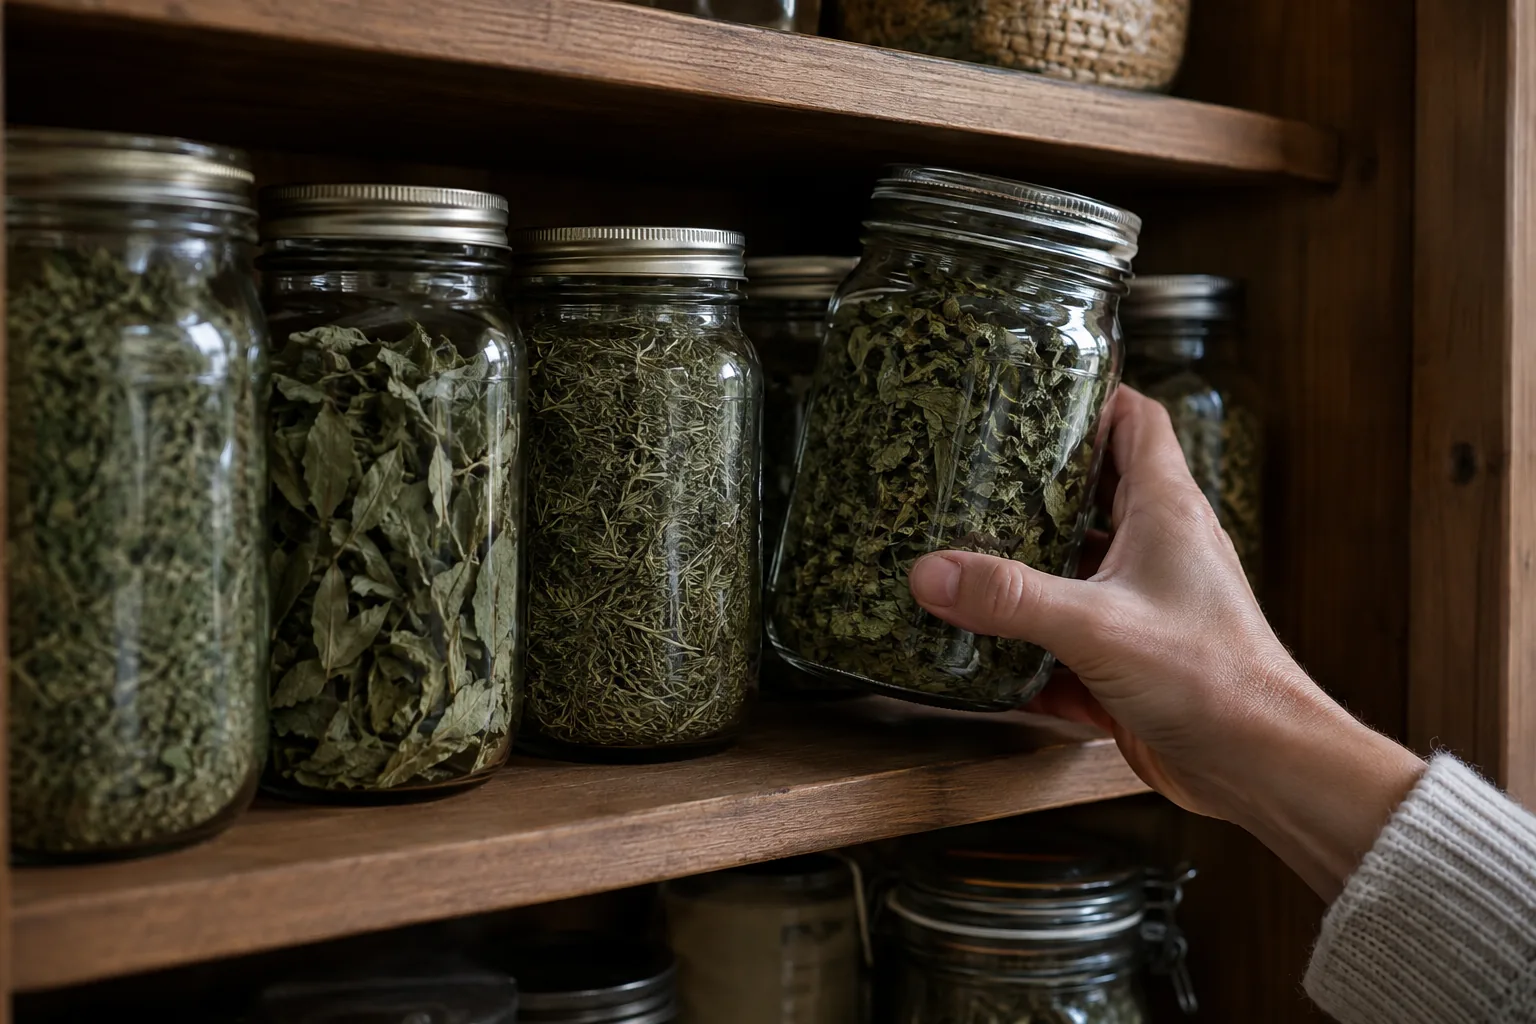
Store and use dried herbs
Let the herbs cool fully, then pack them into clean, dry airtight glass jars. Keep leaves whole and crush them when you cook, since whole leaves hold their aroma. Store jars in a cool, dry, dark place away from the stove and windows.
Label each jar with the herb and the date. Check jars again the next day: if you see condensation on the glass, the herbs were not dry enough, so return them to the trays.
If you keep herbs in mason jars, the FreshLock Pro jar vacuum sealer fits standard and wide-mouth jar lids. You set it on the lid, press one button, and a pressure sensor stops the pump on its own. The box includes sealing caps for both jar sizes. For more jars and containers, browse our food storage collection.
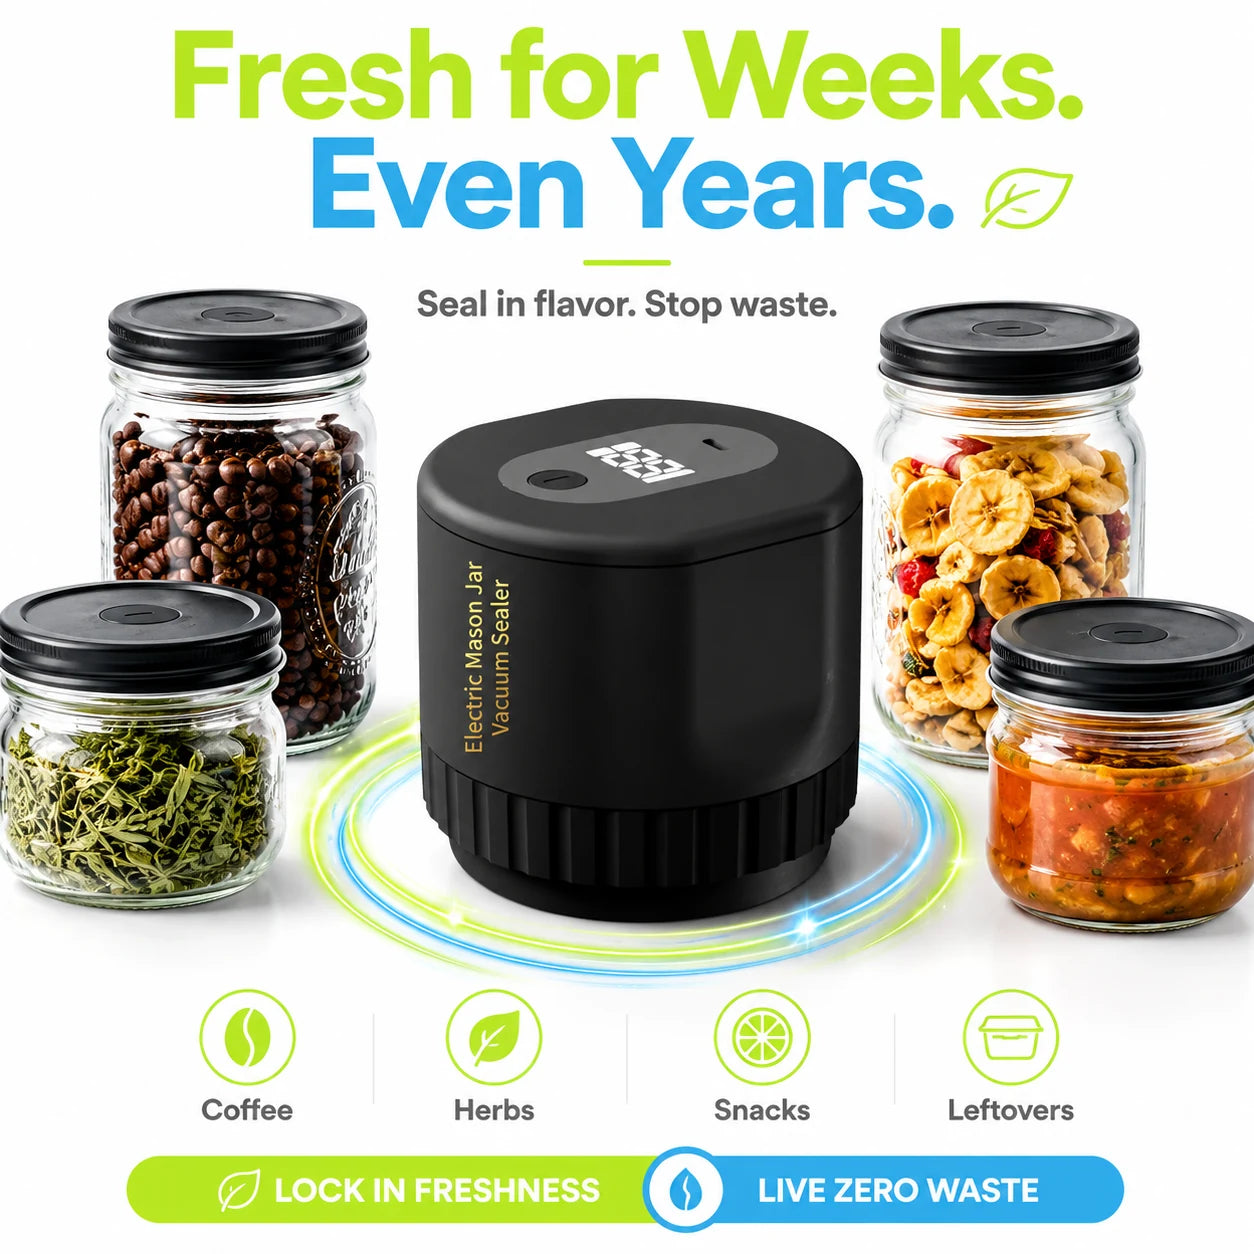 In this guideFreshLock Pro$79.99View
Cooking with dried herbs
Use less dried herb than the recipe calls for fresh, then taste and adjust. Add sturdy herbs such as rosemary and thyme early in cooking, and add milder ones like mint or parsley near the end.
Plan to replace jars each growing season, and discard any herbs with off smells, clumps or visible mold.