
Food Dehydrator Recommendations: Size, Airflow and Trays
Pick a dehydrator by batch size, airflow and temperature range, then match it to your foods. This checklist covers jerky, herbs, mushrooms and fruit.
The Cobalt Hollow Team
November 4, 2026 · 6 min read
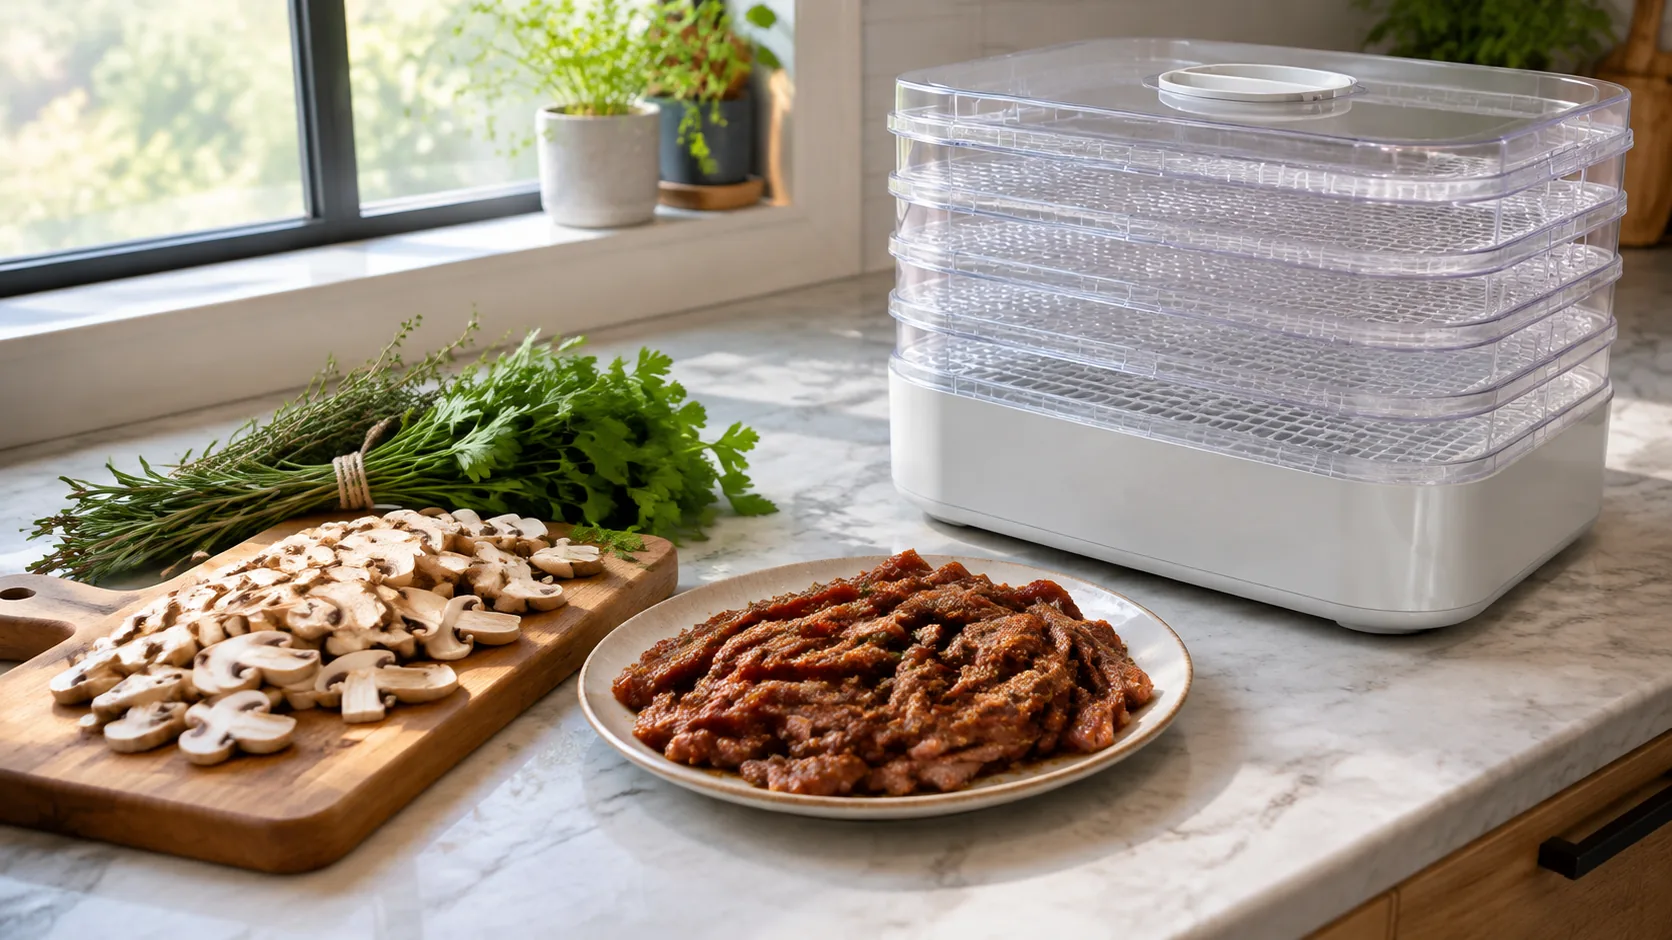
The way to approach food dehydrator recommendations is to start with what you dry and how much, not with a model name. Count the trays you need for one batch, look for a fan that moves warm air across every level, and choose a thermostat range that covers both herbs and jerky. The checklist below walks through each decision.
Food dehydrator recommendations: the five-step checklist
Work through these in order. Each step narrows the field before you compare any individual unit.
- List the foods you plan to dry: jerky, herbs, mushrooms, fruit, fruit leather, vegetables.
- Estimate your largest batch, such as one garden harvest or one pound of sliced meat.
- Convert that batch into trays (see the table below).
- Check that the unit has a fan and an adjustable thermostat, not a single fixed heat setting.
- Check how the trays clean up and whether the manual lists dishwasher use.
A dehydrator with a temperature dial and a built-in timer covers most home projects. Fixed-temperature units dry everything at one heat, which makes delicate leaves and thick meat strips hard to serve with the same setting.
What size dehydrator do you need?
Size is really tray count and the usable surface of each tray. Food has to sit in a single layer with gaps between pieces, so a pile that looks small in a bowl can fill several trays once spread out.
| Your typical batch | Trays to plan for | What to check |
|---|---|---|
| A few herb bunches or one apple | 2 to 3 trays | Low temperature settings |
| A pound or so of sliced meat for jerky | 3 to 5 trays | Higher end of the temperature range |
| A basket of mushrooms | 3 to 5 trays | Even slices, a fan on every level |
| A full garden harvest of tomatoes, peppers or fruit | 5 or more trays | Room to add trays, timer for long runs |
If you dry in small batches only, a compact unit is fine. If you preserve a harvest, tray count matters most, because loading everything at once avoids drying in several rounds. In practice, food dehydrator recommendations come down to tray count, airflow and a dial range that fits your foods.
Counter space and storage
Stacked units grow taller as you add trays. Measure the shelf or counter spot, including space around the unit for air to leave. Also decide where it lives between batches, since you may use it only a few times a season.
Airflow and trays: what matters
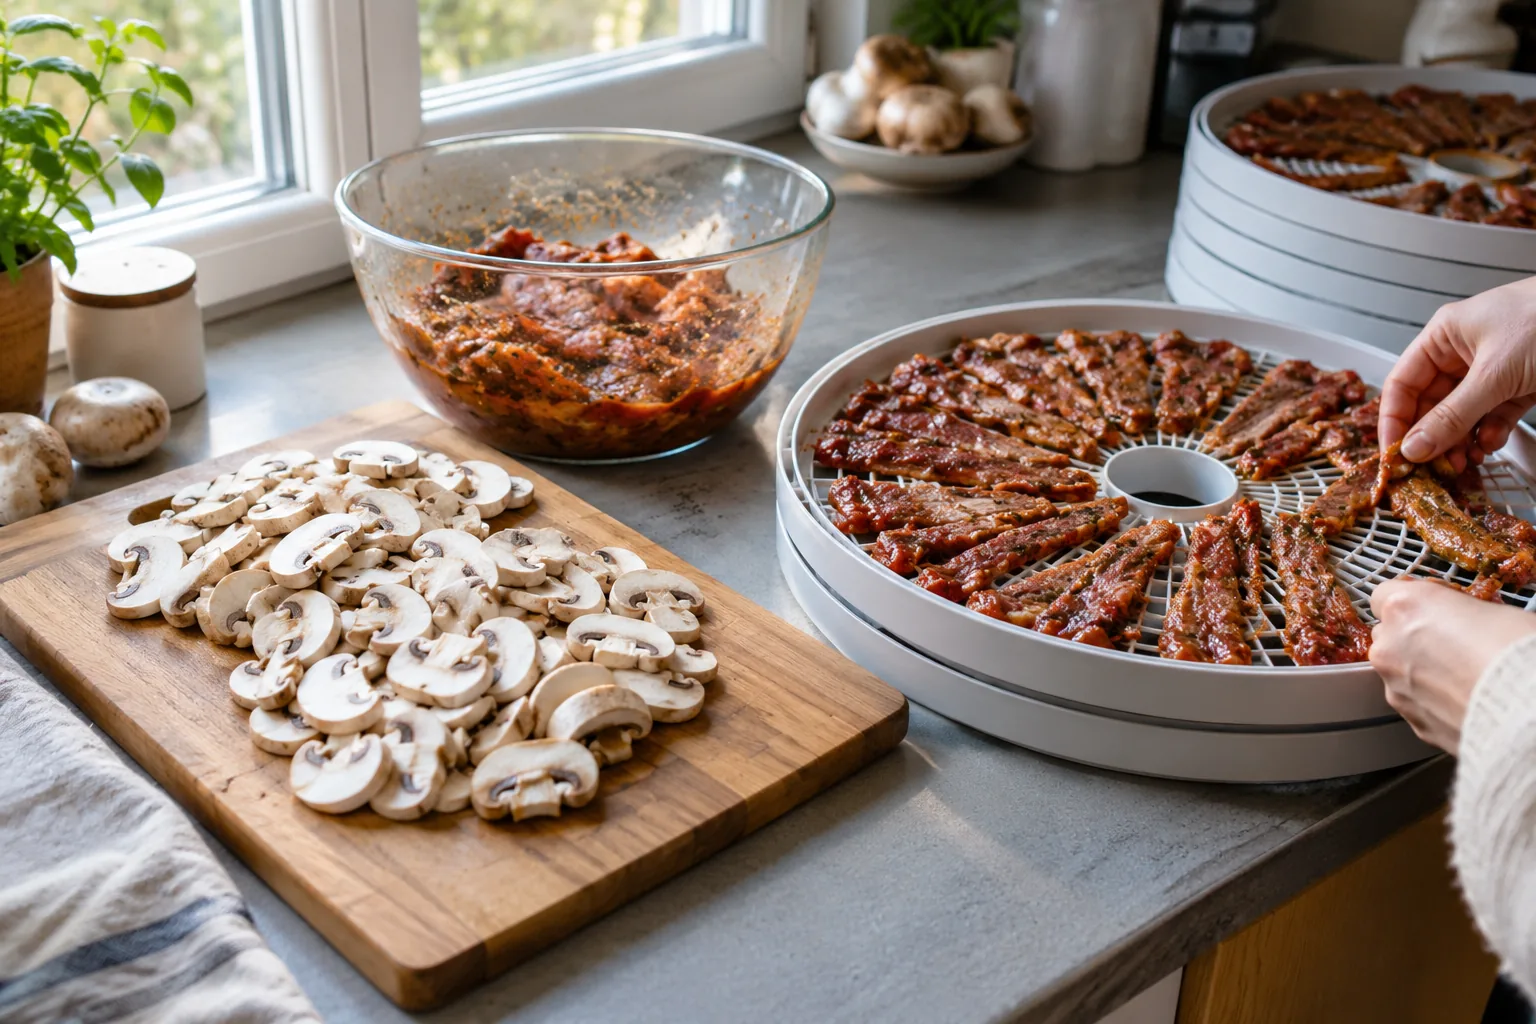
Dehydrating works by moving warm, dry air across food until moisture leaves it. Without a fan, the top trays can dry differently from the bottom ones, and you end up rotating trays by hand. A built-in fan moves warm air across each level of the stack.
Fan position
Some dehydrators push air up from the base through stacked trays. Others use a rear fan with horizontal airflow, so each shelf receives air from the side. Either layout can work; the manual should say whether you need to rotate trays during a run.
Tray material and cleanup
Look for trays that pull out fully, with a surface you can wash by hand or, where the manual allows, in a dishwasher. Sticky items such as fruit leather leave residue, so cleanup matters. For that project, see How to Make Fruit Leather in a Food Dehydrator.
Thermostat and timer
An adjustable thermostat lets you set low heat for leaves and higher heat for meat. A timer dial means you set the run time and return to check the food rather than watching it. A home food preservation center's guide to dehydrators covers what features to look for, including an adjustable thermostat and a fan.
Match the dehydrator to the food
| Food | Temperature approach | Tray tip |
|---|---|---|
| Herbs | Low end of the dial | Leaves in a single loose layer |
| Mushrooms | Low to middle of the dial | Slices of even thickness |
| Jerky | Higher end of the range | Strips side by side, not overlapping |
| Fruit | Middle of the dial | Uniform slices, turn if the manual says to |
| Fruit leather | Middle of the dial | Spread puree thin on a lined tray |
Jerky
Jerky needs the higher end of the range and a unit that holds a steady setting. A university extension guide to food dehydrators describes keeping raw meat cold and heating the strips to the internal temperature it specifies before or after drying. Follow those steps for every batch, and do not assume drying alone covers them. Cuts, marinade and timing are in Beef Jerky Recipe for a Food Dehydrator.
Herbs
Delicate leaves suit the low end of the dial. Wash, dry the surface moisture, and spread them loosely. Temperatures and times for each herb are in Drying Herbs in a Food Dehydrator.
A food dehydrator for mushrooms
For a food dehydrator for mushrooms, look for airflow on every tray and a thermostat you can set low. Brush off dirt rather than soaking, slice to even thickness, and leave gaps between pieces. Check them at the end of the cycle: they should feel dry and break rather than bend.
A five-tray example with a dial and fan
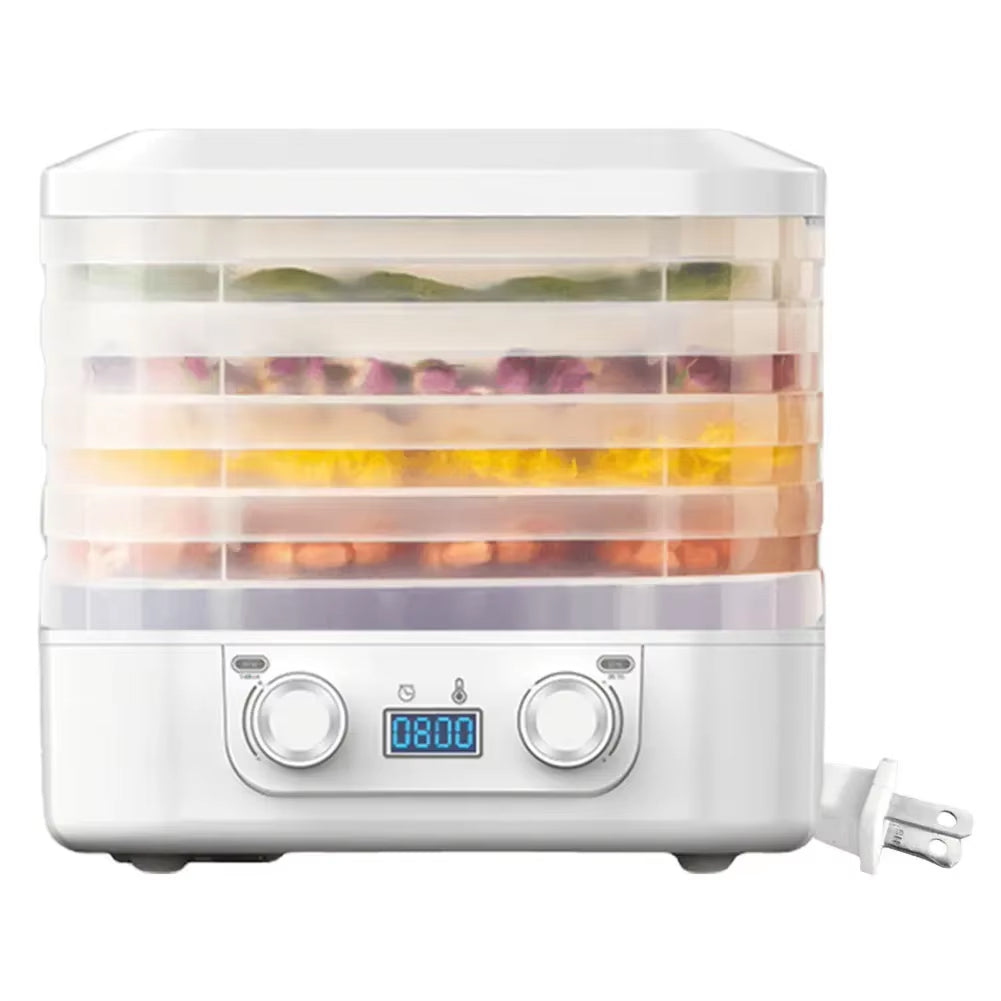
CrispHarvest shows how those checklist items look in one unit. It is an electric dehydrator with five stacked trays, a fan, a built-in timer and a temperature dial from 30 to 70°C (about 86 to 158°F). It draws 160W.
The product page says lower settings suit delicate items like herbs, and the higher end of the range is used for jerky. The five trays let you load a garden harvest in one batch instead of drying in several rounds. The trays pull out for washing by hand or in a dishwasher, including after sticky fruit leather. The box holds the dehydrator and a user manual.
 In this guideCrispHarvest$149.99View
Field note
Measure your usual batch once, spread it on a counter in a single layer, and count how many tray-sized areas it fills. That number is the tray count to shop for.
How long does a dehydrator take, and what can you dry?
There is no single run time. Thickness, moisture, humidity in the room, load size and temperature all change it, so use the timer as a first guess and check the food as the cycle ends. Thin herb leaves finish differently from thick meat strips or juicy fruit slices. If the food is not yet dry, run it again in a short added cycle.
Good foods to start with
Fruit slices, herbs, mushrooms, tomatoes, peppers, jerky strips and fruit leather suit a home dehydrator. Slice evenly, because thick and thin pieces dry unevenly on the same tray.
Foods that do not dry well
Avocado and fatty meat trimmings do not dry well and can turn rancid in storage. Oily nuts need specific steps for the same reason. Trim visible fat from meat before drying. Dairy and other perishable mixtures need specific instructions; check a preservation guide before trying them.
Common mistakes and care routine
- Overlapping pieces. Food that touches stays damp where it touches.
- Mixing strong-smelling foods with delicate ones in the same load.
- Stopping early. Check by cooling a piece, then bending or breaking it.
- Storing food while it is still warm. Let it cool before sealing jars.
- Skipping cleanup. Wash trays after every batch, especially after jerky or fruit leather.
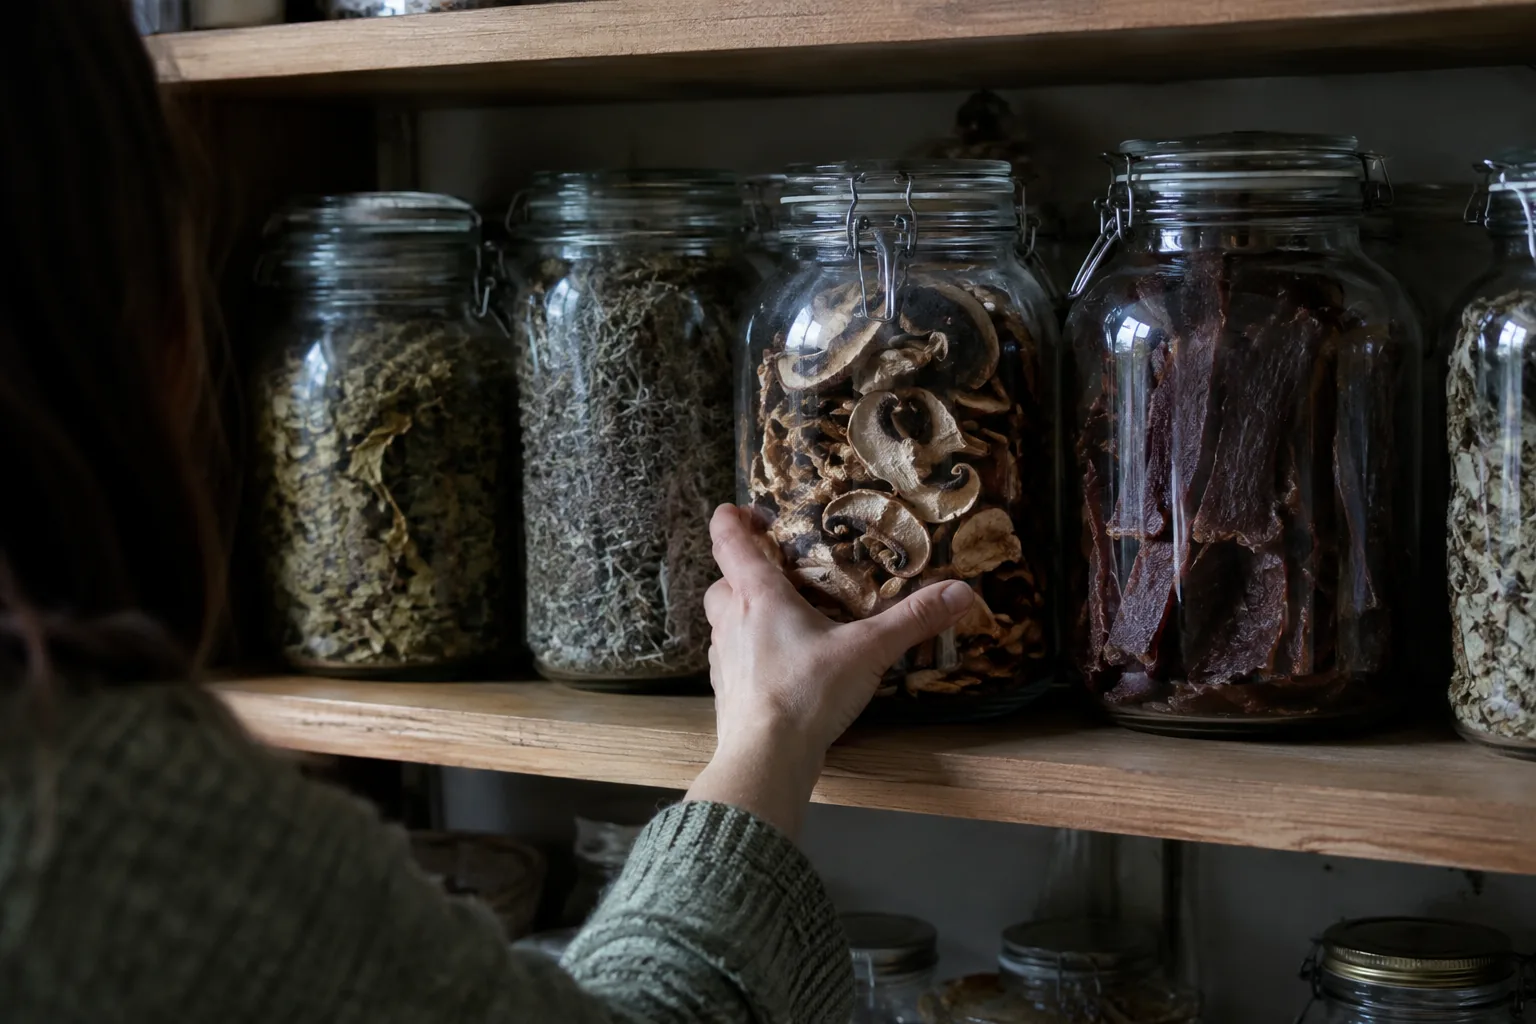
Unplug the unit before cleaning and wipe the base with a damp cloth rather than submerging it. Follow the manual for anything electrical. Keep dried food in airtight containers in a cool, dark place, and label each jar with the date.
Use the checklist again whenever your batches change, since food dehydrator recommendations shift with the foods and quantities you dry. If you want to see more tools for meat and specialty food work, browse Meat, Grain & Specialty Food Prep.
Frequently asked questions
Keep reading
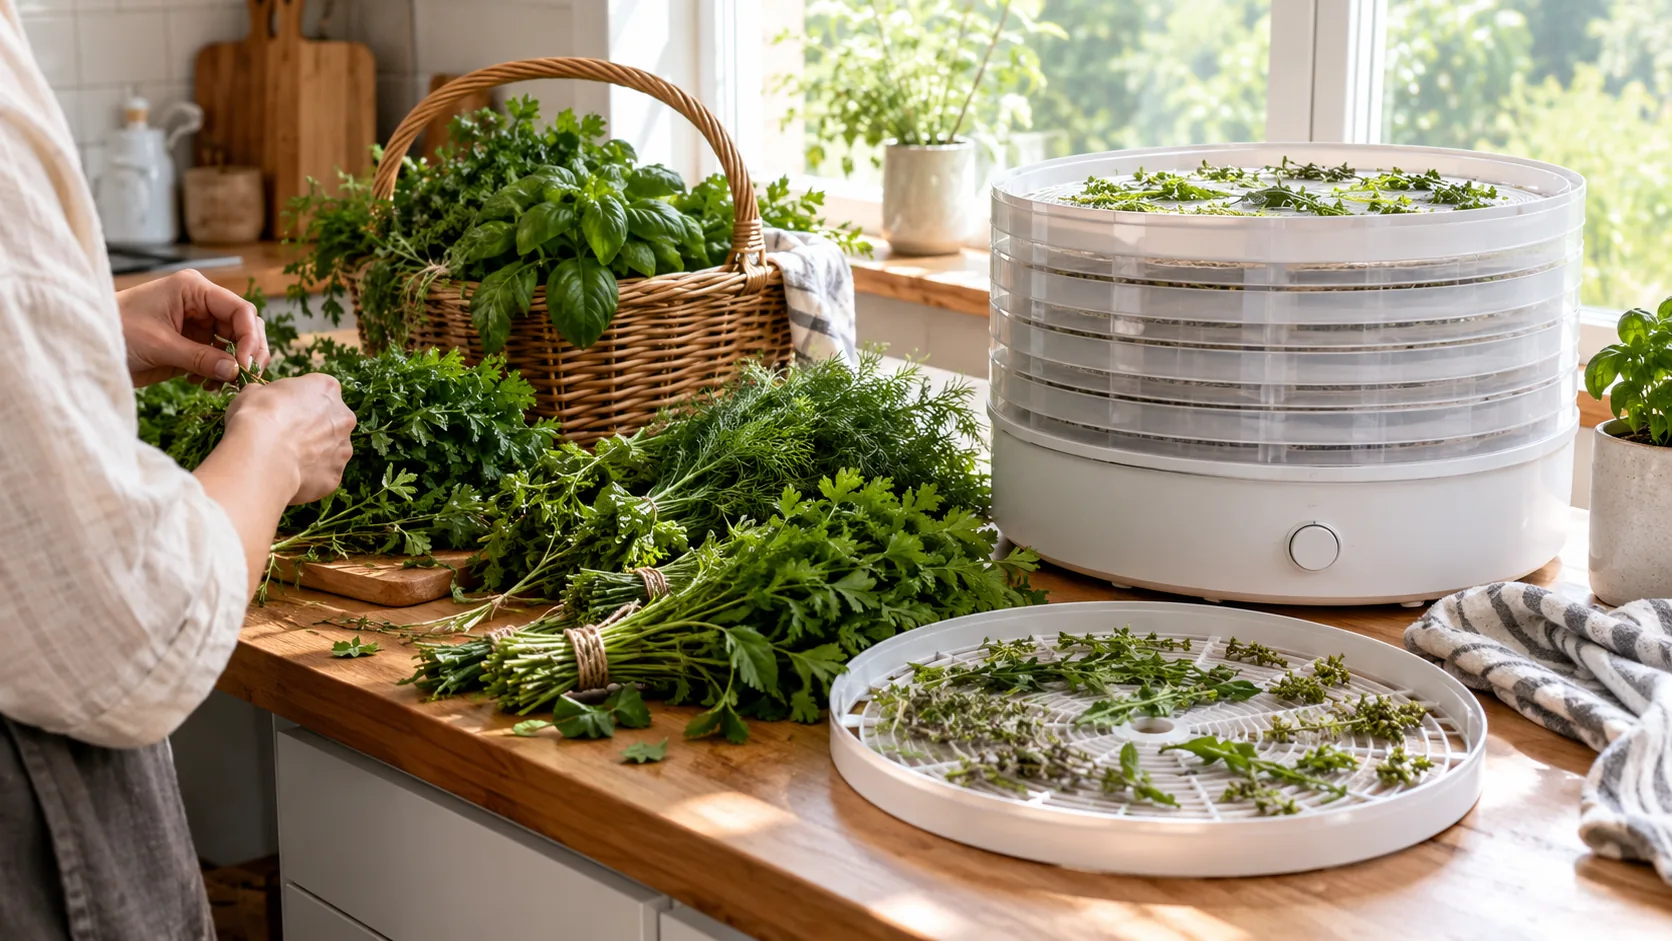 Food Storage, Cookware & Water FiltrationDrying Herbs in a Food Dehydrator: Temperatures and Times7 min read
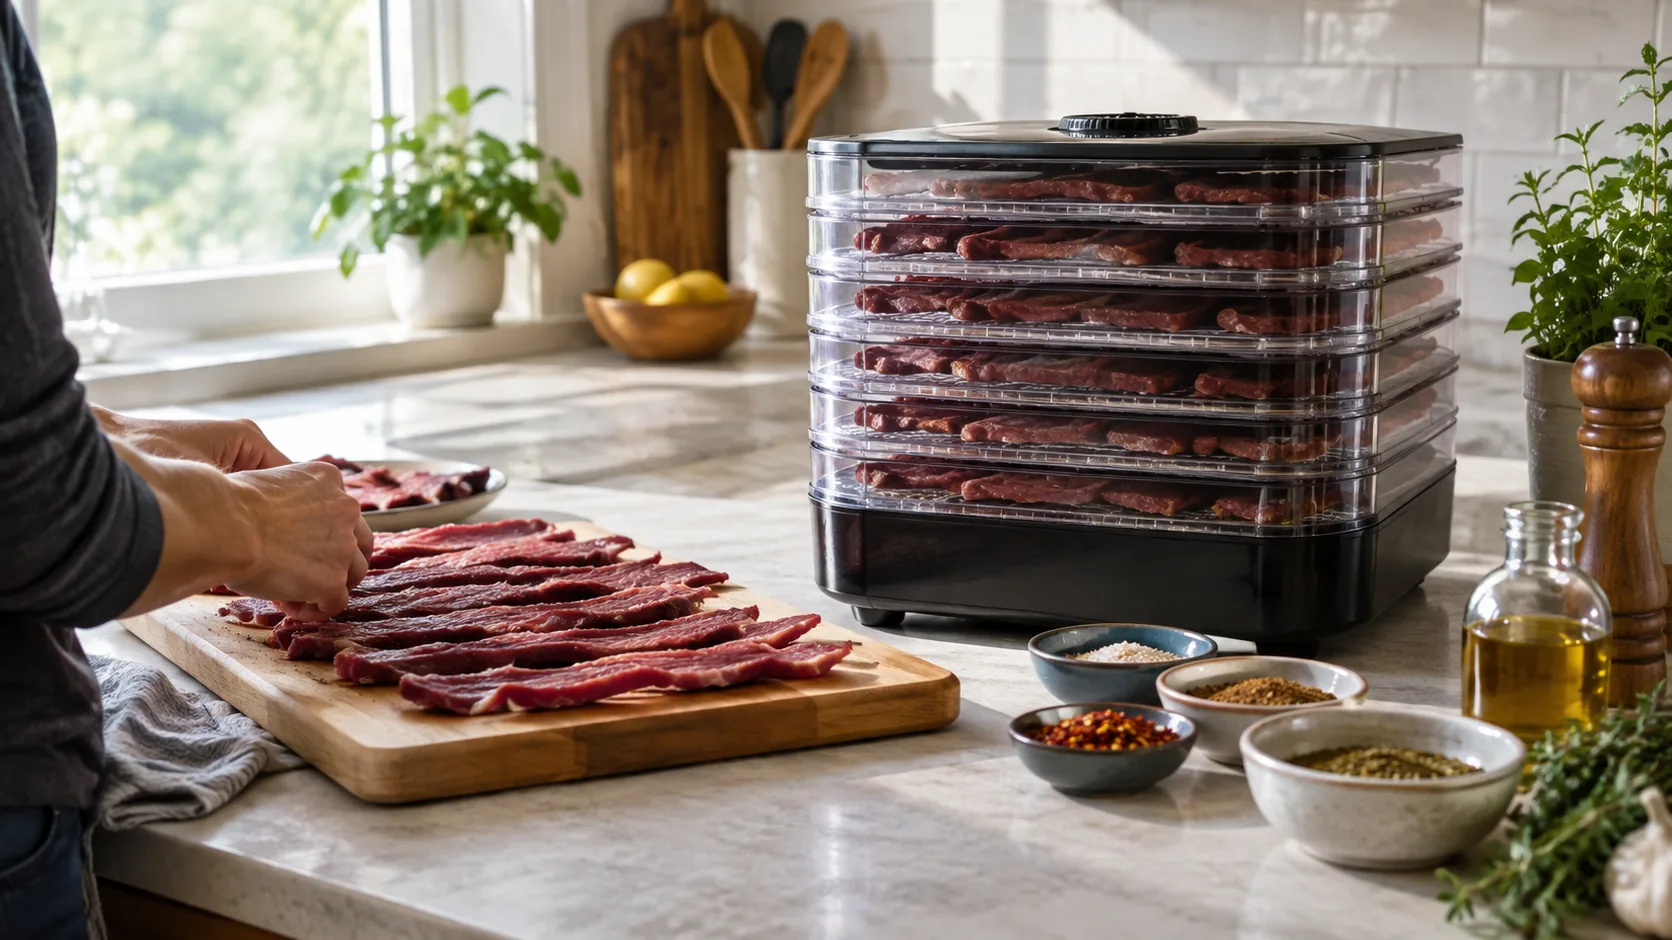 Meat, Grain & Specialty Food PrepBeef Jerky Recipe for a Food Dehydrator: Cuts, Marinade, Timing6 min read
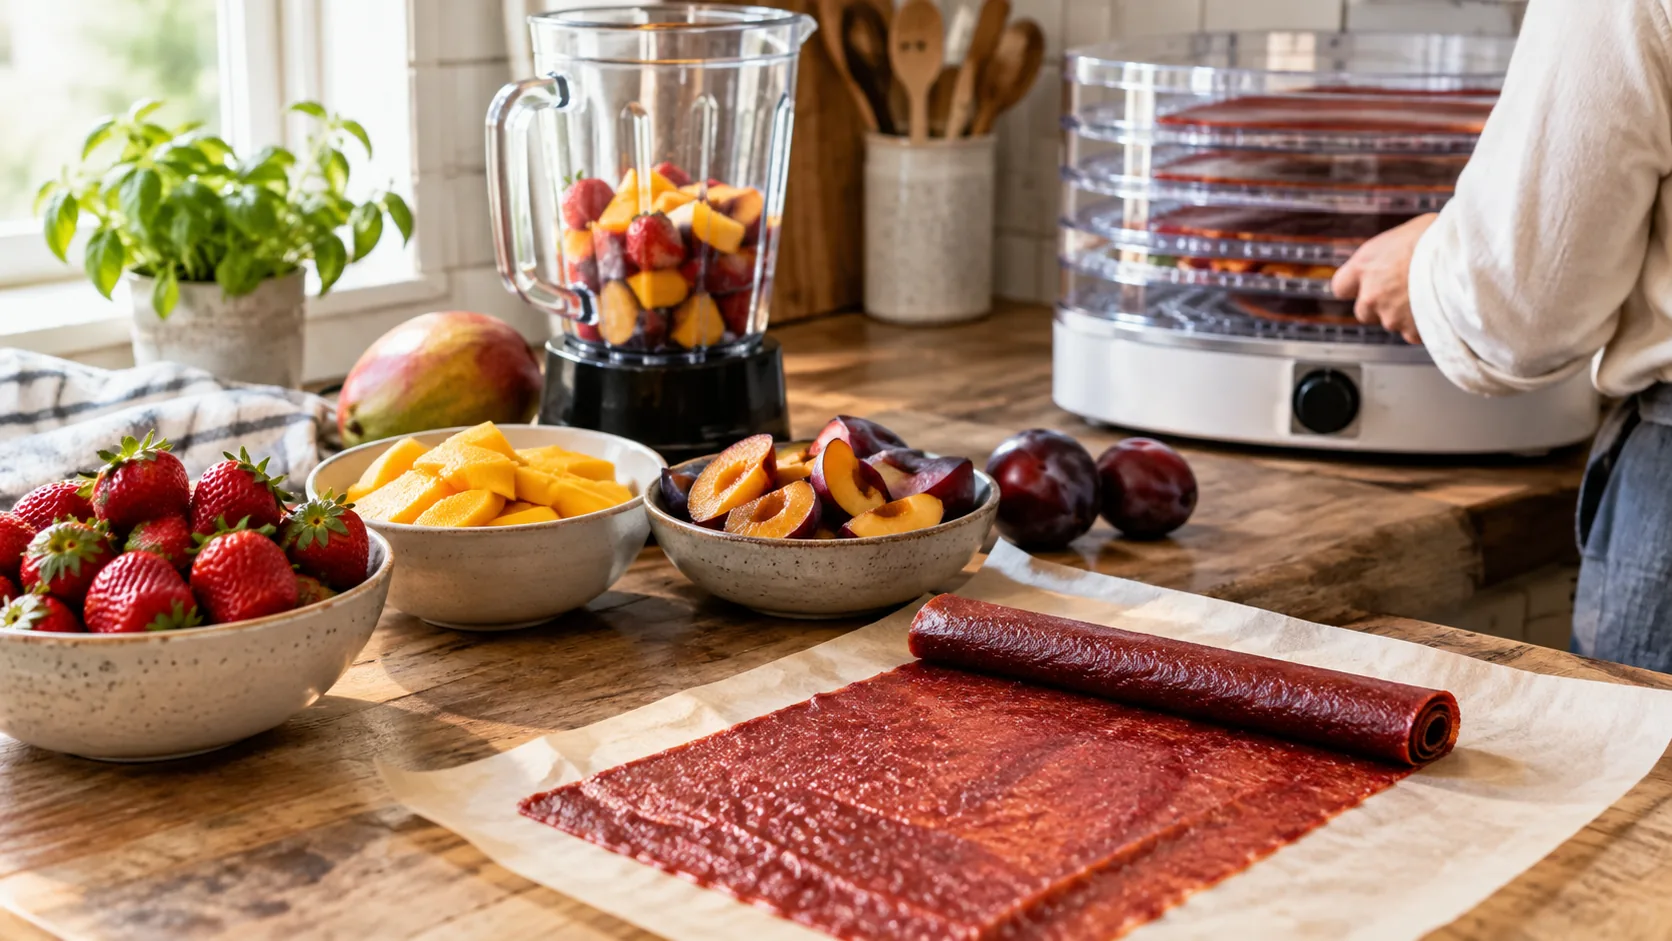 Meat, Grain & Specialty Food PrepHow to Make Fruit Leather in a Food Dehydrator7 min read