How to Sous Vide With a Vacuum Sealer: Bags, Sealing, Steps
Sous vide with a vacuum sealer works: seal food in a bag labeled for hot water, keep the sealing edge dry, and hold the bag under water. Here are bag choices, liquid tips and fixes for floaters.
The Cobalt Hollow Team
October 27, 2026 · 7 min read
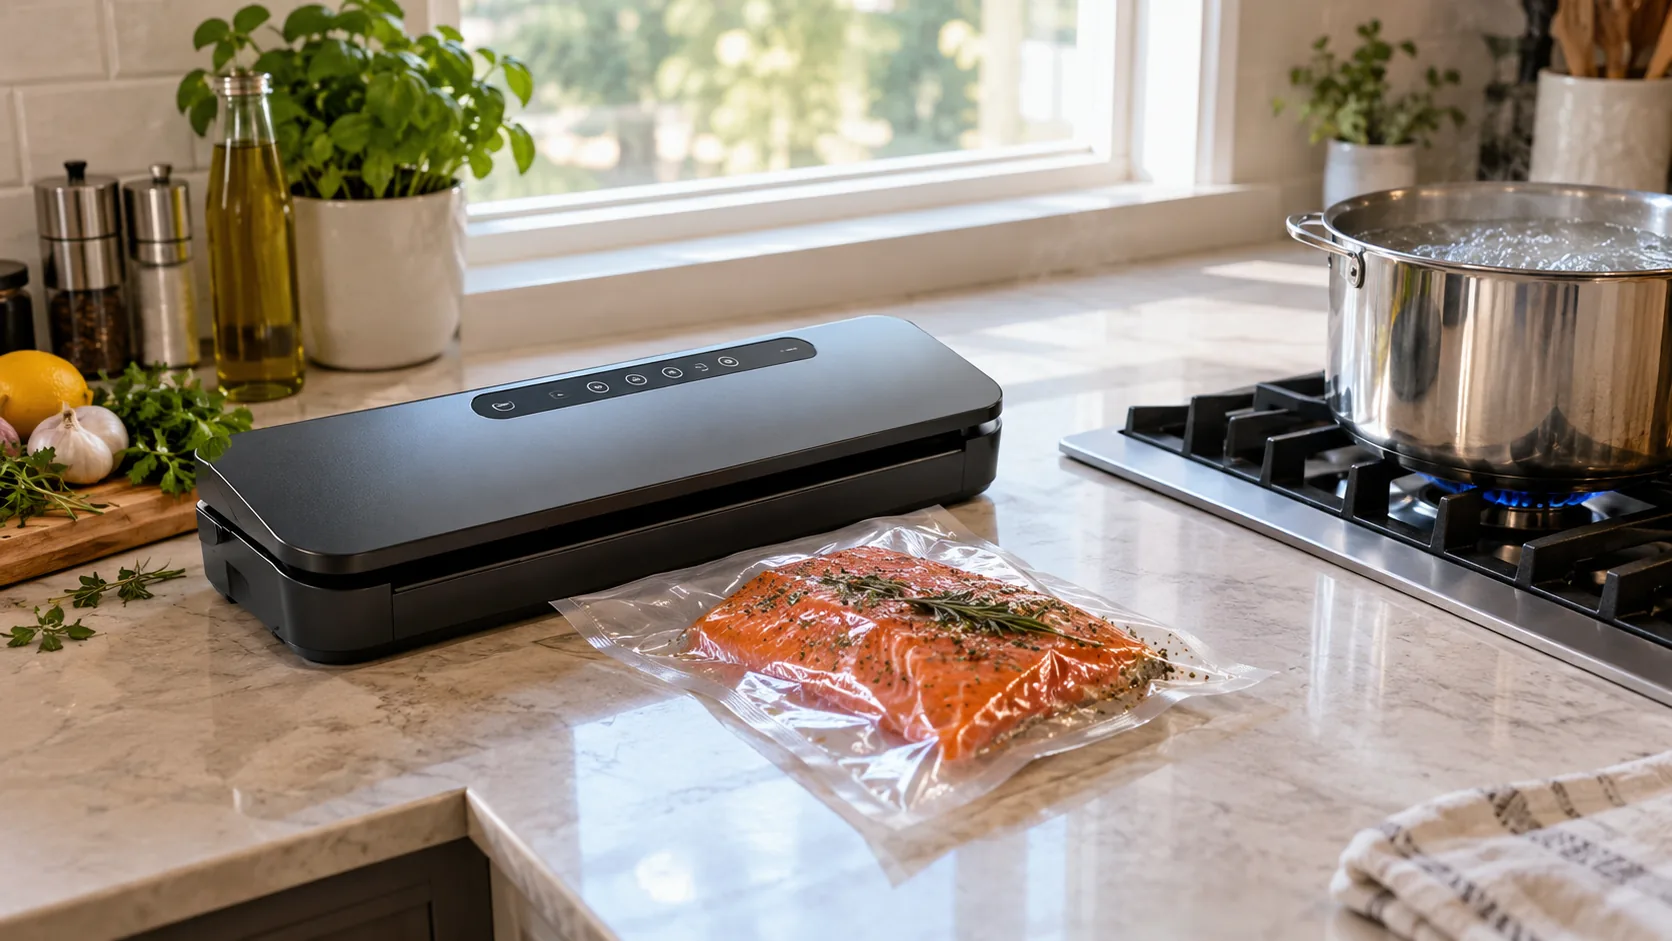
Yes, you can do sous vide with a vacuum sealer: seal the food in a bag labeled for cooking in hot water, lower it into a water bath held at your target temperature, and keep the bag fully submerged. The sealer pulls air out so the water touches the bag directly, and the bag lies flat instead of floating. This guide covers bag choice, a sealing workflow for liquids and marinades, and fixes for bags that keep floating.
If you are sealing raw meat, fish or anything you plan to hold warm for a long time, read the food handling guidance linked near the end and follow the temperature charts from a reliable source before you cook.
What a vacuum sealer does in sous vide
A vacuum sealer removes air from a bag and heat-fuses the opening. In a water bath, that matters for three reasons. Air transmits heat poorly, so a bag packed with air pockets heats unevenly. Air also makes the bag buoyant. And a tight bag keeps seasoning and juices pressed against the food.
Sealing is not the only way to do it. A zip-top freezer bag with the air pushed out by water works too, and the table below compares the options. A sealer fits when you want a flat, uniform bag, or when you also freeze portions for later and want to limit freezer burn.
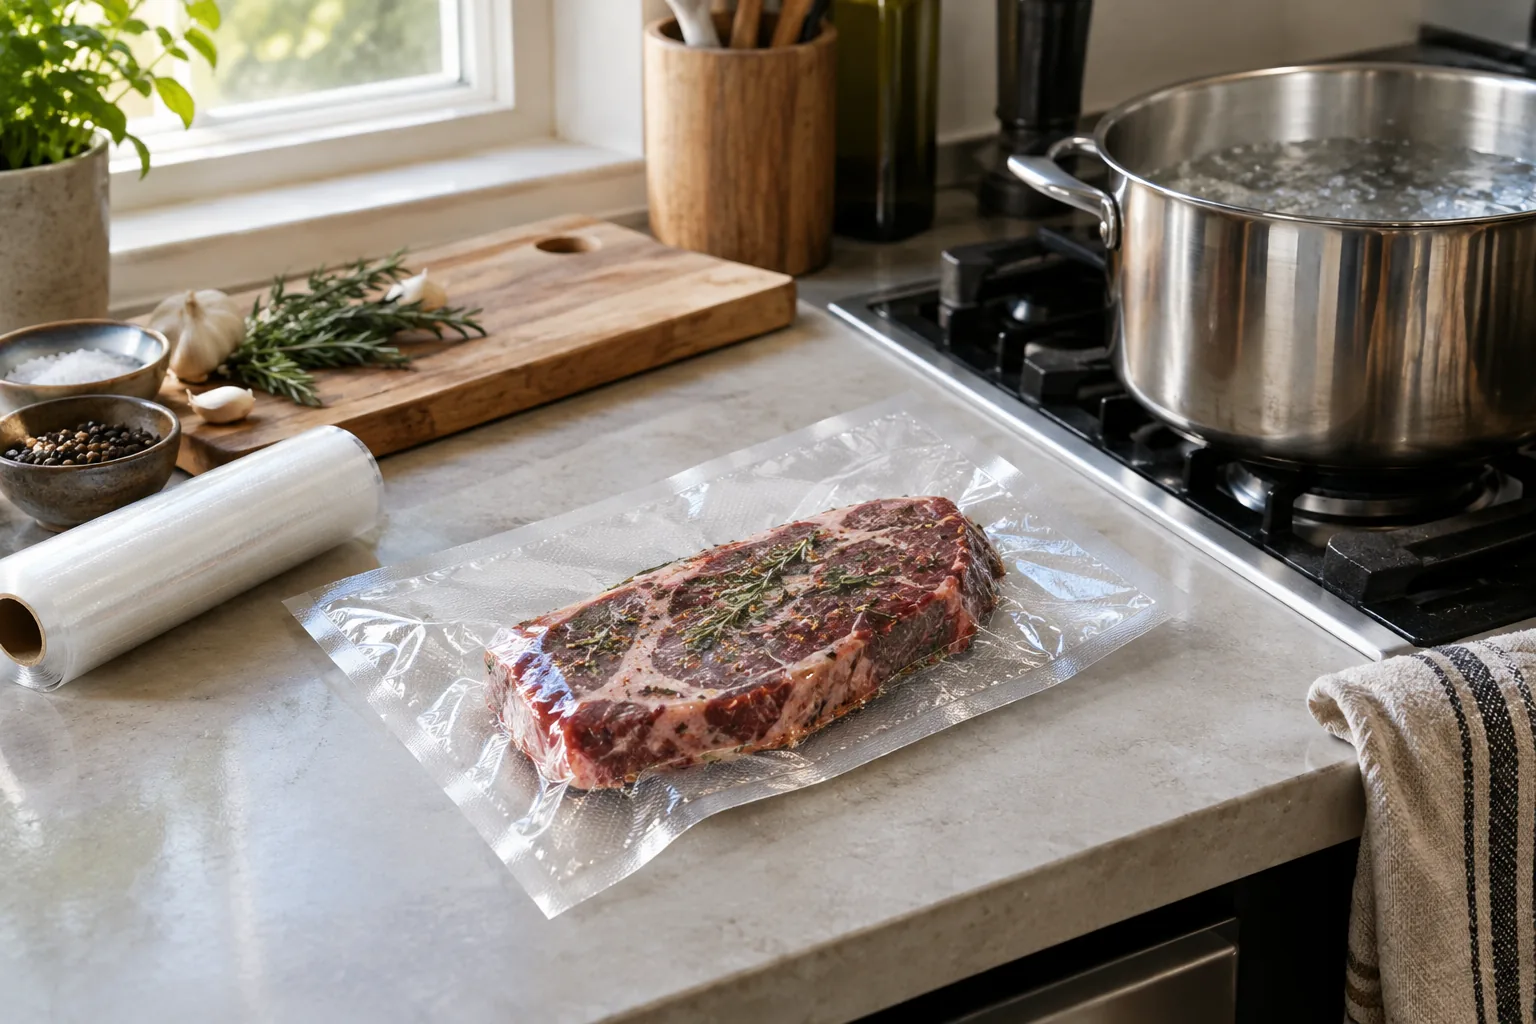
Choose the right bag and sealing method
Use bags made for sealing and for cooking in hot water. Check the maker's label or box for a temperature range that covers your target temperature.
Textured bags and rolls work in an edge-style countertop sealer, since the texture gives the air a path out.
| Method | Suited to | Watch for |
|---|---|---|
| Sealer bag from a roll | Solid cuts, vegetables, portions you will freeze | Liquid being drawn toward the seal bar |
| Pre-cut sealer bag | Single portions, repeat sizes | Bag too small to leave a clean sealing edge |
| Zip-top freezer bag, water displacement | Cooking without a sealer, marinades | Zipper edge stays above the waterline (this applies to zip-top bags only) |
| Mason jar, finger-tight lid | Custards, eggs, liquids | Jar must stay submerged; follow the jar maker's guidance on heat |
Whichever you pick, use a bag only once for raw food and check the seal before it goes in the water.
Edge sealers and chamber sealers
An edge-style sealer, like most countertop models, draws air out through the open end of the bag, so any liquid in the bag can travel toward the seal bar. A chamber-style sealer places the whole bag inside a chamber and removes air from around it as well as from inside it, so liquid is not pulled toward the opening. Chamber units are larger floor or counter machines; an edge sealer works for sous vide when you manage liquids with the steps below.
Sous vide with a vacuum sealer: step-by-step workflow
- Season the food and pat the surface dry. Surface moisture can reach the seal bar.
- Cut a bag long enough to leave a few inches of clean, dry plastic above the food. If your sealer has a built-in roll cutter, cut and seal at the same spot.
- Load the food in a single layer. Do not stack pieces or crowd the bag, because water has to reach every side.
- Wipe the inside of the bag opening if any juice or seasoning touched it.
- Choose dry mode for solid food or moist mode for juicy cuts and marinades.
- Set the open end in the sealer and press the button. Check that the bag is flat and the seal line is continuous.
- If a seal looks wavy or has gaps, cut the bag above the seal and reseal, or move the food to a fresh bag.
Unplug the sealer before cleaning it, and follow the manual for the cooling period between cycles.
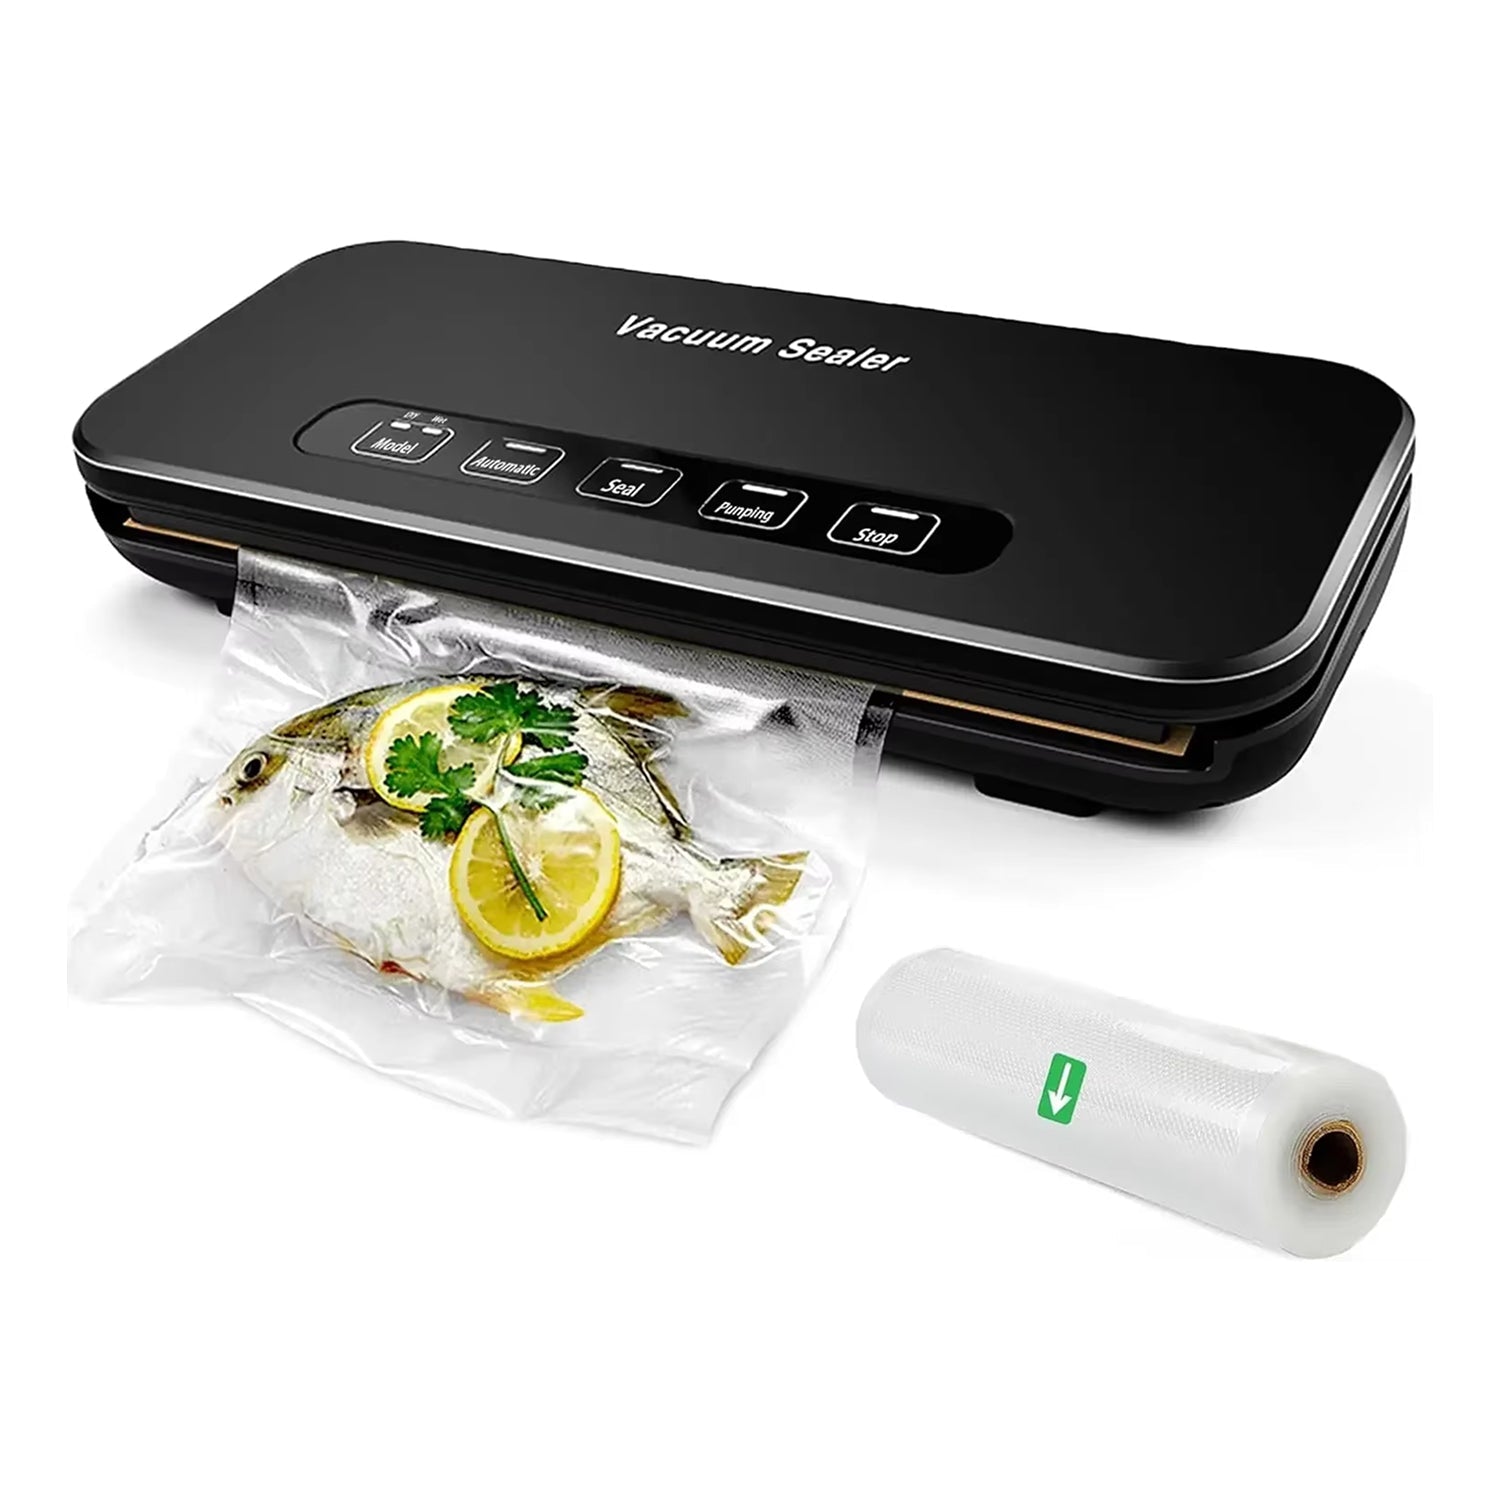 In this guideSealVault Pro$139.99View
The SealVault Pro is a countertop sealer with dry and moist modes, a pulse control, a double seal bar and a built-in roll cutter with bag storage. Its suction is 85kPa (about 12 psi). A thermal sensor ends the cycle when the unit gets too warm, so let it cool before sealing more bags.
Browse the Food Storage, Cookware & Water Filtration collection.
Sealing liquids, marinades and sauces
Liquid is where edge sealers have trouble, because the vacuum pulls fluid toward the seal bar and a wet seal may not hold. These steps keep the sealing edge dry.
Freeze the liquid first
Pour a marinade or sauce into a small container or ice cube tray, freeze it, then drop the frozen block into the bag beside the food. The block thaws in the water bath, and there is no loose liquid to pull toward the seal bar.
Use moist mode and pulse
Pick moist mode for juicy cuts. If the sealer has a pulse control, draw the air out in short steps and stop before liquid moves toward the bag opening or the seal bar. Then press seal.
Fold a cuff while you fill the bag
Fold the top of the bag over like a cuff while you fill it, so the sealing area stays clean. Unfold the cuff, wipe the opening, then lay the bag flat with the food and liquid away from the open end and slide that end into the sealer.
Skip the vacuum when you have to
For soups, custards or very wet recipes, use the water displacement method with a zip-top bag, or a jar. Fill the bag, leave the zipper open, and lower it slowly into the water bath. The water pressure pushes the air out through the opening. When the water is just below the zipper, close it and keep the zipper above the waterline. This is also the way to cook sous vide without a vacuum sealer.
Field note
Put a folded paper towel inside the bag opening, below the sealing line, only if your sealer's manual allows it. Otherwise cut the bag longer and keep the edge dry.
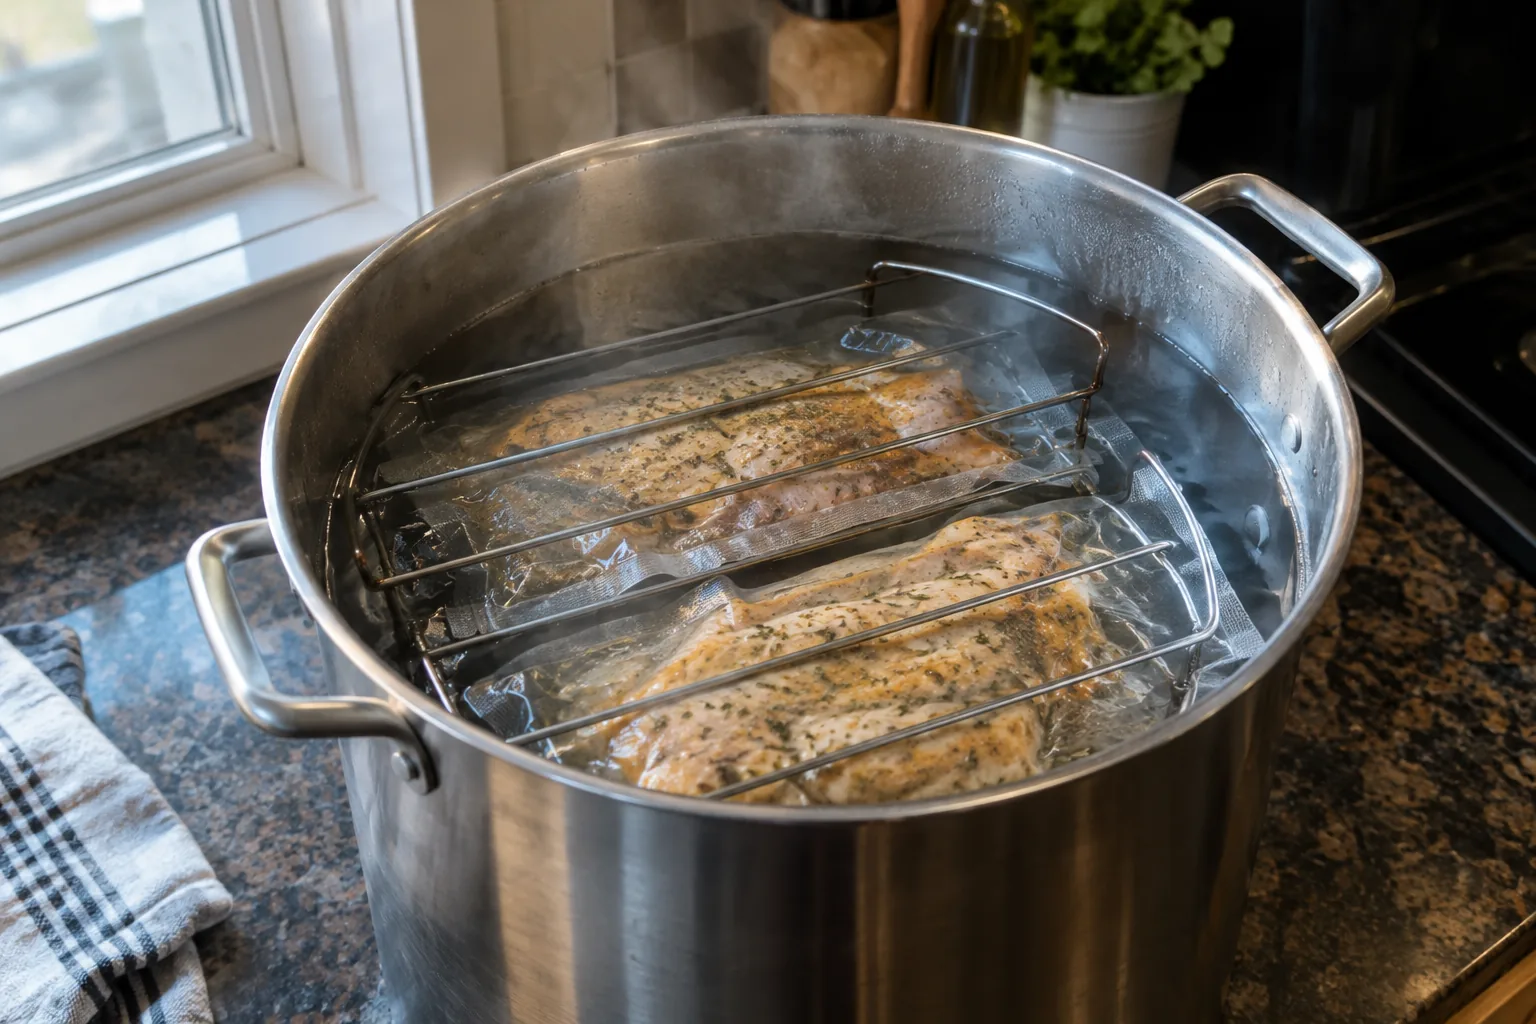
Fix floating bags
A floating bag has trapped air, sits in a cooler spot, and cooks unevenly. Fix it before the timer matters.
- Check the seal. A small leak lets air back in. If the bag has lost its tight shape, reseal it.
- Look for air pockets near the food. If the food is very light or has air in its structure, such as some vegetables, the bag may still lift even after sealing.
- Add weight inside the water bath, not inside the bag. A metal rack, a clip made for hot water that fastens the bag to the pot edge, or a heavy utensil laid across the bag works.
- Spread bags out in one layer. A bag stacked on another gets pushed up.
- For vacuum-sealed bags, submerge the whole bag, including the sealed edge, and keep the water level above the food. Only a water-displacement zip-top bag keeps its zipper above the waterline.
If a bag keeps rising, lift it out, cut it open, and reseal the food in a fresh bag instead of cooking with a half-floating package.
Set up the water bath
An immersion circulator holds the water at one temperature and moves it around the bags. The CulinaPro is a sous vide cooker with a 1100W heating element and a clamp that fits pots and tubs from 6 to 20 liters (roughly 6 to 21 quarts). You set the temperature and time on its touchscreen, and there is no app to pair. A sensor and PID controller adjust the heater to the target you set, and a pump circulates the water.
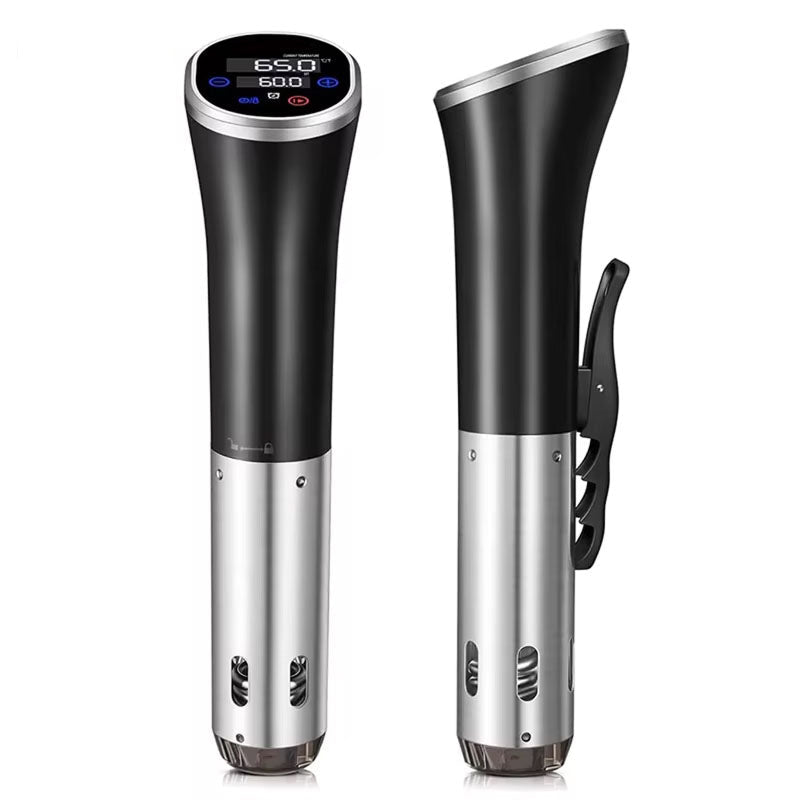 In this guideCulinaPro$179.99View
- Clip the cooker onto a pot or tub and fill it with water. Follow the manual for the water level.
- Set the temperature and time on the touchscreen.
- Lower the sealed bags in, one layer, with water moving freely around them.
- Remove the bags when the timer signals. Sear the food if you like, then serve.
Use a clean pot and keep cords and the plug away from spills, following the manual.
Food handling and common mistakes
Sealing food in a low-oxygen package changes how it must be handled. State guidance on reduced oxygen packaging and a county health department's sous vide packaging document explain why cooking temperature, chilling and storage need attention. Use them to check time and temperature for your food. A hospitality school's guide covers common sous vide mistakes and fixes.
| Mistake | Fix |
|---|---|
| Wet sealing edge | Wipe the bag, use moist mode or freeze the liquid first |
| Bag floats | Reseal, spread bags out, add a rack or clip |
| Overfilled bag | Use a larger bag and a single layer |
| Bag not labeled for hot water | Check the label before cooking |
| Sealer overheated | Let it cool between cycles, per the manual |
| Bag not chilled after cooking | Follow chilling and storage guidance from the sources above |
If a sealed bag swells or puffs up in storage, do not open, reseal or cook it. Discard it, and follow the reduced oxygen packaging guidance linked above. With a dry sealing edge, a flat bag and a steady bath, sous vide with a vacuum sealer follows the same routine every time.