
VittoraMix Stand Mixer: Setup, Attachments and Care
The VittoraMix stand mixer sets up on a clean, flat counter with a locked bowl and one attachment. Here are the steps, the parts, the attachments and a care routine.
The Cobalt Hollow Team
November 21, 2026 · 6 min read

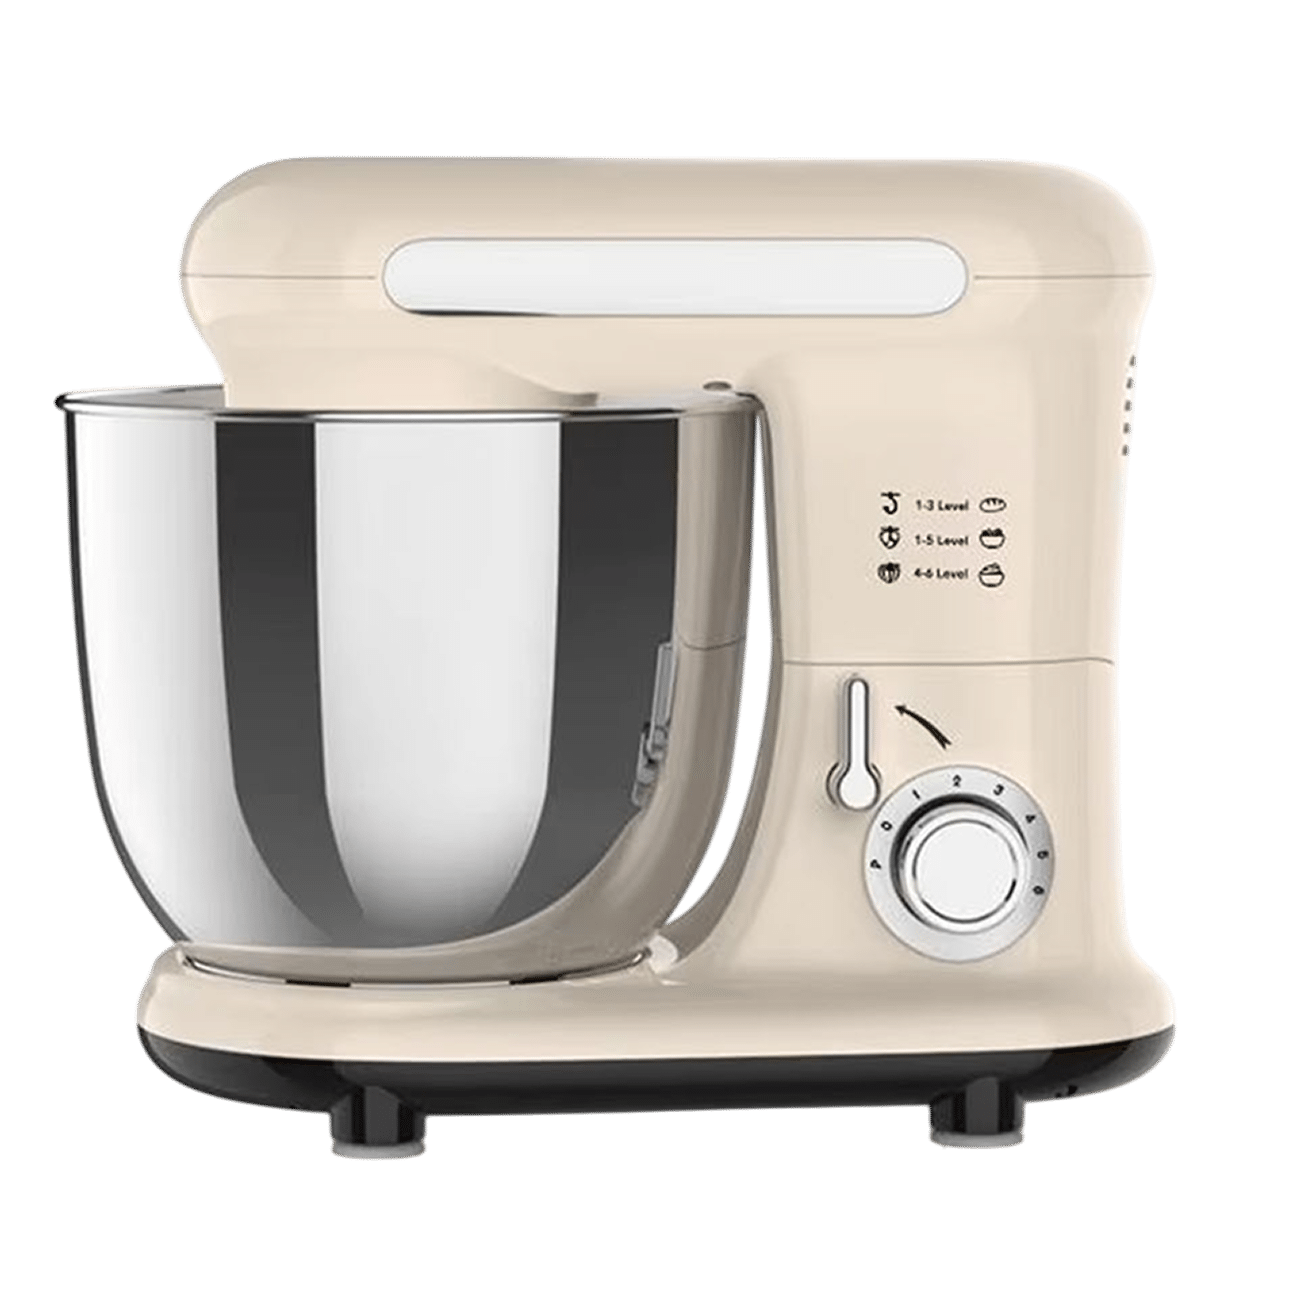
The VittoraMix stand mixer is a tilt-head stand mixer with a 3.8QT stainless steel bowl, a metal drivetrain and six speed settings. Setup takes a clean, flat counter, a locked-in bowl and one attachment: the dough hook, flat beater or wire whisk. This guide covers what is in the box, how to set it up, what each part does, how to use it day to day and how to look after it.
Where the product page does not say, this guide gives general practice for stand mixers and labels it as general. For anything about electrical connection, cleaning limits or speed guidance, the manual that comes with your mixer has the final word.
What is in the box
The VittoraMix box holds five items. Check them off before you start so you know nothing is missing.
- VittoraMix Stand Mixer
- 3.8QT Stainless Steel Mixing Bowl
- Dough Hook Attachment
- Flat Beater Attachment
- Wire Whisk Attachment
Keep the packaging until you have read the manual and confirmed everything fits. Remove any packing material from the bowl and attachments, then wash them by hand before first use. That is general practice for new kitchen equipment; follow the manual if it gives different instructions.
How to set up the VittoraMix stand mixer
Setup is short, but the order matters. The base has four suction feet, so the surface you pick decides how steady the mixer sits during use.
- Choose a clean, flat counter with room to tilt the head back and lift out the bowl.
- Wipe the counter dry. Suction feet grip the counter surface when nothing sits between them and the counter.
- Set the mixer on the counter and press down on the base so each of the four suction feet makes contact.
- Make sure the mixer is switched off and unplugged while you fit parts. Follow the manual for the electrical connection.
- Tilt the head back and lock the stainless steel bowl in place.
- Fit one attachment: the dough hook, flat beater or wire whisk.
- Add your ingredients, then lower the head.
- Select one of the six speeds and turn the mixer on.
Keep hands, spoons and spatulas out of the bowl once the mixer is running. If you need to scrape the sides, turn the mixer off first.

 In this guideVittoraMix$299.99View
What each part is for
Knowing what sits where helps you follow the manual and spot a problem early. Here is how the parts work together.
Metal drivetrain
The gears that carry the motor's torque to the attachment are metal. This is the part that takes the load when the mixer works through stiff doughs, so the metal drivetrain sits inside the housing where you do not handle it.
Suction feet base
Four suction feet sit under the base and grip the counter surface. A clean, flat counter and a firm press on the base let each foot make contact. Lift the mixer by following the manual rather than pulling at one side.
Tilt head and bowl
The tilt head swings back so you can lift out the stainless steel bowl and reach the attachment. The housing has a smooth finish, which makes it easy to wipe down with a cloth.
Planetary mixing action
With planetary mixing action, the attachment orbits the bowl. As it moves around the bowl, it folds, whips or kneads the contents.
Which attachment to use
The three attachments cover whipping, beating and kneading. Pick the one that matches the mixture, and change it with the mixer off and unplugged.
| Attachment | Use it for | Examples |
|---|---|---|
| Wire whisk | Light mixtures | Whipped cream, egg whites |
| Flat beater | Batters | Cake batter, cookie dough |
| Dough hook | Bread and pizza dough | Sandwich bread, pizza crust |
The use of each attachment comes from the product page. The examples are general kitchen practice. If you are weighing a stand mixer against other kitchen machines, Blender vs Food Processor explains which tasks suit which tool.
Field note
Fit the attachment before you add ingredients, with the head tilted back. Then lower the head, check that the bowl is locked, and pick a speed.
Using the VittoraMix mixer day to day
A routine keeps each session predictable. This is the sequence from the product page, with general practice added where noted.
Before mixing
Place the mixer on a clean, flat counter and press down on the base. Lock in the bowl, fit your attachment and add ingredients with the head tilted back. As general practice, add dry ingredients and liquids in the order your recipe gives.
Choosing a speed
The mixer has six speed settings. The product page does not match speeds to recipes, so follow your recipe and the manual. As a general rule for stand mixers, begin on a low setting so dry ingredients stay in the bowl, then step up if the recipe calls for it.
While it runs
Stay near the mixer, especially with stiff dough. Stand mixers can move on the counter when the load is heavy, so watch that the base stays in place. If the mixer strains or the base shifts, turn it off and unplug it, then check the amount of dough and the counter surface.
When you finish
Turn the mixer off, wait until the attachment is still, then tilt the head back. Lift out the attachment and the bowl, and scrape the bowl with a spatula.
Care and cleaning routine
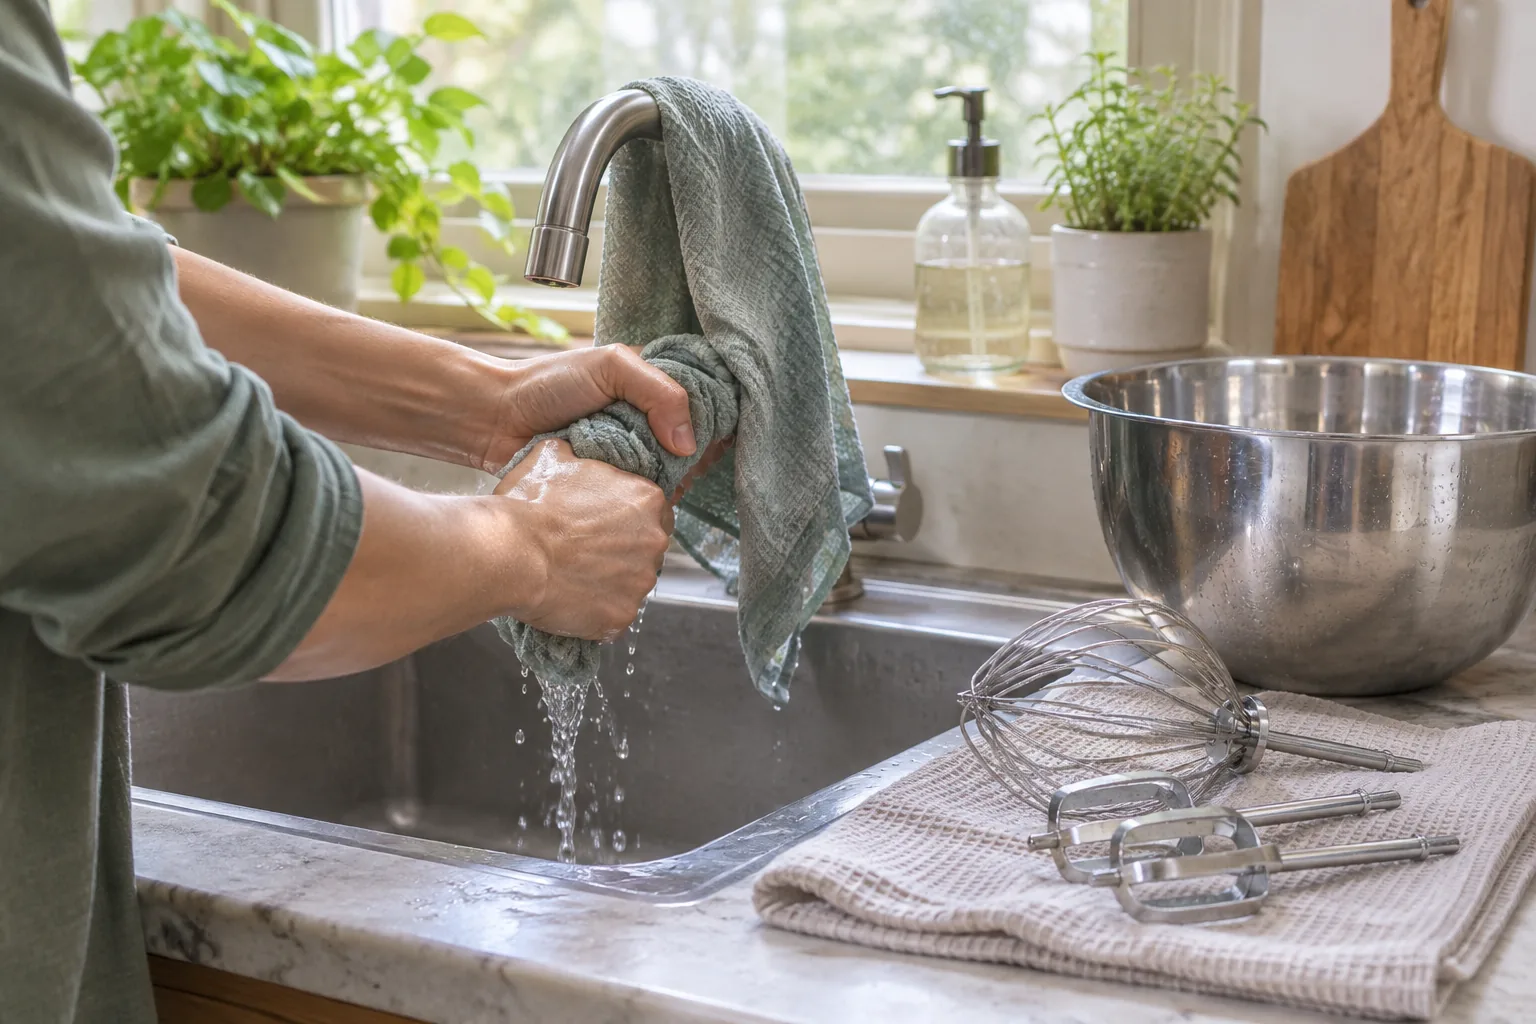
Unplug the mixer before cleaning and follow the manual for what may be washed and how. The smooth housing wipes down with a cloth, so the care routine is short.
| Part | What to do | When |
|---|---|---|
| Housing | Unplug, then wipe with a damp cloth and dry | After each use |
| Stainless steel bowl | Wash with mild dish soap and warm water, rinse, dry | After each use |
| Dough hook, flat beater, wire whisk | Wash, rinse and dry; check the manual for dishwasher guidance | After each use |
| Suction feet and counter | Wipe both so nothing sits between them | Before each session |
| Head hinge area | Wipe off flour or batter with a cloth | As needed |
The washing steps for the bowl and attachments are general practice. The product page lists materials and parts but does not give washing instructions, so check the manual before using a dishwasher.
Do not submerge the housing in water, and keep liquid out of the head. This is general guidance for mixers with a motor housing. Store the mixer on a clear counter or shelf with the attachments kept together so you can find the one you need.
Common setup mistakes
- Placing the mixer on a damp, dusty or uneven counter, so the suction feet do not grip.
- Skipping the press on the base after setting the mixer down.
- Fitting the wrong attachment, such as a whisk for stiff dough. Match the attachment to the mixture using the table above.
- Lowering the head before the bowl is locked in.
- Changing attachments or scraping the bowl while the mixer is plugged in.
- Wiping the housing with a soaked cloth rather than a damp one.
For other kitchen machines to pair with your mixer, browse Blenders, Mixers & Prep Tools. If you also use a food processor for shredding, the guide on shredding cheese in a food processor covers discs, chilling and steps.
With the base pressed down, the bowl locked and the right attachment fitted, the VittoraMix stand mixer is ready for batters, doughs and whipped mixtures.
Frequently asked questions
Keep reading
 Food Storage, Cookware & Water FiltrationNon Stick Ceramic Coating Pans: How to Choose and Make Them Last6 min read
 Blenders, Mixers & Prep ToolsCulinox Pro Immersion Blender: Setup, Use and Cleaning6 min read
 Kitchen Gadgets & UtensilsSpritz Cookie Recipe for a Cookie Press, Plus Fixes for Sticking6 min read