
Motion Sensor Light Outdoor: Choosing Power, Range and Settings
Pick the power source first (solar, hardwired or battery), then match sensor range and the three settings to the spot you want to light. This guide shows how.
The Cobalt Hollow Team
October 15, 2026 · 8 min read
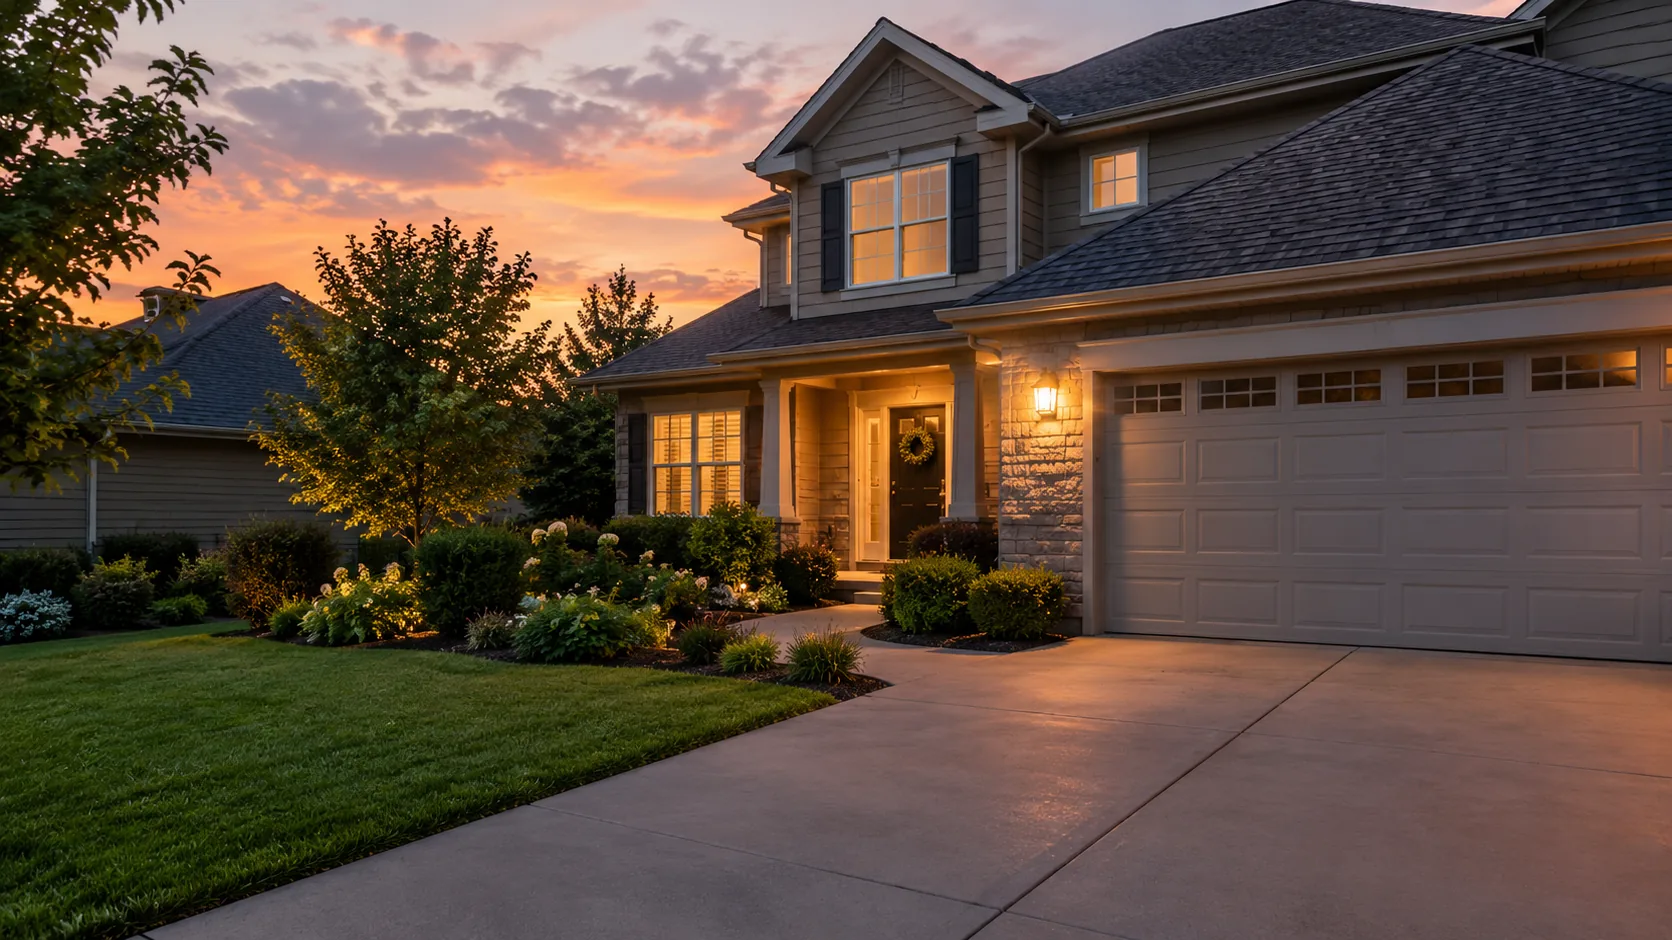
A motion sensor light outdoor switches on when its sensor detects movement in a set area, then turns off after a delay. Choose the power source first (solar, hardwired or battery), then match the sensor's field and range to the spot you want covered, and set sensitivity, on-time and light level to suit it.
Two choices shape how well these lights work: the power type for the location, and how the sensor is aimed and mounted. The sections below cover both, plus the settings, brightness, adding a sensor to an existing fixture and a short checklist.
How a motion sensor light outdoor works
Most units use a passive infrared (PIR) sensor. It reacts to a change in heat across its field of view, such as a person or vehicle crossing the area, rather than to light or sound. When it registers that change, it closes a circuit and the lamp comes on. This is the basic idea behind most sensor lighting, from a porch fixture to a yard spotlight.
Two numbers on the box matter most: the detection angle (how wide the sensor sees) and the detection range (how far). A 180° unit covers a half circle in front of the wall it is mounted on. Anything outside that wedge is not seen, no matter how bright the lamp is.
PIR and microwave sensors
You will also see microwave sensors listed on some floodlights and larger fixtures. They work by sending out a low-power signal and reading the reflection, instead of reading heat. Because they can register movement beyond the area you intend, read the manual and aim them with care. PIR remains the common choice for home exterior lighting.
Solar, hardwired or battery: which power type fits
Power decides where you can mount the light and how much upkeep it needs. Use this table as a starting point.
| Type | How it is powered | Good for | Watch out for |
|---|---|---|---|
| Solar | A solar panel charges a built-in battery during the day | Fences, sheds, gates, driveways and far corners of a yard with no outlet nearby | The panel needs direct sun; deep shade or a north-facing wall reduces what it collects |
| Hardwired | Connected to household wiring, often replacing an existing fixture | Garage doors, front entries and spots near an existing fixture or switched circuit | Needs correct wiring and a switched-off circuit; ask an electrician if unsure |
| Battery (wireless) | Replaceable or rechargeable cells inside the light | Quick installs, rentals and shaded spots where a panel will not work | Cells need checking and swapping on a routine |
When solar is the practical choice
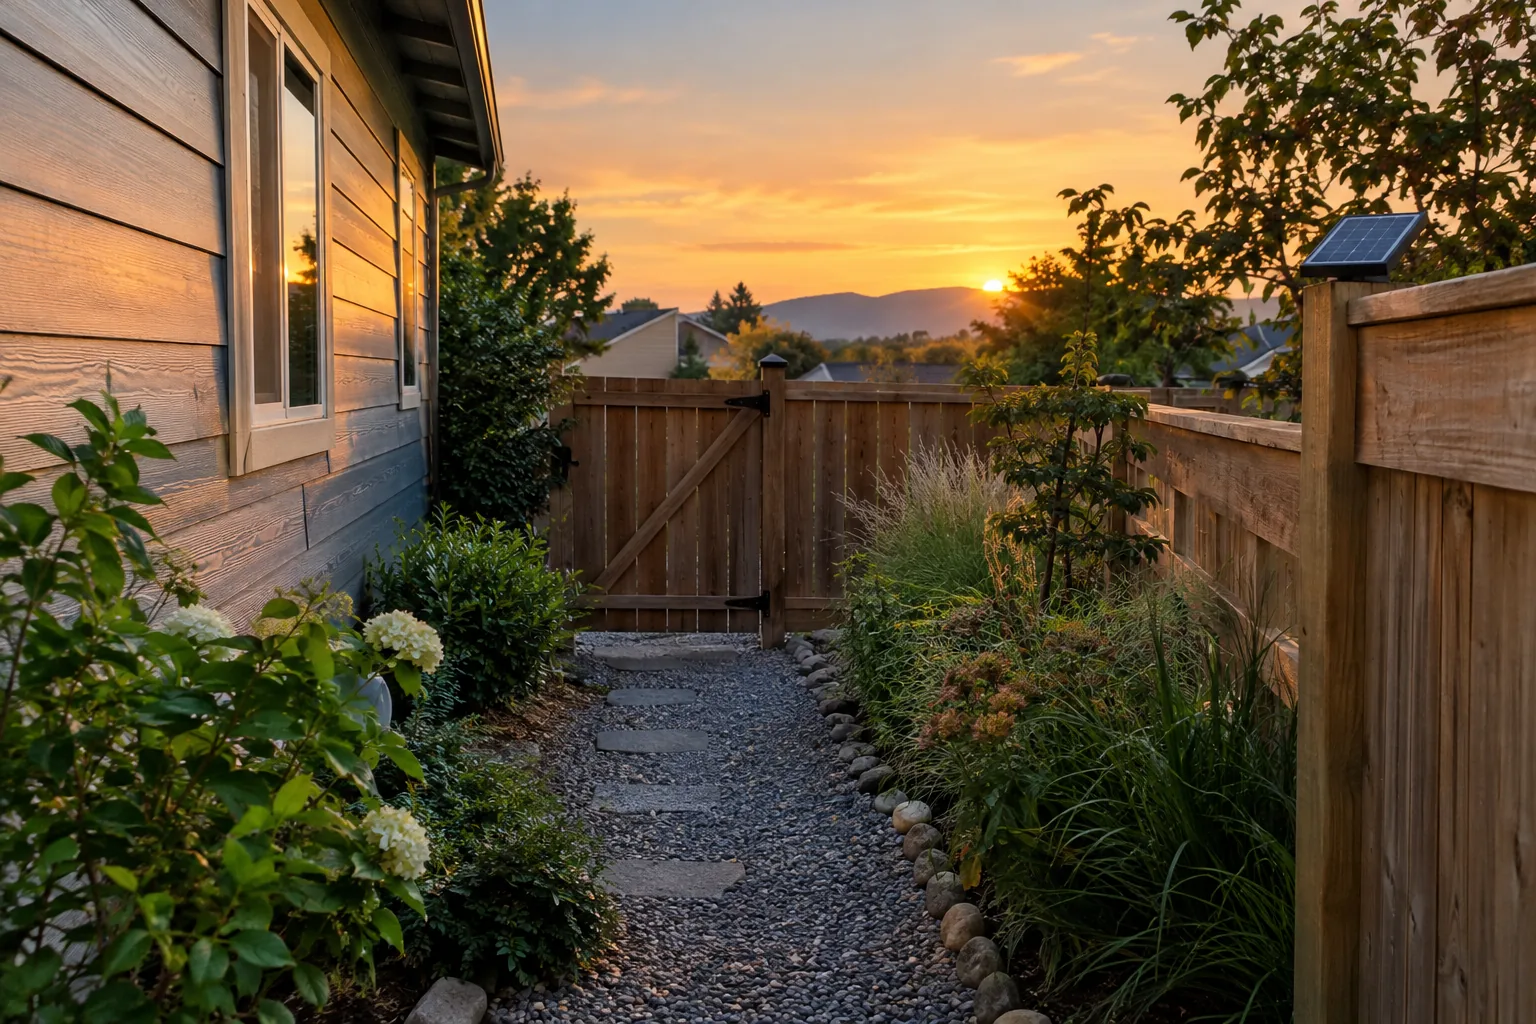
A solar powered motion sensor light outdoor suits places where running a cable is awkward or you do not want to open a wall. There is no trenching and no junction box. The trade-off is placement: the panel and the light both have to be in useful spots.
That is where a separate panel helps. With a panel on a cable, you can put the panel on a sunny roof edge or post and the light on a shaded wall. When you compare solar units, the key question is where the panel gets direct sun.
When hardwired makes sense
Hardwired lights draw from the home electrical system, so they do not depend on sunlight or battery changes. They suit main entries and garages. Turn off the breaker before touching any wiring, follow the manual, and hire a licensed electrician if you are unsure about any connection.
Plug-in electric models are a middle path where an outdoor outlet is already in reach, since they skip the in-wall wiring. Check that the cord and plug are made for outdoor use.
When battery units fit
Wireless battery lights mount with screws or adhesive hardware and need no wiring. They work well in shade, though you will need to check the cells on a schedule and keep spares if the unit uses replaceable ones.
 In this guideNovaBeacon$89.99View
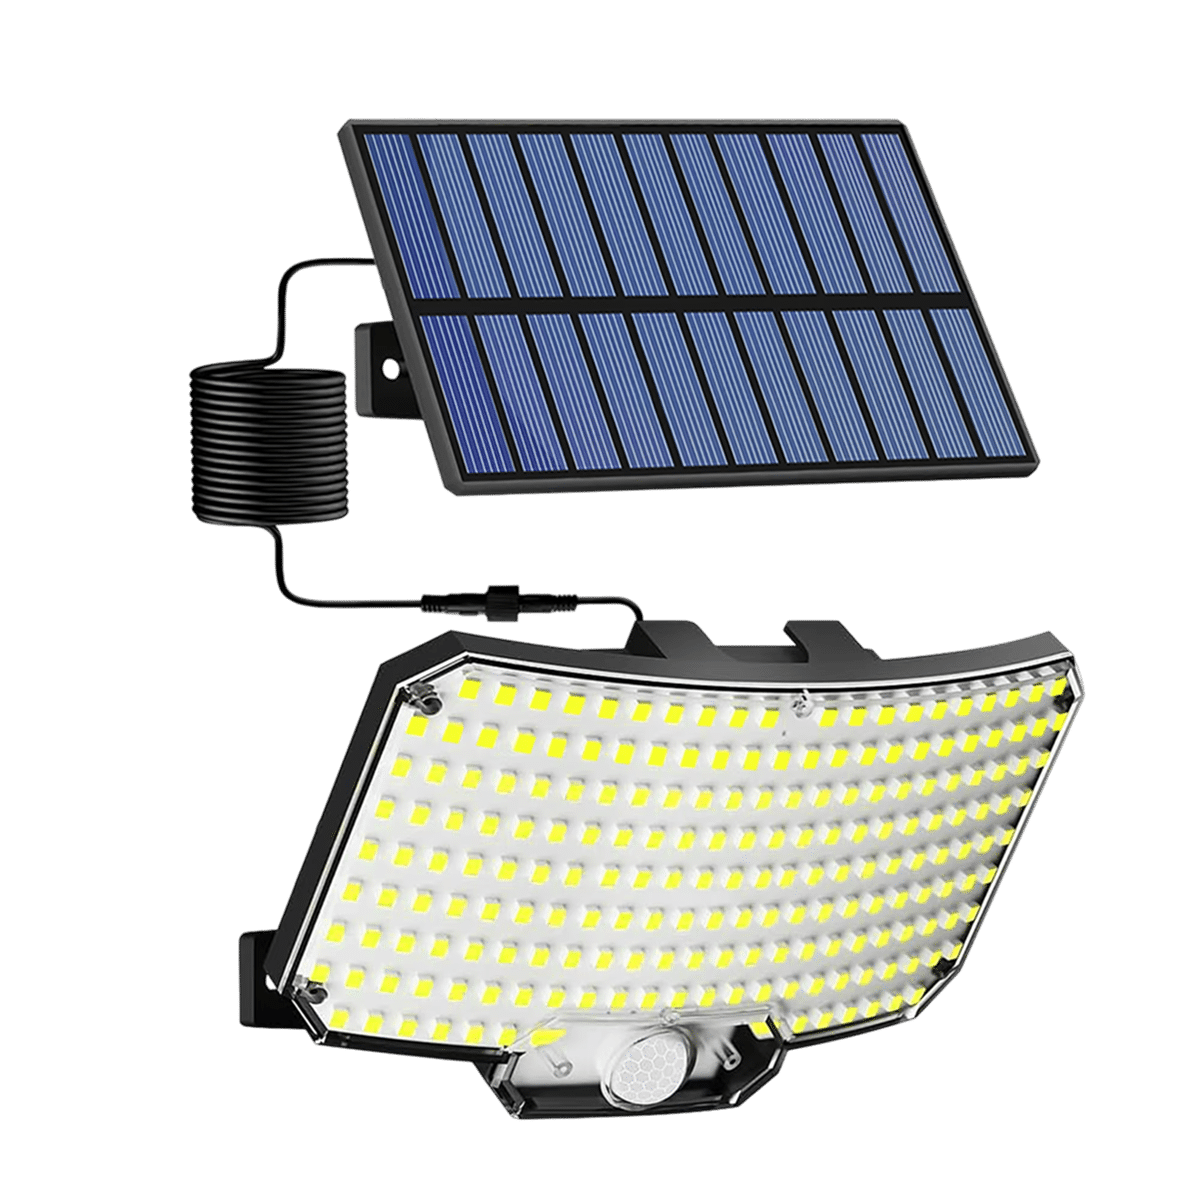
The NovaBeacon is an example of the separate-panel approach. Its solar panel sits on a 16.4 ft cable and charges a built-in 1500mAh battery, so the light can go on a wall or post while the panel sits in the sun. The light has 234 LED chips in an ABS housing, a motion sensor with a 180° field and 23 ft range, mounting hardware, and a remote control. It needs no household wiring.
The three settings on a motion sensor light outdoor
Most outdoor motion lights share three adjustments, usually small dials on the unit or controls on a remote. Names vary, but the jobs are the same.
- Sensitivity or range: sets how far out, and how small a change, the sensor responds to. Turn it up for a long driveway and down where small animals or swaying branches cause false triggers.
- Time (on-duration): sets how long the light stays on after the last movement. A short setting suits a gate; a longer one suits a work area where you stand still for a while.
- Light level (lux or dusk sensor): tells the light to work only when it is dark. Set it toward the moon symbol for night-only operation, and toward the sun symbol when checking in daylight.
Solar units may add a mode switch, such as a steady low glow with a brighter response on motion. Check your manual for the modes your model offers. Some units, including the NovaBeacon, come with a remote control for adjustments. Adjustable sensitivity matters most where wind, pets or passing traffic are part of the scene.
A simple setup order
- Set the light level to the daylight position so you can check it without waiting for dark.
- Set time to the shortest option and sensitivity to the middle.
- Walk across the coverage area and note where the light comes on.
- Adjust sensitivity and angle, then set the light level to night use.
- Set the time to the length that suits the area.
Field note
Walk across the sensor's view, not toward it. PIR sensors tend to respond to movement across their field, so check the coverage by crossing the path.
Where to place the sensor
Placement affects results as much as the model does. Use this checklist before drilling.
- Mount height: follow the manual's mounting height guidance; mounting too high can make the sensor miss people close to the wall.
- Aim across the approach path: point the sensor so people cross its field instead of walking straight at it.
- Keep heat sources out of view: dryer vents, grills, air conditioner exhausts and sun-warmed metal can cause false triggers.
- Avoid moving vegetation: branches and tall grass in the field of view can set off the light in wind.
- Match the range to the space: compare the stated range, such as 23 ft, with the length of your walkway or driveway section. A wider yard may need two lights.
- Mind the panel on solar units: put the panel where it gets direct sun, away from eaves and trees, and keep the cable run tidy.
Brightness, beam spread and weather resistance
Brightness is listed in lumens on most LED packaging. A path or gate needs less illumination than a driveway or a work area, so match the output to the job instead of buying the largest figure. Wide flood lights spread light across a yard, while a narrower spotlight beam reaches a single spot such as a door.
For general outdoor lighting, color temperature changes the look. Warmer tones suit entries and patios; cooler white suits work areas. Pick one tone across the lights on a wall so they match. If you are building a set of security lights around the house, keep the same tone and mounting style so the sides read as one system.
For exposure, look for the ingress protection (IP) rating on the box and read what the manual says about mounting position. Point the light housing and any cable entry so water drains away from them, and keep fixtures off wet ground.
Adding a motion sensor to an existing outside light
If you already have a fixture, you have three routes:
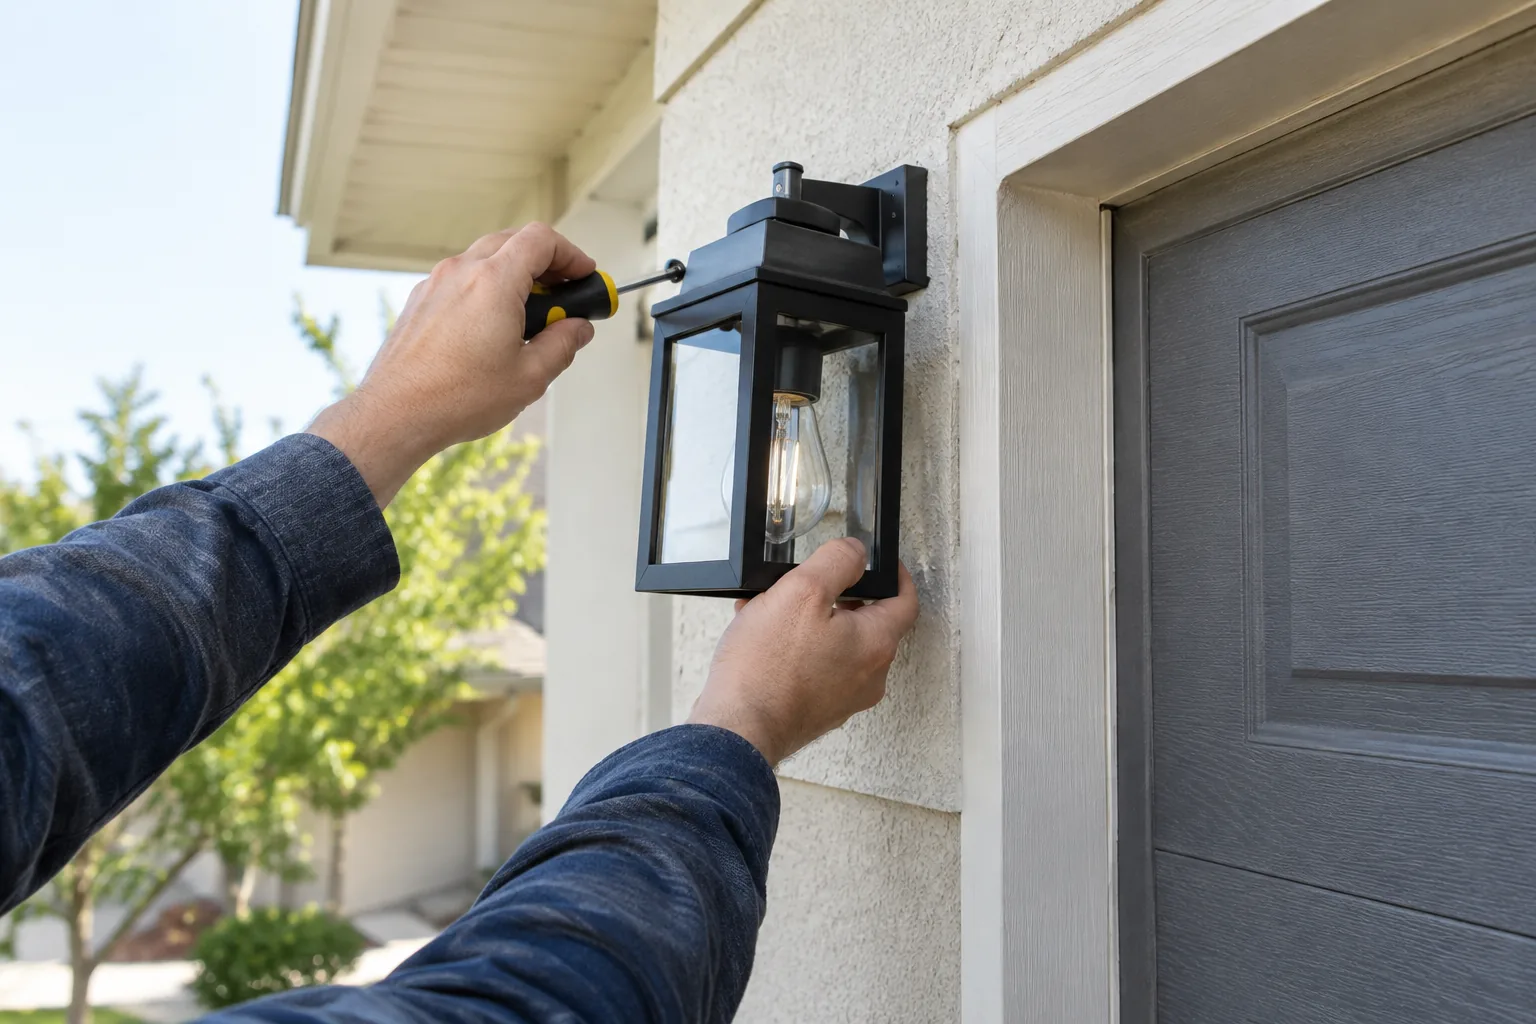
- Replace the fixture with a motion light made for the same box. This keeps the wiring job straightforward.
- Fit a sensor adapter or add-on that is made to work with your fixture and bulb type, following its instructions.
- Add a separate solar or battery light next to the existing one and leave the wiring alone.
Any change to household wiring needs the power off at the breaker first. Follow the manual, and ask a licensed electrician if the box, wire colors or switch setup do not match the instructions.
Add a camera when you want to see what triggered it
A motion light tells you something moved. It does not tell you what. For outdoor security with video and alerts, a floodlight camera combines the light with a camera on one wall mount.
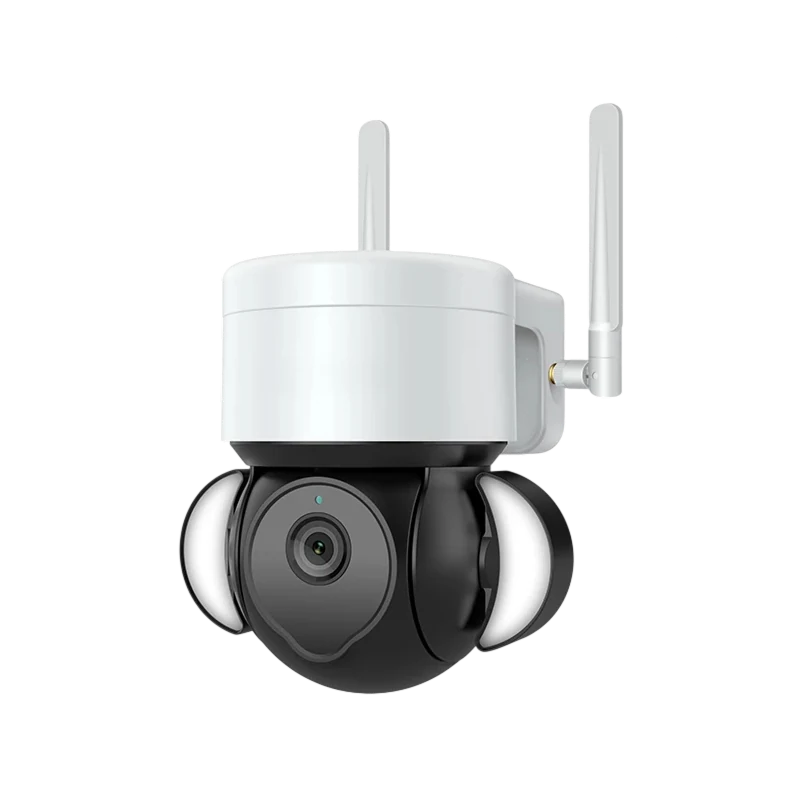 In this guideVigilFlare$139.99View
The VigilFlare puts a camera, floodlight, siren and two-way audio in one housing and is controlled from a phone app. Its onboard AI checks for a person's shape, and a confirmed detection starts the siren, light and a phone alert. It records to a microSD card (128GB supported), with optional cloud backup, and connects to a 2.4GHz Wi-Fi network. It uses the included power adapter, so it needs an outlet within reach. Browse more options in Security Cameras & Doorbells.
Choosing in four steps and common mistakes
- Pick the spot: entry, driveway, side gate or yard corner.
- Check for power and sun: an outlet or switched circuit points to hardwired; direct sun points to solar; shade without wiring points to battery.
- Match the field and range to the area you need covered.
- Confirm the settings you can adjust: sensitivity, time and light level.
Common mistakes include mounting the panel in shade, aiming the sensor at a street so every passing car triggers it, leaving the light level set to daylight, and mounting too high.
Care schedule
Wipe the sensor lens and panel with a soft damp cloth now and then, and check mounts each season. Clear leaves and cobwebs from the lens, trim plants that grow into the field of view, and re-walk the coverage after any change. For wired units, switch off the power before cleaning.
What these lights cost
Lights in this category vary widely depending on power type, brightness, extras such as remotes or cameras, and installation needs. Compare what each unit includes rather than the headline figure alone.
Frequently asked questions
Keep reading
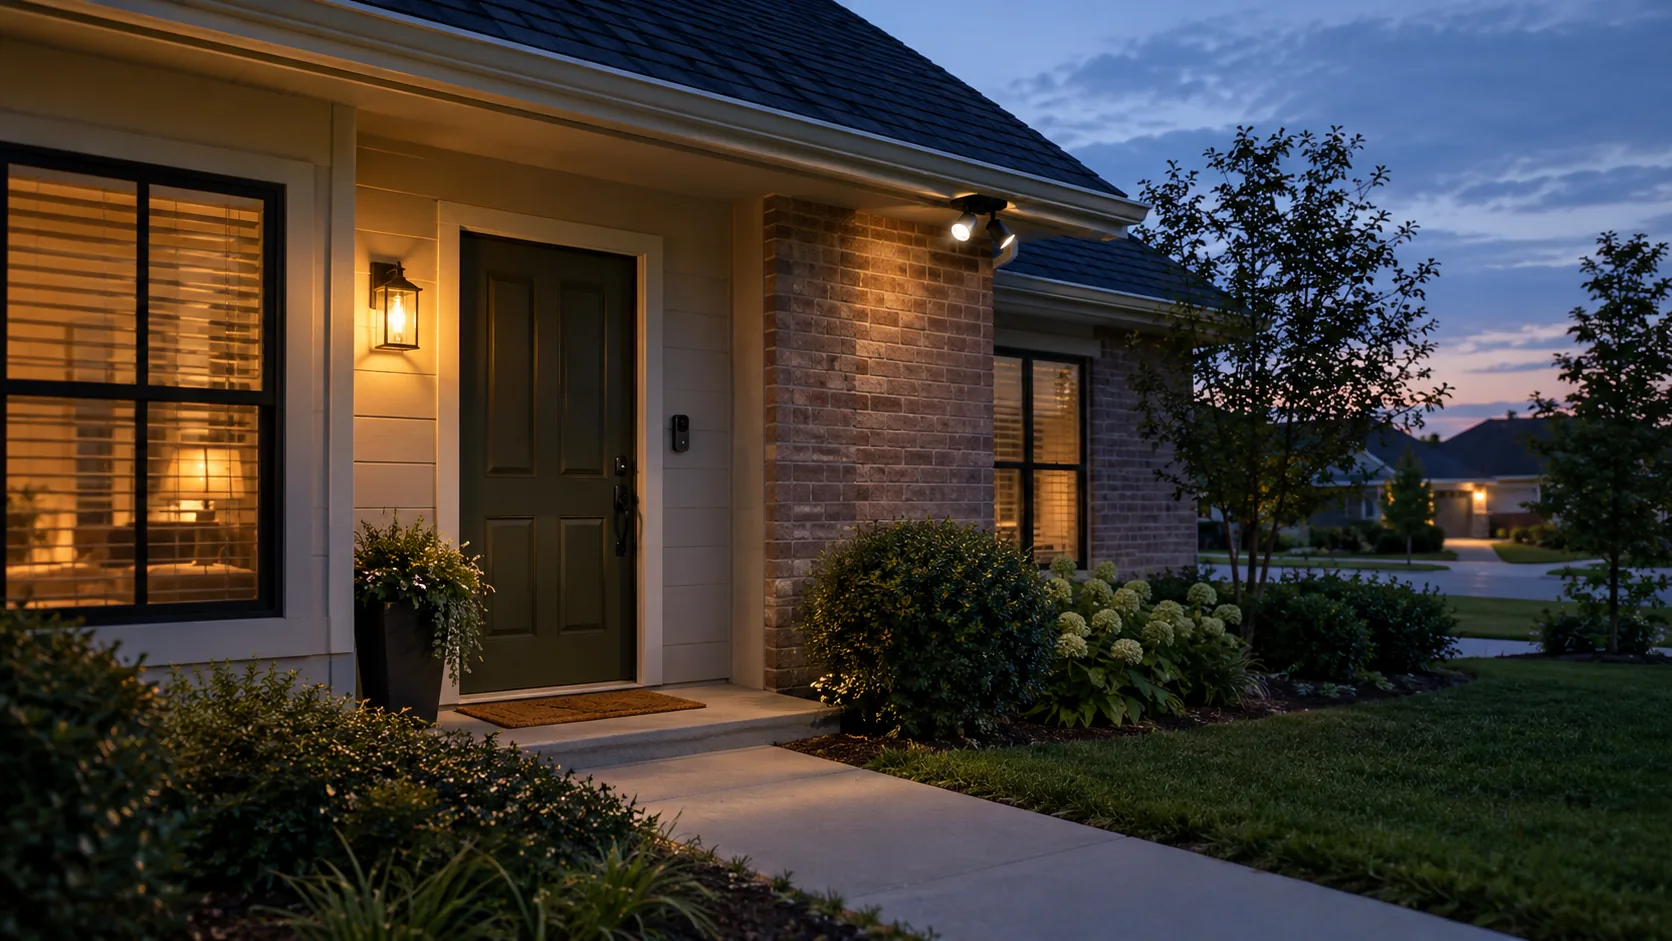 Security Cameras & DoorbellsDIY Home Security Systems: Cameras, Doorbells and Lights to Combine9 min read
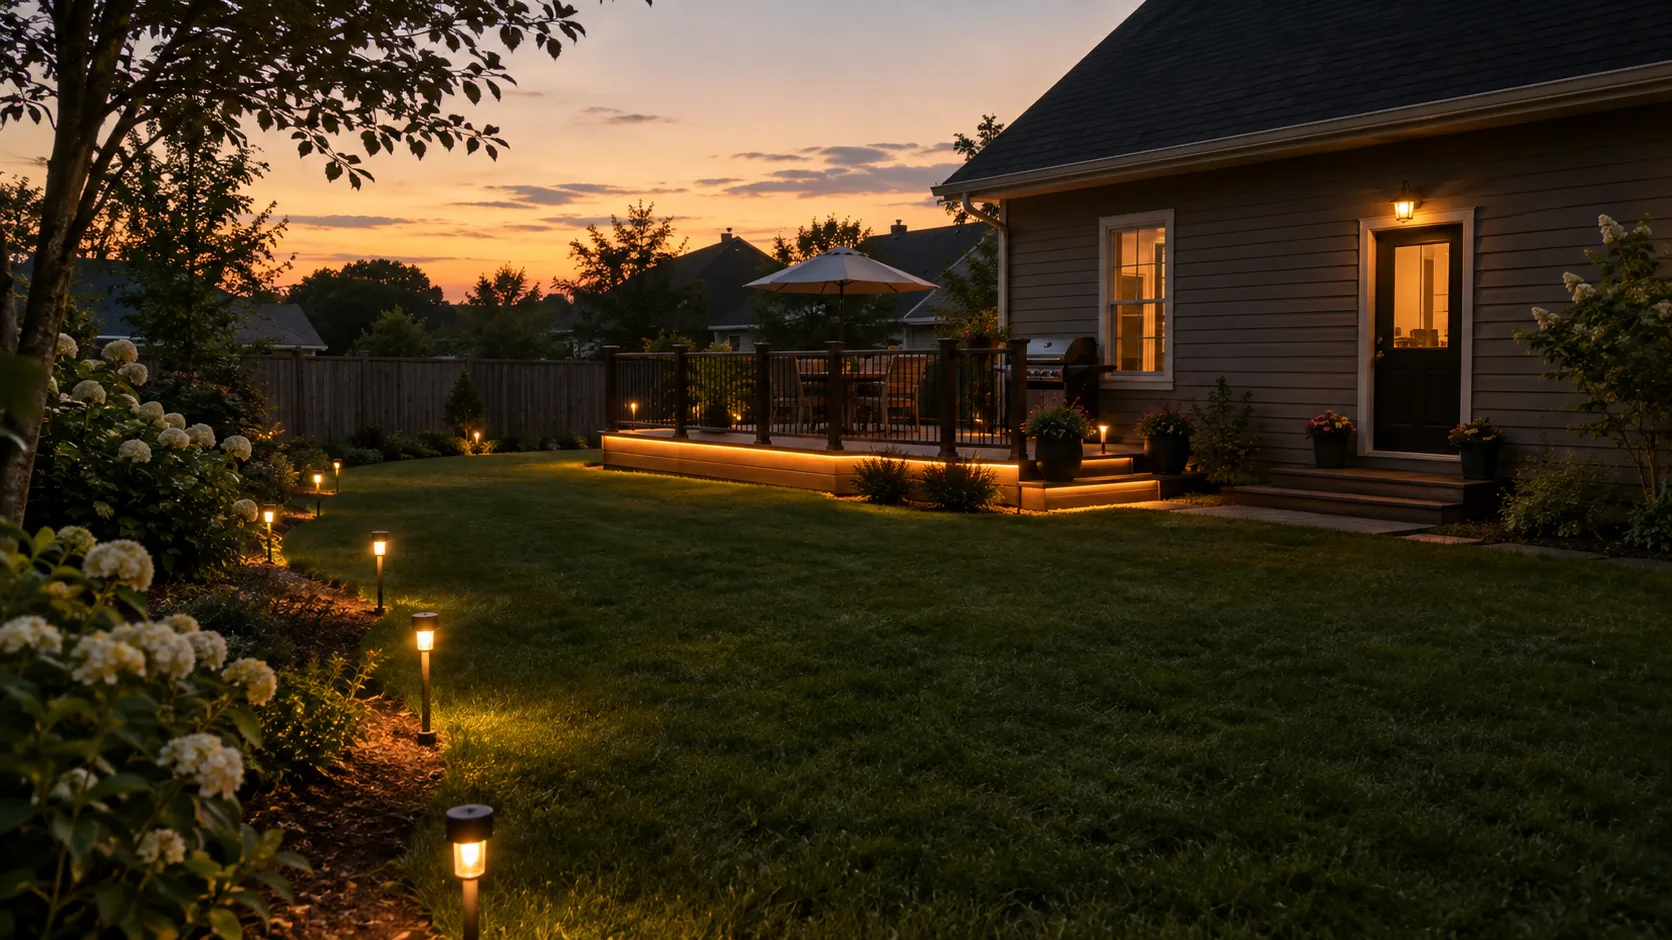 Security Cameras & DoorbellsOutdoor Lighting Plan: Layering Path, Accent and Security Light6 min read
 Home Utility & Detection DevicesWhat Is a Water Leak Detector? Types and Where to Place Them6 min read