
DIY Home Security Systems: Cameras, Doorbells and Lights to Combine
A no-contract DIY home security system pairs a doorbell camera for the front door, a floodlight camera for the yard and a wireless camera for blind spots, all saving to microSD cards.
The Cobalt Hollow Team
November 5, 2026 · 9 min read
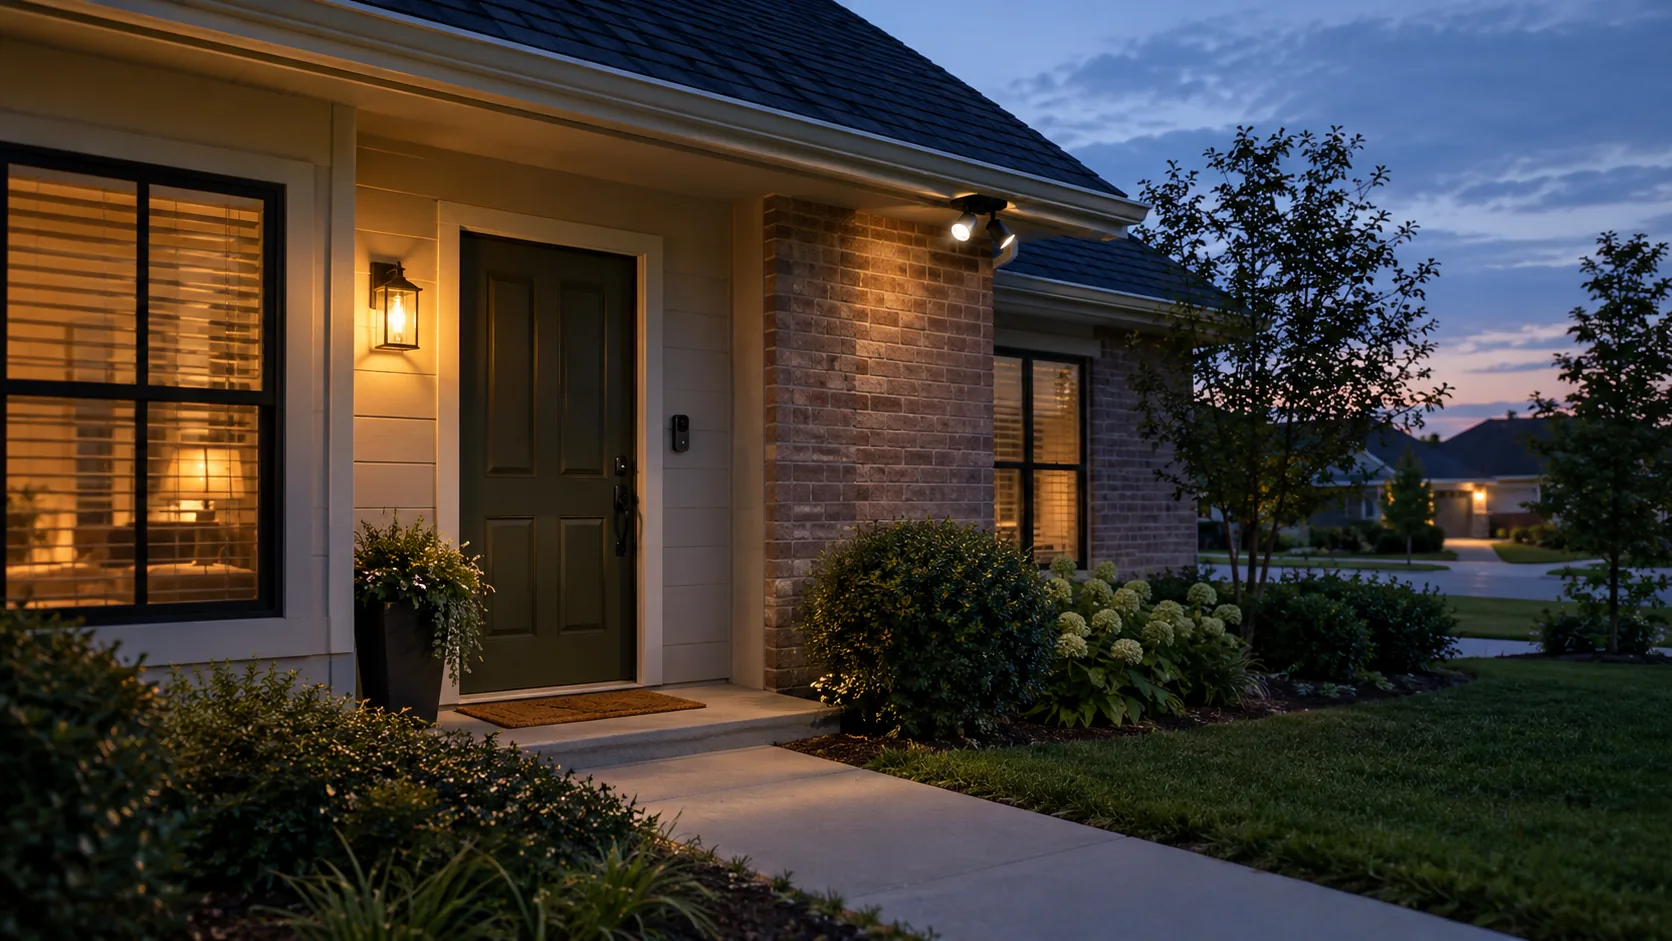
DIY home security systems work well when each device has one job: a doorbell camera covers the front door, a floodlight camera covers the yard side of the house, and a small wireless camera covers whatever is left, such as a side gate or a garage door. You install everything yourself, connect it to your Wi-Fi, and record to microSD cards instead of a paid cloud plan.
This guide shows how to match devices to entry points, how to handle storage without a subscription, and the order to install things in. It also covers what a camera-based setup does not do, so you can decide whether it is enough for your home.
What DIY home security systems include
Many all-in-one kits bundle a base station, door sensors and a keypad, then offer professional monitoring as a paid add-on. A camera-based setup is built differently. You pick individual devices, connect each one to your Wi-Fi through its phone app, and you are the monitor: the device sends an alert to your phone, and you open the live view to look.
That is what self-monitoring means in practice. There is no dispatch center watching your feed, no contract, and no monthly service fee for the functions described here. You check your own alerts and decide what to do with them.
The three roles to fill
- Door coverage: a camera at the entrance that sees visitors and packages.
- Perimeter coverage: a light and camera that make activity in the yard visible.
- Gap coverage: a movable camera for any area the first two do not reach.
The store carries a device for each role, and you can browse them together in the Security Cameras & Doorbells collection.
Match each device to an entry point
Start by walking the outside of your house and listing every way in: front door, back door, garage, ground-floor windows, side gate, basement door. Then assign one device to each cluster of entry points, rather than one device per door.
| Entry point | Device that fits | Why it fits |
|---|---|---|
| Front door and porch | VistaBell doorbell camera | 120° wide-angle lens, 1080P video, two-way audio, and a view of the porch floor where packages are set down |
| Back yard, driveway or side wall | VigilFlare floodlight camera | Camera, floodlight and siren in one housing, with a 355° pan and 90° tilt range |
| Side gate, shed, garage door or a covered nook | SentryNest wireless camera | No wiring, PIR motion alerts, optional solar panel for charging |
| Ground-floor window or interior hallway | SentryNest wireless camera (indoor use) | Can be fixed to a wall or other surface, indoors or outdoors |
Three devices will not cover every window on a large house. They cover the approaches to the main doors, and each one gives you a recorded clip and a phone alert for that area.
The front door: a doorbell camera
The front door is the first place to put a device because visitors, couriers and package drop-offs all arrive there. A doorbell camera handles both the ring and the video.
VistaBell is battery-powered and mounts without wiring to the house, using the included hardware kit. It runs on a 4000mAh battery that charges through a USB Type-C cable. The PIR sensor detects motion, and the camera sorts it as a person, package or vehicle before saving the clip to local storage.
The box also includes a wireless indoor chime, so you hear the ring in the house even when you are not looking at your phone. Two-way audio, through the built-in speaker and microphone, lets you talk with a courier from another room or from elsewhere.
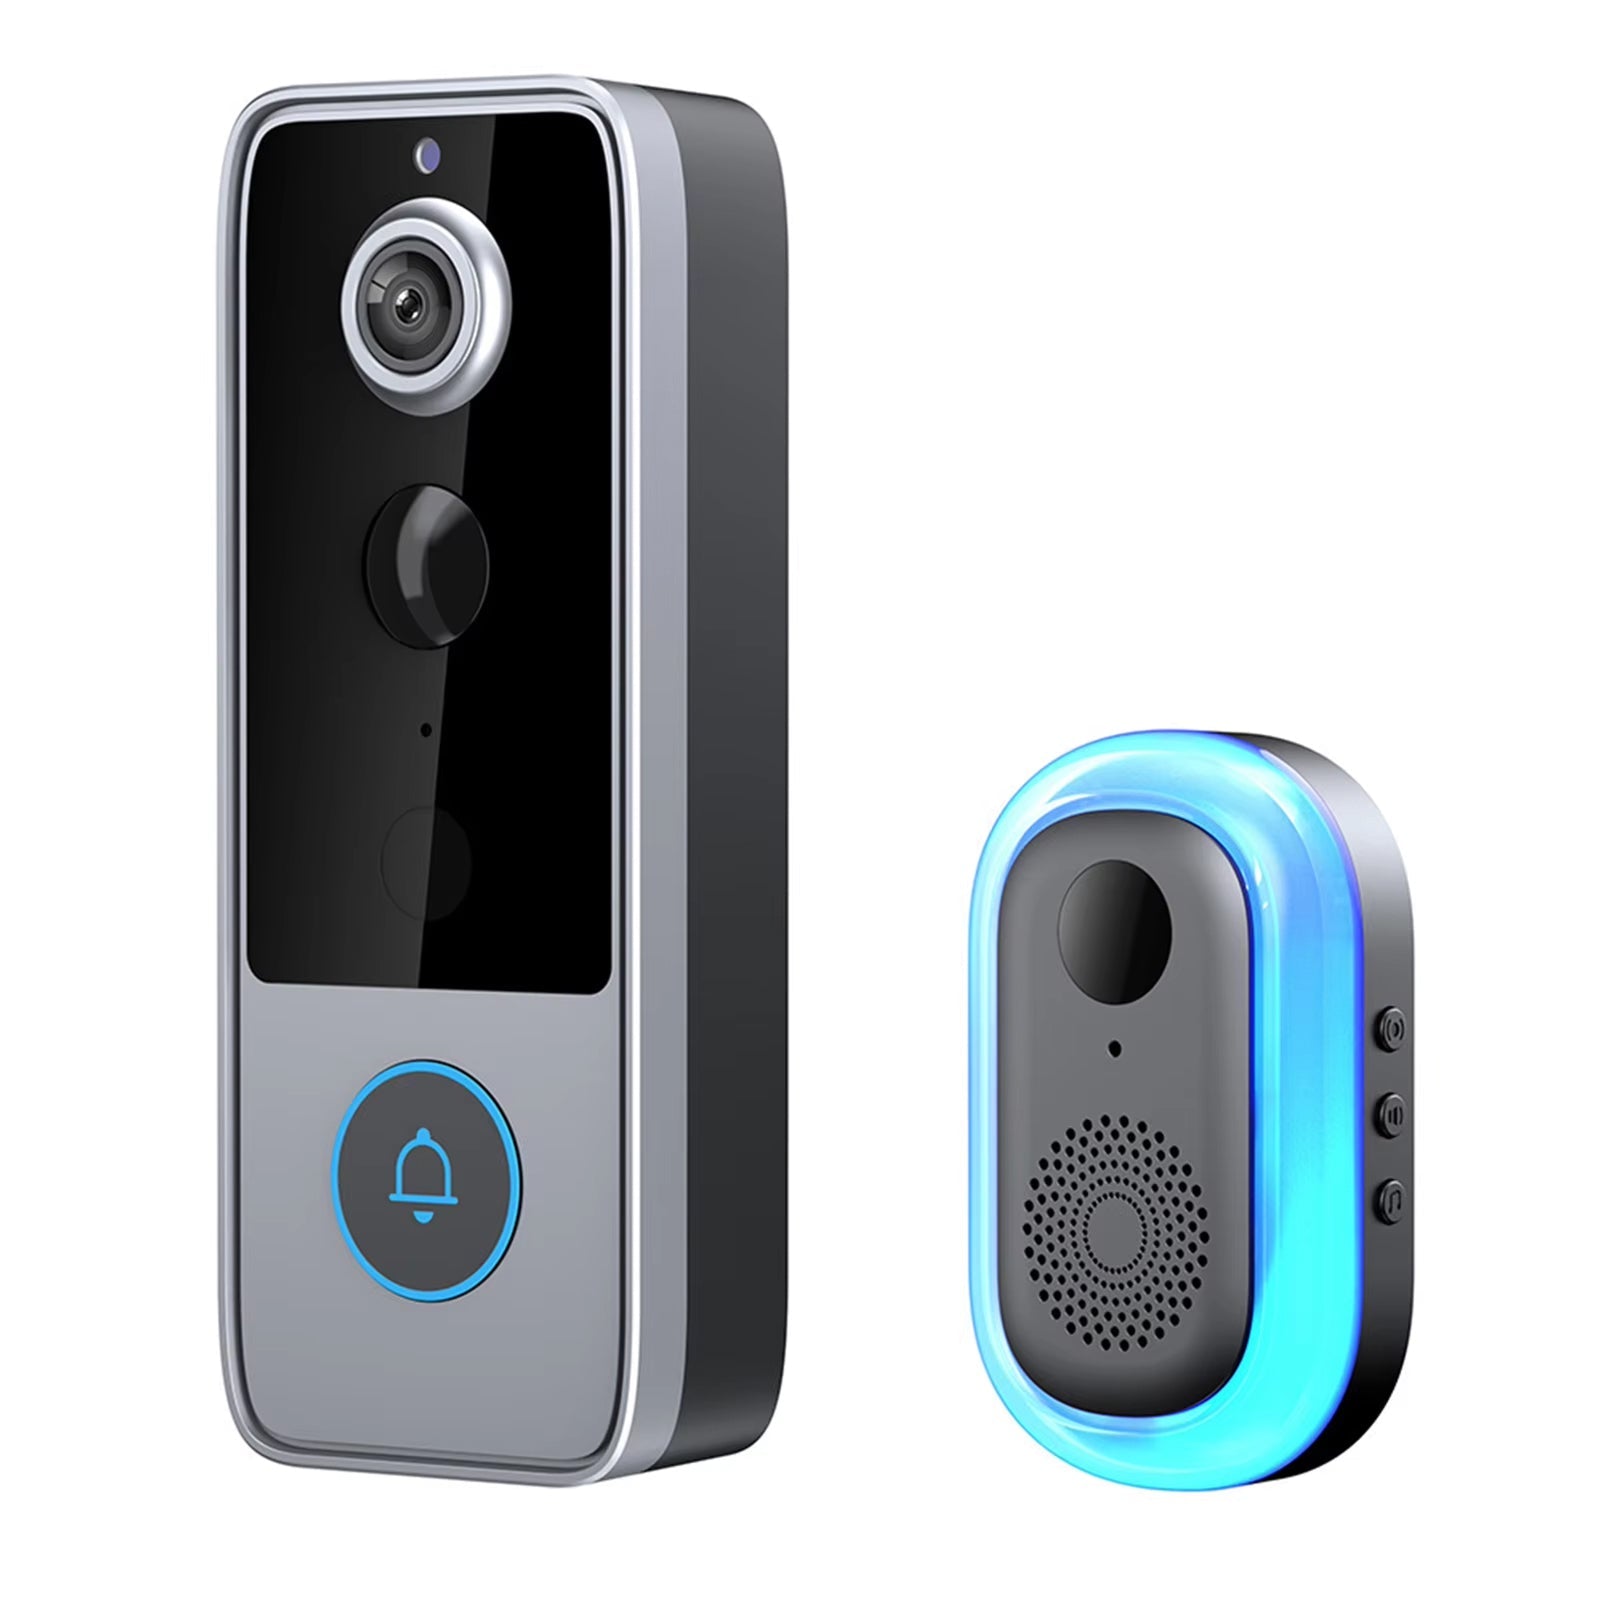 In this guideVistaBell$79.99View
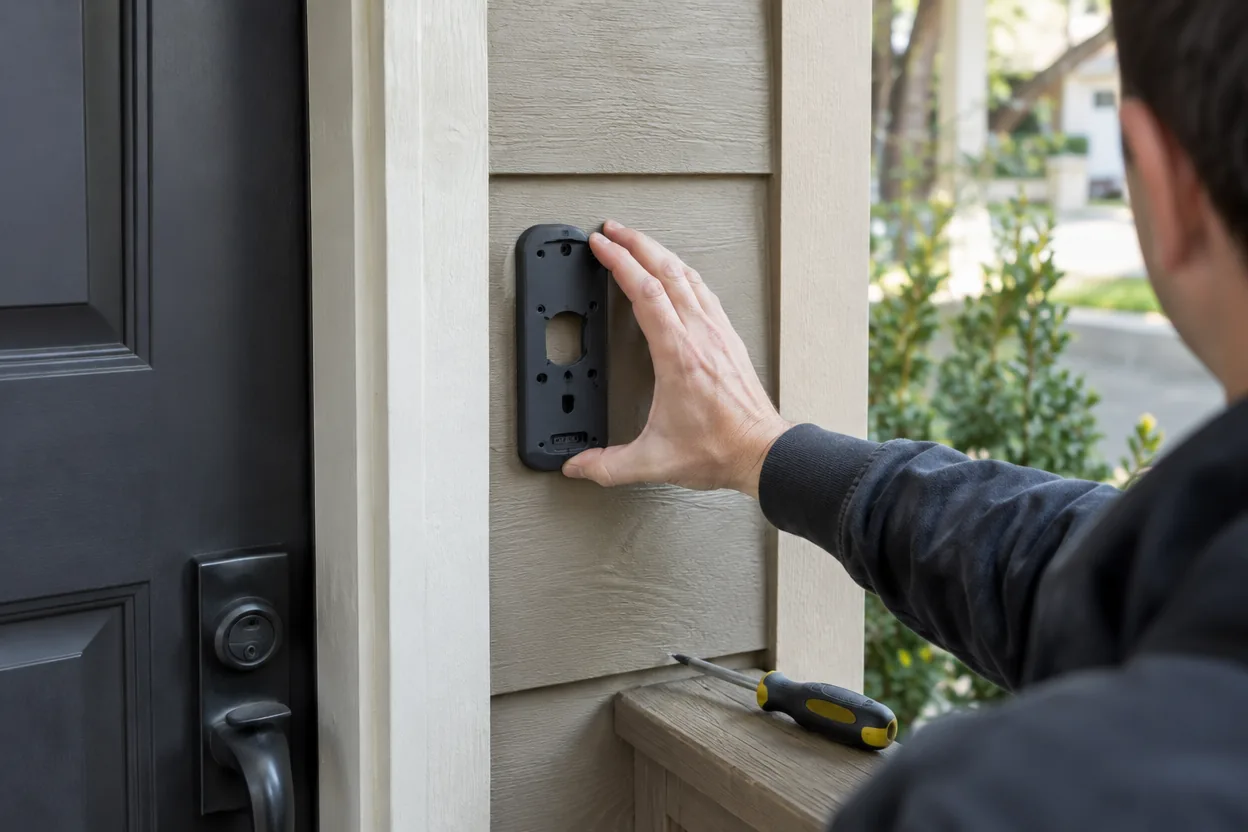
For storage and pairing steps for this device type, see Doorbell Camera No Subscription: Storage Options and Setup.
The yard: a floodlight camera with a siren
A doorbell sees the door. It does not see the side of the house or the driveway. For those, an exterior-wall floodlight camera adds light, so activity is visible in color or infrared depending on the mode.
VigilFlare combines a camera, floodlight and siren in one housing. Its onboard AI checks for a person's shape. When it identifies a person, the unit turns on the siren and the spotlight and sends a phone alert. It offers infrared, color and auto night modes, and you can adjust the angle from the app within a 355° pan and 90° tilt range.
Unlike the two battery devices, this one connects to a power adapter, so choose a wall position within reach of an outlet. It joins your 2.4GHz Wi-Fi network through the phone app, so check that your router broadcasts that band near the mounting spot.
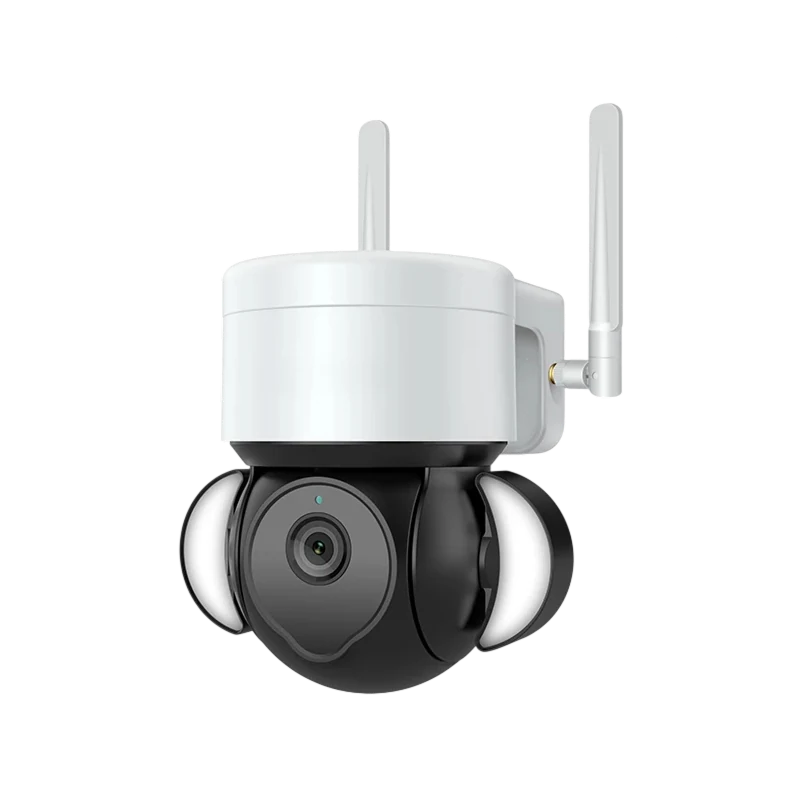 In this guideVigilFlare$139.99View
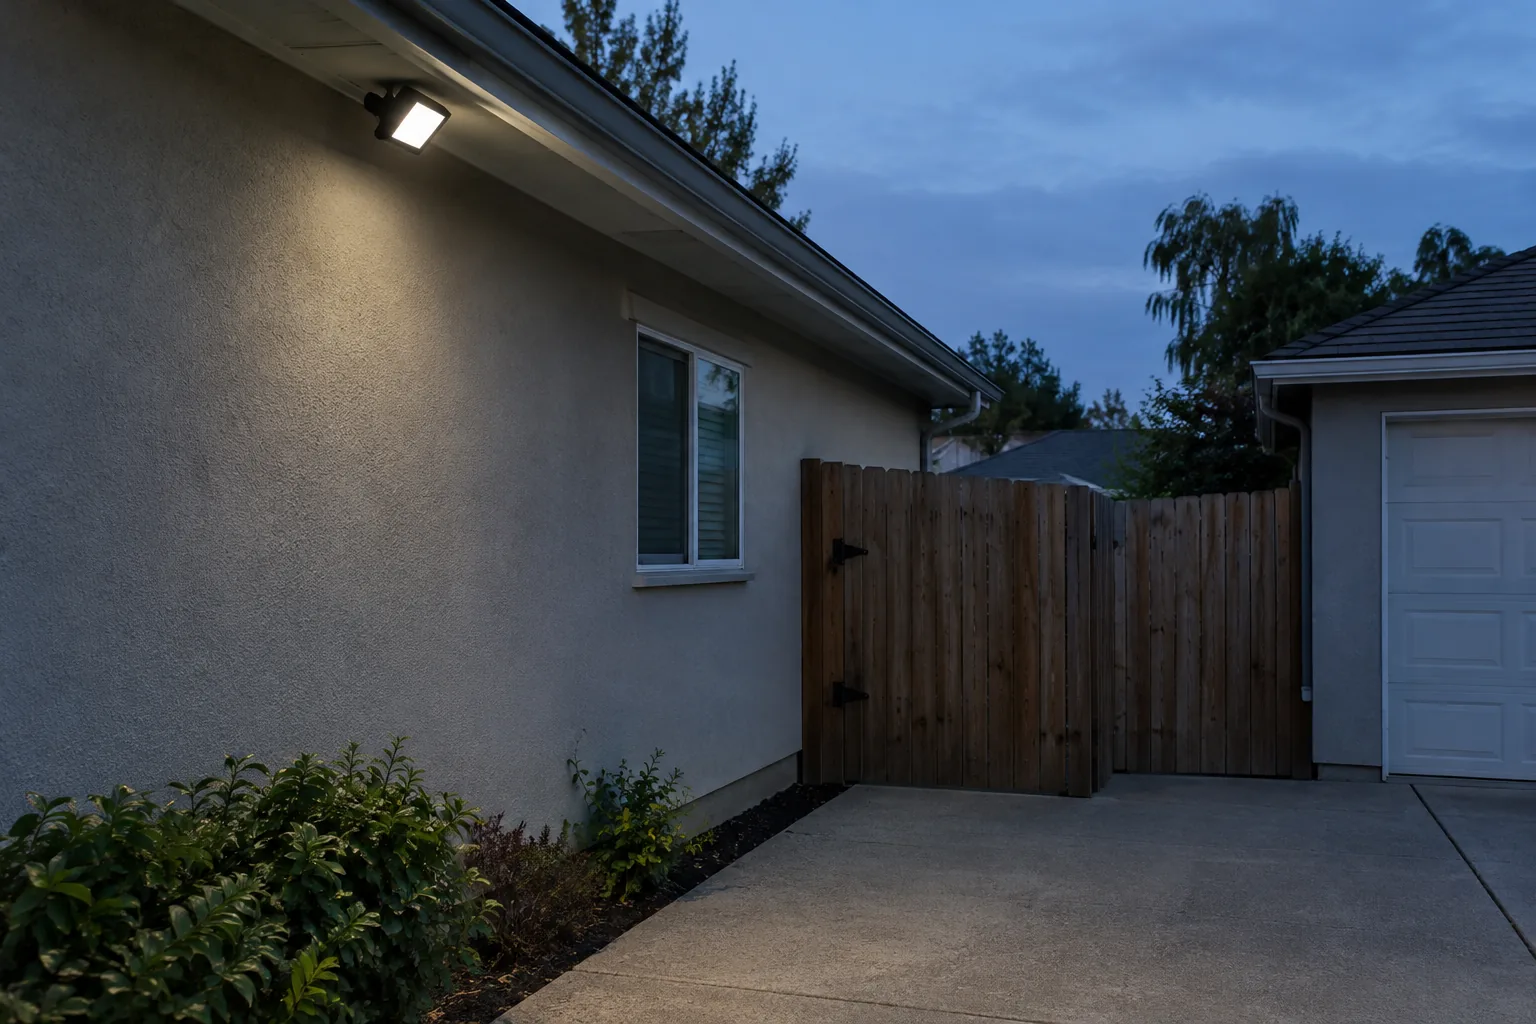
To plan lighting beyond the camera, Outdoor Lighting Plan: Layering Path, Accent and Security Light explains how a security light fits with path and accent lighting.
The gaps: a wireless camera
Every house has an awkward spot: a gate latch, a shed door, the corner behind the garage. A wireless camera suits these because it needs no wiring. SentryNest connects over Wi-Fi, has a PIR motion sensor that sends alerts to the app, and records to a local microSD card.
It ships with mounting hardware and screws, and a magnetic or adhesive mount is also available. You can charge the onboard battery with the included cable, or add the optional solar panel, sold separately. For solar placement, read Solar Powered Outdoor Security Camera: What to Check Before Buying.
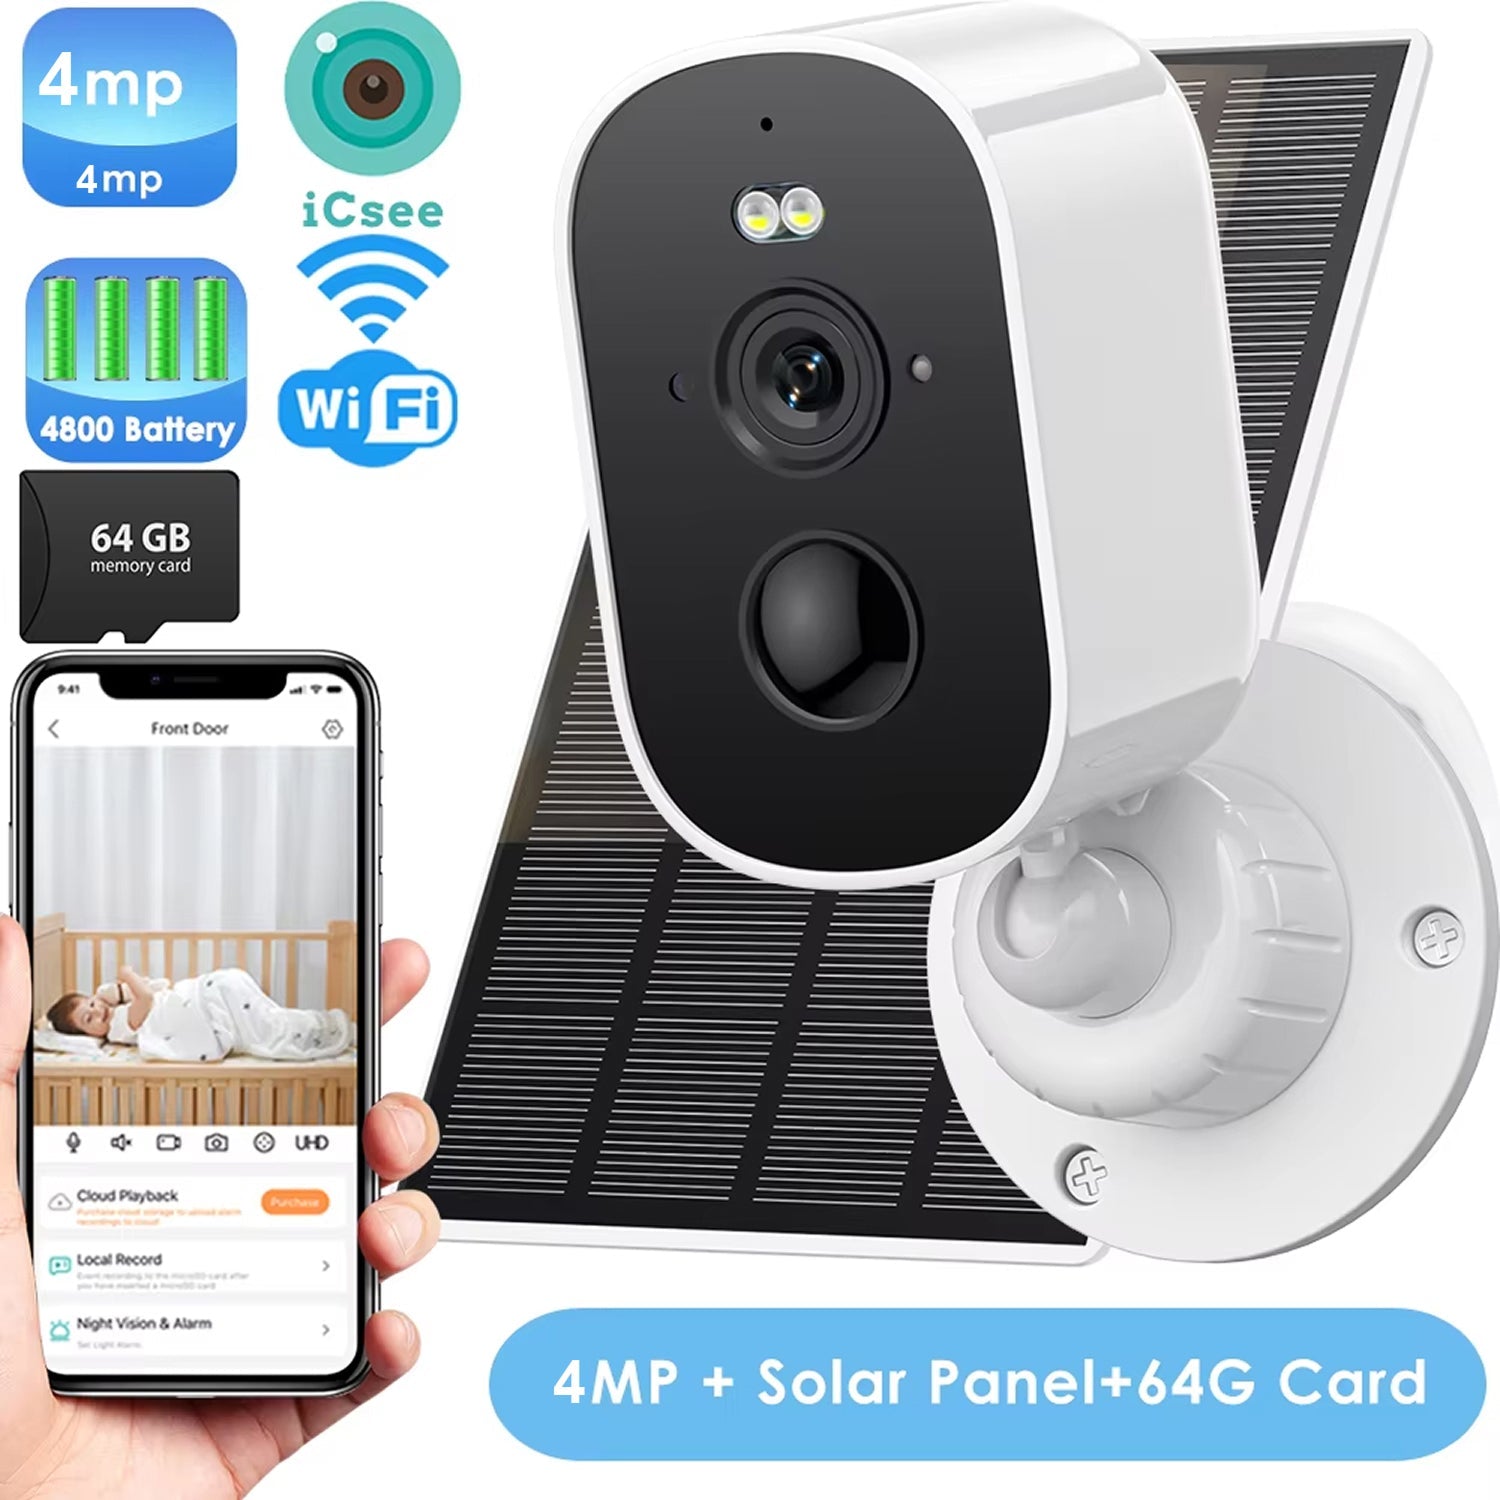 In this guideSentryNest$149.99View
Storage with no subscription
Each of the three devices saves footage to a microSD card, so recording does not depend on a cloud upload. That is the core of a no-contract setup: you own the card, and the footage stays in the device until you copy it or it is overwritten.
| Device | Local storage | Card details |
|---|---|---|
| VistaBell | microSD card inside the doorbell | You insert the card yourself |
| VigilFlare | microSD card, with optional cloud backup | 128GB card size supported |
| SentryNest | Local microSD card | 64GB card pre-installed; also takes a 128GB card |
What local storage means for you
Because clips live on the card, a device that is removed from the wall takes its footage with it. Keep that in mind when you choose mounting height and position. Place cameras where a person cannot easily reach them, and use the included screws and anchors rather than the adhesive option where the surface allows.
Cloud backup on the floodlight camera is optional. If you want a second copy of key recordings, you can turn it on; if you do not, local recording works on its own. Decide this before you install.
Install order for your setup
Installing in sequence lets you check the Wi-Fi at each stop and fix problems one device at a time.
- Check your router. Stand at each planned mounting spot with your phone and confirm the Wi-Fi connection holds. Move the router or add an extender if a spot has no signal.
- Charge the battery devices. Use the USB Type-C cable for the doorbell and the included cable for the wireless camera before you mount them.
- Install the card in each device. Insert the microSD card in the doorbell. The wireless camera has a card pre-installed. Add one for the floodlight camera.
- Pair each device in its app while it is still in your hand. Follow the Wi-Fi pairing steps, confirm the live view appears, then mount it.
- Mount the doorbell first. It covers the busiest entry point, and the indoor chime pairs at the same time.
- Mount the floodlight camera next. Turn off power at the breaker or unplug the adapter as the manual instructs, use the template, screws and anchors, then connect the power adapter. Ask an electrician if you are unsure about any step involving house power.
- Mount the wireless camera last, aiming it at the gap the other two do not cover.
- Walk the property after dark. Trigger each sensor and confirm that alerts reach your phone and clips land on the card.
Pairing a device on the bench in step 4 confirms the camera works before you spend time on a ladder.
Field note
Pair every device with the app and confirm the live view before you drill or stick anything to the wall. If the Wi-Fi is weak at that spot, you find out while the camera is still in your hand.
Alerts, common mistakes and upkeep
Setting up alerts so they are useful
A self-monitored system depends on your response to it. Start with all alerts on for a few days, then narrow them. The doorbell sorts motion as a person, package or vehicle, so you can filter out a busy street.
- Keep person alerts on for every camera.
- Use package alerts on the doorbell if deliveries are frequent.
- Aim the wireless camera away from public sidewalks and moving tree branches.
- Set the floodlight camera's angle through the app so the sensor does not face a busy road.
Name each device in its app by location, such as Front Door, Driveway and Side Gate, so an alert tells you where to look.
Mistakes to avoid
Check these before you finish.
- Mounting too low. A camera within easy reach can be moved or removed, taking its card along.
- Ignoring Wi-Fi at the far spots. The yard-facing devices may be the farthest from the router.
- Pointing cameras at the sun. Glare washes out the image in the daytime view.
- Skipping the indoor chime pairing. Without it, you hear a ring only if you are looking at your phone.
- Letting the battery run down. Set a regular reminder to check the battery level in each app, and decide whether the optional solar panel suits the wireless camera location.
- Forgetting the card. Check that each device is recording to its microSD card, then open a clip to confirm.
Motion lights and sensors respond to heat and movement, so Motion Sensor Light Outdoor: Choosing Power, Range and Settings is useful if your yard has animals or traffic.
Care and a simple schedule
Give the system a routine, like any other part of home upkeep.
| When | What to do |
|---|---|
| Monthly | Open each app, check the battery level and play back one recent clip |
| Each season | Wipe the lenses and the PIR windows with a soft cloth and clear leaves or spider webs from the floodlight camera |
| Twice a year | Check the mounting screws and anchors, and review the angle of each camera |
| When you change routers | Reconnect each device through its app |
Unplug the power adapter before cleaning the floodlight camera, and follow the manual for each device.
What this setup does not do
A camera setup is not the same as a full alarm panel. There are no door and window contact sensors, no keypad, and no professional monitoring, which means no one is notified on your behalf if you miss an alert. The siren on the floodlight camera sounds at the unit, and the alerts go to your phone.
If you want contact sensors, a panel or connected locks and thermostats, that is a different product category, and you can add it later. For smart home security built on cameras, you can start with the three entry points that matter and add devices as you learn how your property behaves.
Is camera coverage enough for your home?
- If you are home often and check your phone, cameras and a doorbell cover the main needs.
- If you travel for long periods, think about whether you will see alerts in time and whether a monitored service would suit you.
- If you rent, the magnetic or adhesive mount on the wireless camera and the no-wiring doorbell mean fewer changes to the building. Check your lease before drilling.
Frequently asked questions
Keep reading
 Security Cameras & DoorbellsDoorbell Camera No Subscription: Storage Options and Setup7 min read
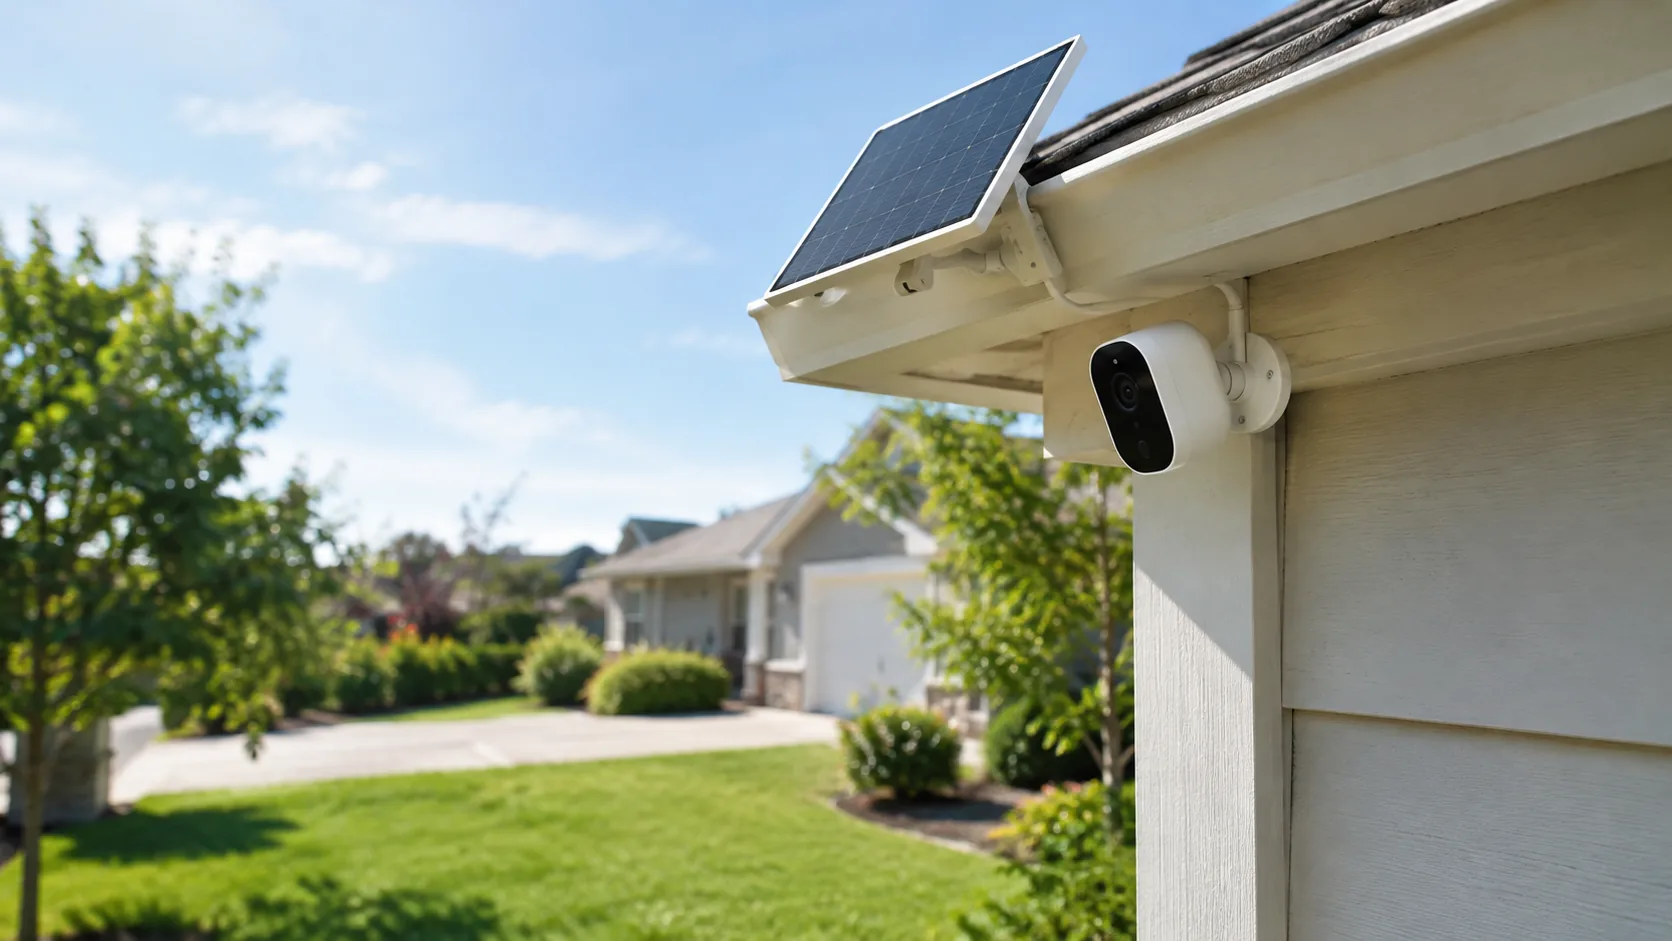 Security Cameras & DoorbellsSolar Powered Outdoor Security Camera: What to Check Before Buying7 min read
 Security Cameras & DoorbellsMotion Sensor Light Outdoor: Choosing Power, Range and Settings8 min read