Window Washing at Home: Tools, Steps and When a Robot Helps
Window washing needs warm soapy water, a squeegee and a dry cloth. Here is the full inside and outside routine, plus what to hand to a window robot.
The Cobalt Hollow Team
November 9, 2026 · 7 min read
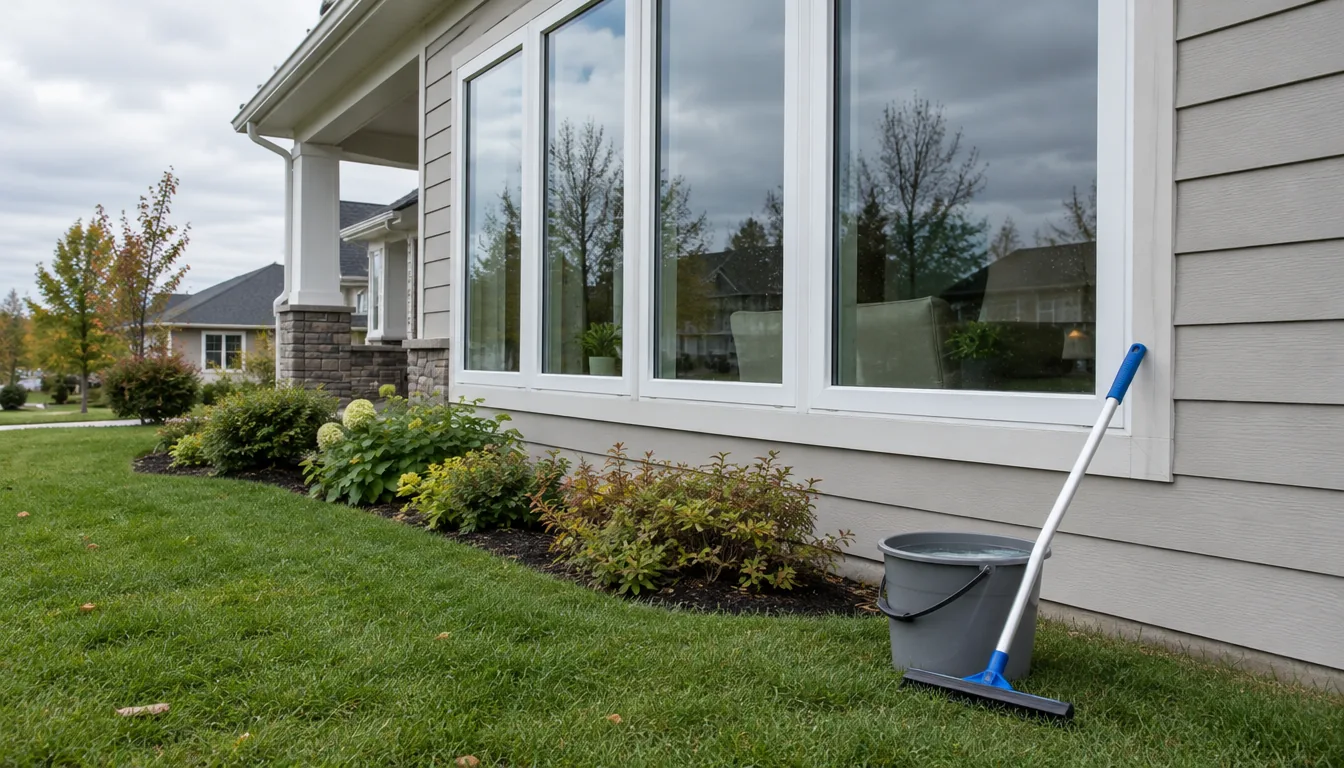
Window washing at home comes down to four things: a bucket of warm water with a little dish soap, a scrubber, a squeegee, and a dry cloth for the edges. Wash the glass, pull the squeegee in overlapping strokes, and wipe the blade after every pass. Do the reachable panes by hand and consider a window robot for glass that is awkward to reach.
This guide gives you the tool list, a homemade cleaning solution, an outside and inside checklist, and a clear split between hand work and robot work.
Window washing tools you need
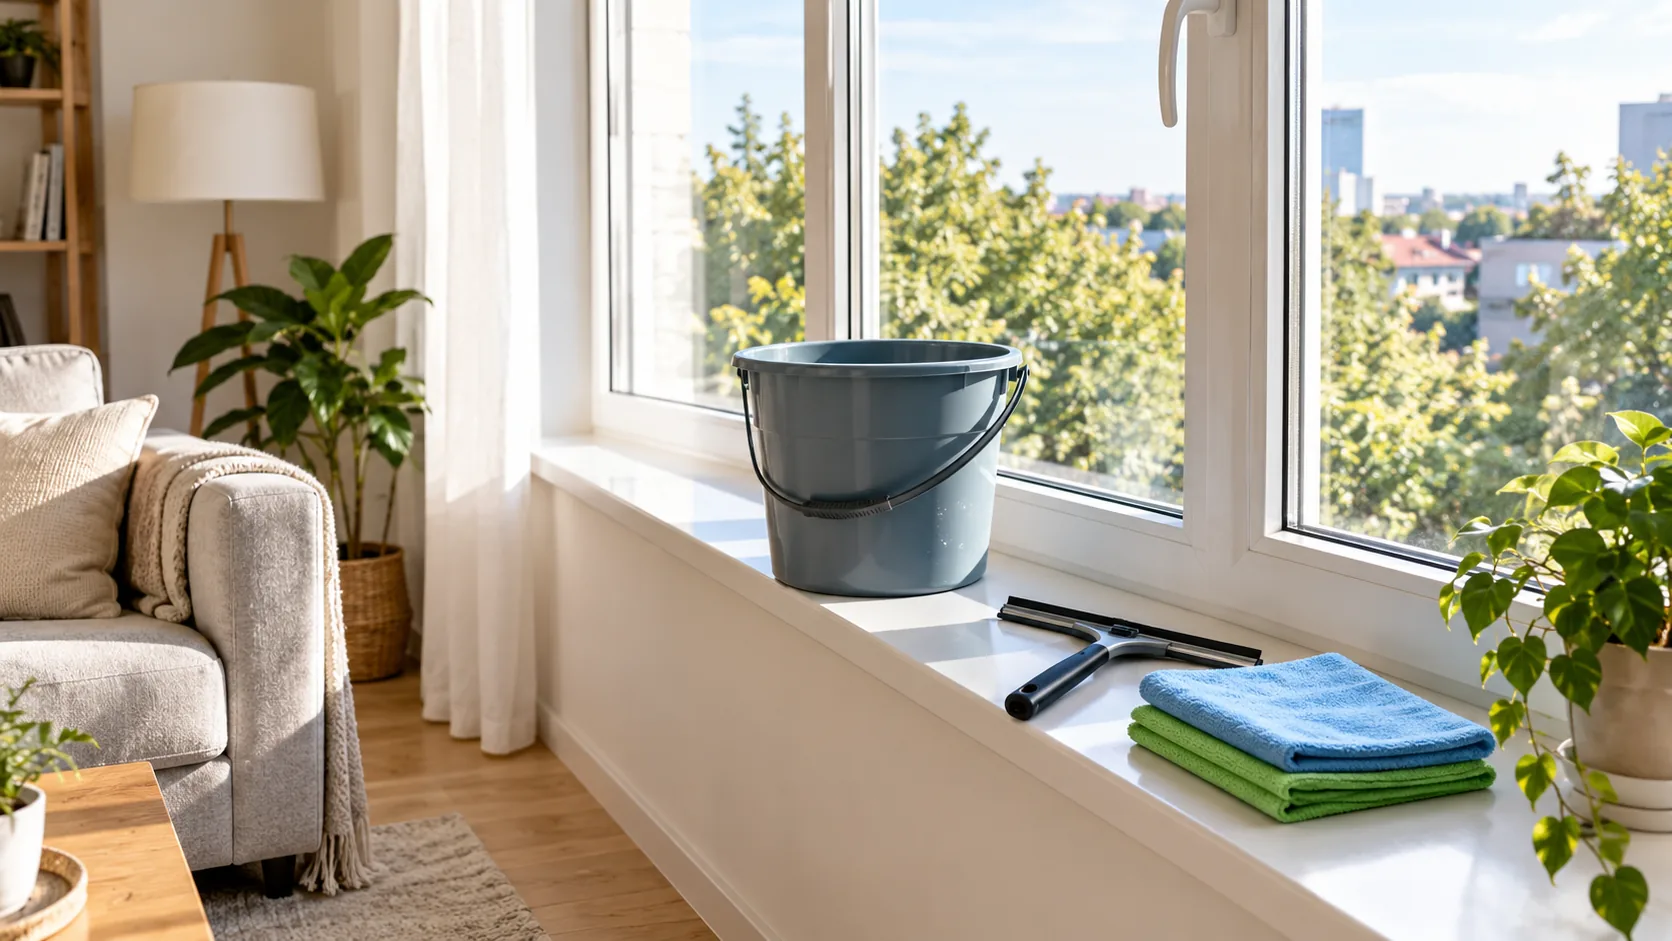
You do not need a large kit. A handful of basic items covers a house, and each has a specific job.
| Tool | What it does |
|---|---|
| Bucket | Holds the washing solution; a second bucket of plain water is useful for rinsing the scrubber |
| Strip washer or sponge | Spreads solution and loosens dirt on the glass |
| Squeegee with a straight, nick-free blade | Pulls the water off the pane in one clean line |
| Microfiber cloths | Dry the blade, the sill and the edges of the glass |
| Soft brush | Clears cobwebs, dust and loose grit from frames and tracks |
| Extension pole | Reaches upper panes from the ground, if your squeegee head fits one |
| Scraper (plastic or razor type) | Lifts stuck-on paint specks or sap; follow the maker's instructions, check the window maker's care notes before using a razor on coated or tempered glass, and keep the glass wet |
Check the squeegee blade before you start. A blade with a nick or a rounded edge leaves lines, and you can swap the rubber on a squeegee when it wears.
Homemade cleaning solution
For window washing, a basic homemade window cleaning solution is a few drops of dish soap in a bucket of warm water. That is enough for ordinary dust and light film. More soap does not clean better; it leaves residue that streaks as it dries.
For interior glass, mix equal parts white vinegar and water in a clean spray bottle. Vinegar can help loosen light film and mineral spots. Do not mix it with bleach or ammonia products, and keep it off natural stone sills and some frame finishes. Check the window maker's care notes if you are unsure.
Will dish soap and vinegar clean windows?
Yes, for everyday grime. Use the soap in the bucket for the wash step, then use the vinegar spray as a separate step for spots or inside glass. Mixing a lot of soap into the vinegar spray leaves suds that are hard to wipe away. Heavy hard water stains may need repeated applications or a product made for mineral deposits, so follow its label.
Outside checklist
Pick an overcast day or work on shaded glass. Sun dries the solution before you can squeegee it, which is a main cause of streaks.
- Brush the frame, sill and screen track to remove loose dirt and cobwebs.
- Wet the glass with the strip washer and scrub the whole pane, including the corners.
- Use the squeegee or a cloth to clear a dry strip along one top edge. This gives the blade a clean starting line.
- Place the squeegee in the dry strip and pull straight across the top.
- Wipe the blade with a damp microfiber cloth.
- Set the blade at the top again, slightly overlapping the last pass, and pull down the pane. Repeat, wiping the blade each time.
- Dry the edges and the sill with a cloth.
The routine in short: frames first, glass second, edges last, on a shaded day.
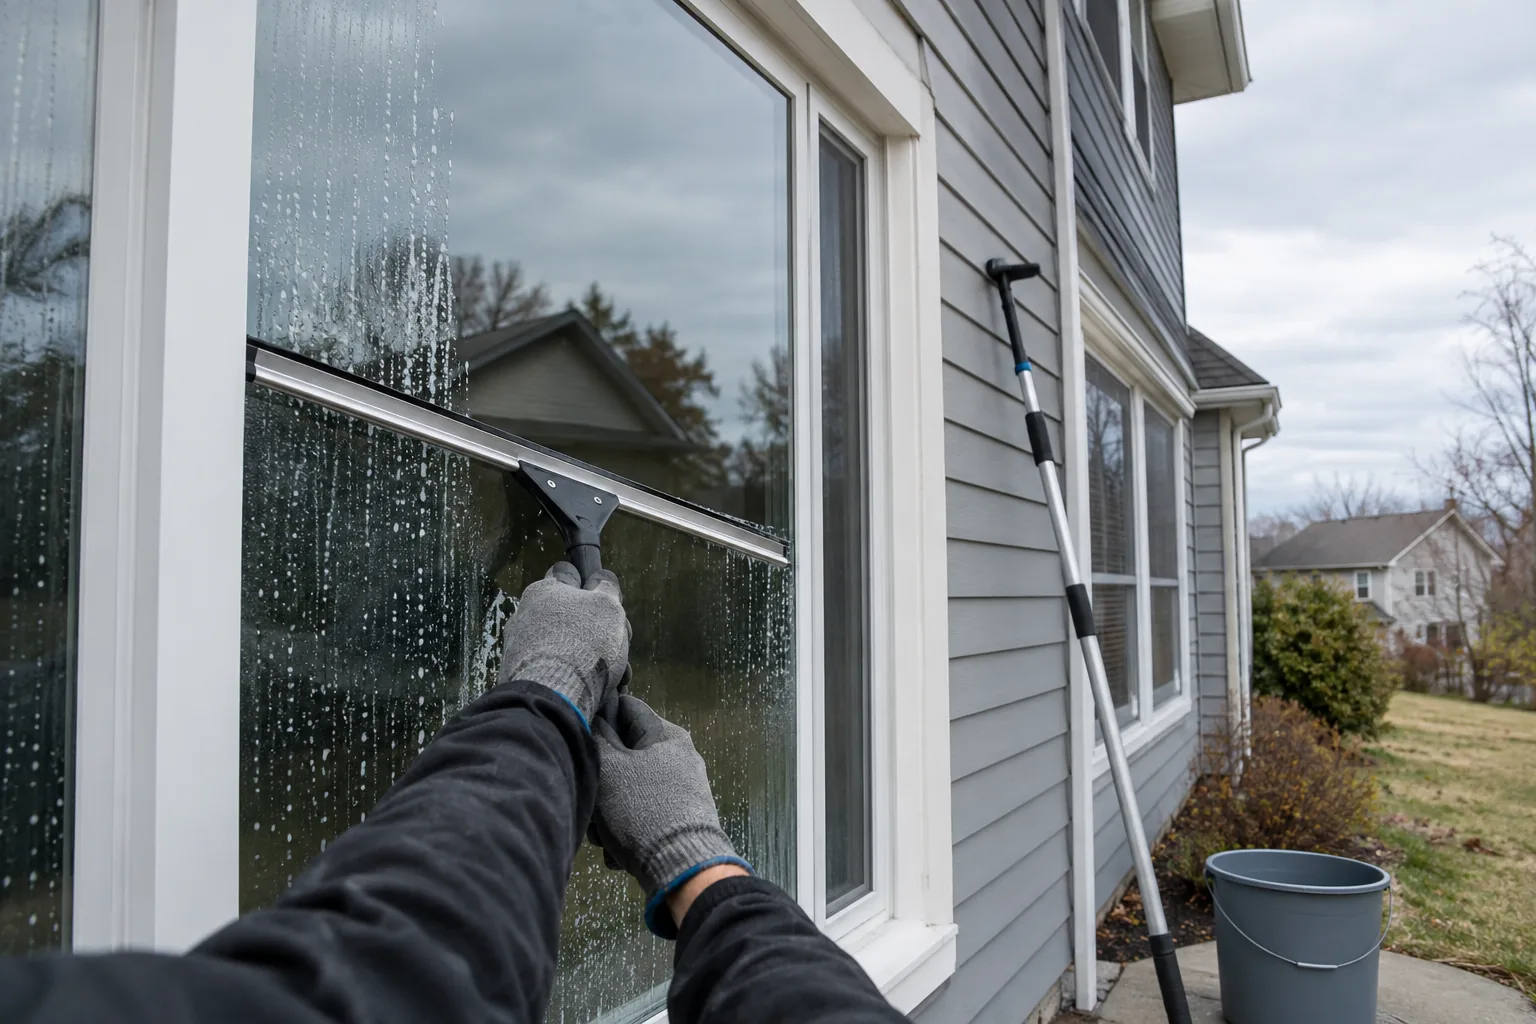
The S technique for large panes
On a wide pane, some people pull the squeegee in a continuous S-shape from top to bottom instead of lifting it between strokes. The blade stays in contact with the glass, so there are fewer drip marks at the stroke ends. Wipe the edges with a cloth afterward. If the S-shape gives you lines, go back to straight overlapping strokes.
Inside checklist
Interior glass collects a different kind of dirt: fingerprints, kitchen film, pet marks and dust from the sill. You work in a smaller space, so cover the floor and furniture first.
- Lay a towel along the sill and the floor under the window.
- Vacuum or brush dust from the sill, frame and track.
- Spray the glass lightly, or use a damp cloth, rather than soaking it. Excess liquid runs into the frame.
- Squeegee with the same top-to-bottom pattern, or wipe with a clean, dry microfiber cloth.
- Use a second dry cloth for corners and edges.
- Check the glass from an angle with light behind it. Streaks show up in that light.
A lint-free microfiber cloth matters here, since paper towels can leave fibers behind on dry glass. For more on avoiding lines, see our guide to cleaning windows inside and out without streaks, which covers both sides in more detail.
What to do by hand and what to hand to a robot
Hand work suits frames, tracks, screens and any glass you can reach. A robot is worth considering for large, fixed panes where reaching with a pole is awkward, or for glass you would rather not lean over. Neither replaces the other entirely.
| Task | By hand | Window robot |
|---|---|---|
| Frames, sills, tracks | Yes: brush and cloth | No |
| Screens | Yes: remove and rinse | No |
| Stuck-on paint or sap | Yes: scraper, with care | No |
| Large flat panes within reach | Yes | Possible |
| Glass that is awkward to reach | Difficult | Possible; follow the manual |
| Routine glass upkeep between full washes | Yes | Possible |
A robot handles the glass surface only. You still wipe frames and sills by hand, and heavy mineral deposits still call for hand work with a suitable product.
Where a window robot fits
ClearVista is a window cleaning robot that attaches to glass by suction and moves across the pane on dual rotating microfiber pads. Its 5600 Pa (about 0.8 psi) suction motor holds it to the glass, and the pads are washable. Spare cleaning rings are included.
Setup follows a short sequence. Tie the tether to a secure indoor anchor point, place the robot on the glass, and press start on the remote. Sensors trace the window edges first, then the robot plots overlapping passes across the interior of the pane in a set pattern rather than a random route. When the LED signals the cycle is done, retrieve the unit.
 In this guideClearVista$219.99View
What is in the kit and what to check
The box holds the robot, microfiber cleaning pads, a USB charging cable, two sets of replacement cleaning rings, a 4-meter (about 13-foot) power extension cord and the tether. The remote lets you start, pause and steer the unit from across the room, and LED lights show battery, suction and cycle status. A backup battery is built in, and the unit sounds an alert when it detects a fault.
Before each run, wipe the glass edges and frame so grit does not catch under the pads. Check that the tether is tied to a secure anchor point, and keep the manual close. To see what robots do and where they fall short, read Robot Window Cleaning: How It Works and Where It Falls Short.
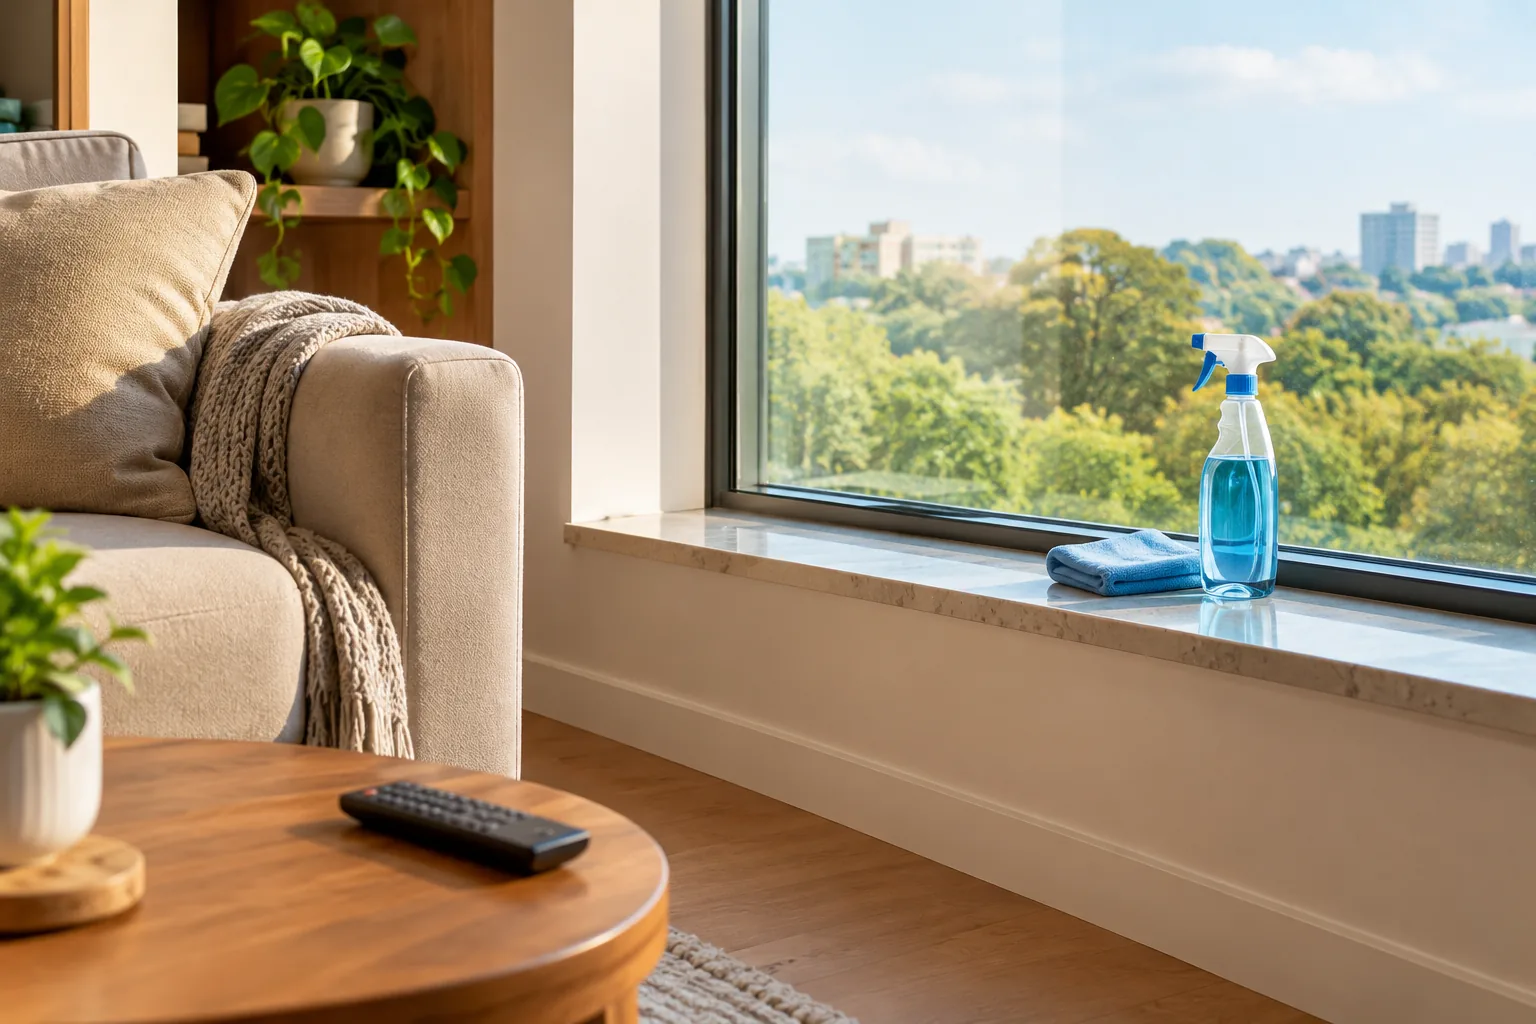
Field note
Wash in a repeating order: dust and brush the frames first, wash the glass second, dry the edges last. Dirty runoff from the frame then does not land on glass you already finished.
Common mistakes
- Washing in direct sun, which dries the solution into streaks before the squeegee reaches it.
- Using too much soap, which leaves a film that attracts dust.
- Skipping the blade wipe between strokes, which drags dirty water back onto clean glass.
- Using a squeegee with a nicked blade.
- Leaving the sills and tracks for last, so grit and drips land on dry glass.
- Soaking interior glass so liquid runs into the frame.
Ladders add their own hazard. Keep the ladder on firm ground, follow its use instructions, and use a pole or ask a professional for upper-story glass you cannot reach from the ground.
Hiring a service vs doing it yourself
A hired service makes sense for tall homes, hard-to-access glass, or when you do not want to do the work. Cost varies with the number of panes, the number of stories, access, how dirty the glass is and whether screens and tracks are included. Ask for an itemized quote from several local providers and confirm what the quote covers.
If you handle the ground-floor and reachable glass yourself, a service has less to cover. A robot can take on routine glass upkeep between washes, though it does not replace frame and track work. For the floors under those windows, our Robot & Cordless Vacuums collection is there when you want it.
A simple schedule
| When | What |
|---|---|
| Each wash | Brush frames and tracks, wash and squeegee glass, dry the edges |
| Between washes | Spot-clean fingerprints and marks with a microfiber cloth |
| Seasonally | Wash outside glass and screens; check squeegee blade condition |
| After each robot run | Rinse and dry the pads; check the rings for wear |