Robot Window Cleaning: How It Works and Where It Falls Short
Robot window cleaning uses suction to hold a pad-equipped robot on the glass while it drives a set path. Here is which windows suit it, how the tether works, and where it falls short.
The Cobalt Hollow Team
October 19, 2026 · 6 min read

Robot window cleaning works by pressing a flat robot against the glass with a suction motor, then driving it across the pane on rotating cleaning pads. It suits flat, intact glass with a clear edge, and it still needs you to set it up, attach a tether and watch it. It does not replace a hand-wipe for corners, heavy grime or awkward frames.
This guide explains the mechanics, which windows and frames suit a robot, how a safety tether fits in, and a routine you can repeat each time.
How robot window cleaning works
A window robot is a small, flat unit that clings to the glass. Three systems do the work: a motor for suction, pads that touch the glass, and sensors that decide where to go.
Suction and pads
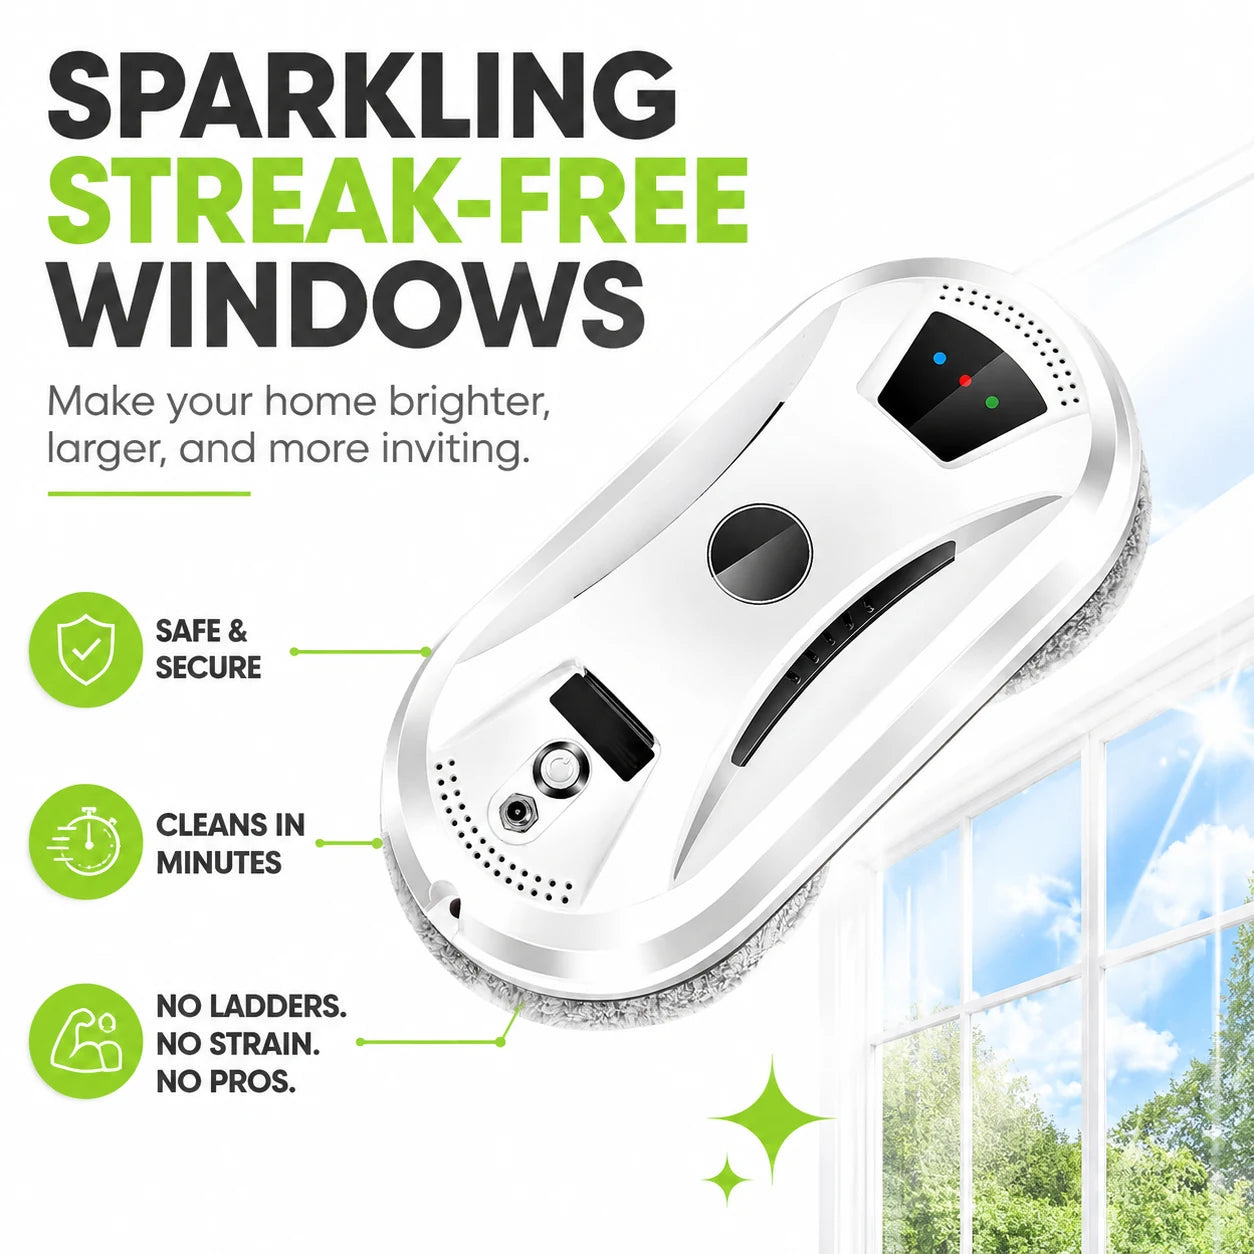
A motor pulls air to hold the unit against the pane, so it can sit on a vertical window. The ClearVista, for example, uses a 5600 Pa (about 0.8 psi) suction motor. Two rotating microfiber pads turn against the surface as the robot travels, and the pads are washable.
Edge sensors and path planning
Sensors let the robot find the edge of the glass. With ClearVista, the sensors trace the window edges first, then the robot plots overlapping passes across the interior of the pane. It follows a set pattern instead of a random route, so you can predict where it has been.
Power and the tether
The robot needs power while it sits on the glass, and it needs a line that limits a drop if suction fails. A tether ties the unit to a fixed point indoors. More on that below.
 In this guideClearVista$219.99View
Which windows and frames suit a robot
The robot needs a surface it can seal against and an edge it can read. Glass condition and frame shape matter more than window size. Check your manual for the exact limits of your model, because they differ.
| Window type | Fit for a robot | What to check |
|---|---|---|
| Flat framed glass, interior-facing | Good fit | Clear edge, dry frame, an anchor point inside |
| Large picture window | Good fit | Reachable anchor point; you can place the unit without a ladder |
| Frameless glass | Depends on the model | Whether the sensors can read an edge with no frame; the manual |
| Raised or thick frames | Often a problem | The unit may not cross a ridge; wipe those areas by hand |
| Textured or patterned glass | Poor fit | Suction may not seal on an uneven surface |
| Cracked or chipped glass | Do not use | Suction and pad pressure on damaged glass; replace or repair first |
| Windows far above the ground | Use extra caution | Reach, tether strength and anchor point; ask a professional if unsure |
Frames and sills
Robots clean glass, not the surrounding frame. Dust, cobwebs and track grime stay put, and wet pads can push loose dirt toward the edge. Wipe the frame and sill before you start.
Outside faces
Exterior glass is awkward to reach by hand, but a fall from it would matter most. Only run the robot on an outdoor-facing pane if your manual permits it and you can anchor the tether to something solid indoors.
How a safety tether works
A safety tether is a line that connects the robot to a fixed point. If the robot loses its grip, the line is meant to hold it instead of letting it drop. The kit with ClearVista includes a safety tether that ties to an indoor anchor point, and the robot has a built-in backup battery and sounds an alert when it detects a fault.
Choosing an anchor point
Pick a fixed, solid anchor inside, such as a heavy fixed frame member or a sturdy bracket. Avoid anything that could slide, tip or pull loose, like a light chair or a curtain rod. Check that the tether can reach the robot across the whole pane without pulling tight.
Setting the slack
Leave enough line for the robot to travel the full pane, but not so much that it hangs in loops that catch on handles or latches. Re-check the knot or attachment each session.
What a tether does not do
A tether limits a drop; it does not make a high or damaged window a good idea. It also does not replace watching the robot. Follow the manual for attachment and keep people and pets clear of the area below an outside pane.
Field note
Check your anchor point before every run: pull the tether firmly by hand with the robot not yet on the glass. If anything shifts, choose a different point.
Where robot window cleaning falls short
A robot is a tool for routine upkeep on suitable glass. It has limits you should plan around.
- Cleaning quality varies: light dust and film on flat glass is the intended use. Baked-on residue, sap or hard-water spots may need a hand-wipe first.
- Corners and edges: a flat, pad-based unit can leave a thin strip along the frame, especially where the pad shape cannot reach into a square corner.
- You still supervise: stay in the room, check on the unit, and be ready to pause it.
- Setup takes effort: anchoring the tether, laying out the cord and wiping the frame all come before the first pass.
- Streaks happen: dirty pads spread dirt, so wash or swap the pads between windows.
For a few small windows, a squeegee and a cloth can be the more practical choice, since a robot needs a tether, an anchor and setup before each pane. A robot suits large panes that are awkward to reach by hand.
A routine for using a window robot
Repeat these steps in the same order each time. For ClearVista, the sequence is: secure the tether, place the robot, start it with the remote, then retrieve it when the LED signals the cycle is done.
- Inspect the glass for cracks, chips or loose film, and skip any damaged pane.
- Wipe the frame, sill and any track with a dry cloth to lift loose grit.
- Check that the pads are clean and seated, and swap in spare cleaning rings if the old ones are worn.
- Charge and connect the unit as described in the manual, and keep the power extension cord clear of the work area.
- Tie the safety tether to a secure indoor anchor point and pull it by hand to confirm it holds.
- Place the robot on the glass, then press start on the remote control.
- Stay nearby. Use the remote to pause or steer, and watch the LED lights for battery, suction and cycle status.
- When the LED signals the cycle is done, retrieve the unit before releasing the tether.
- Wipe any streaks or edge strips by hand, then rinse and dry the pads.
Unplug the unit before you handle the pads or clean it, and follow the manual for your model.

Care and common mistakes
Pad and ring care
Wash the microfiber pads after each session, and let them dry fully before the next. ClearVista comes with two sets of replacement cleaning rings, so you can swap them when they wear.
Mistakes to avoid
- Starting without confirming the tether holds.
- Running the robot on cracked, textured or wet-framed glass.
- Leaving the room while the unit is on a pane.
- Skipping the frame and sill wipe, which sends grit under the pads.
- Storing the pads damp.
Once the glass is done, a robot or cordless vacuum from the Robot & Cordless Vacuums collection can pick up the dust that falls to the floor and sill. If your floors are hardwood, this buyer's checklist covers what to look for.
Deciding if a robot for window cleaning fits you
Count the panes you clean, check each one against the table above, and confirm you have a solid anchor indoors. If your glass is flat, intact and reachable, a robot can handle routine upkeep while you supervise. If your windows are small, textured, frameless or high above the ground, hand cleaning is the option to choose.