
Top Blenders for Smoothies: How to Choose Power, Jar and Blades
Top blenders for smoothies share a clear spec list: motor wattage, multi-angle blades, the right jar size and a lid that seats fully. Use this checklist to compare any model.
The Cobalt Hollow Team
October 22, 2026 · 8 min read
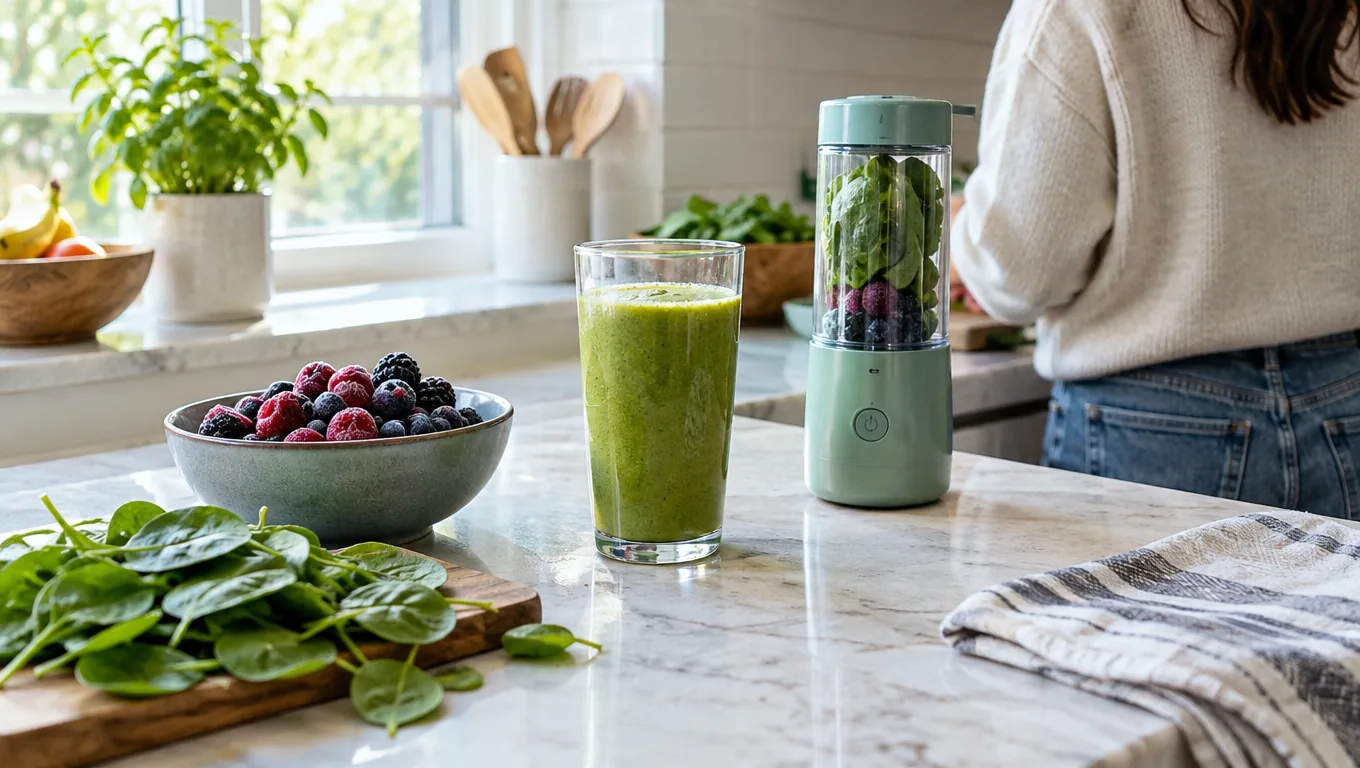
The top blenders for smoothies share a short list of specs: a motor sized for frozen fruit and ice, blades set at several angles, a jar that matches how many servings you make, and a lid and base that stay put while it runs. You can judge any model against that list without relying on a brand name.
This guide gives you the checklist, a table matched to what you blend (frozen fruit, leafy greens, ice), a loading order, a troubleshooting chart and a care routine. Near the end you will find two cordless options from our shelves.
What to Look for in Top Blenders for Smoothies
Start with what goes into your cup most often. A frozen fruit smoothie asks different things of a blender than a green one with spinach and kale, and ice adds a third demand. Use the table to match your ingredients to the spec worth checking.
| You blend | Spec to check | What to look for |
|---|---|---|
| Frozen fruit | Motor wattage, blade set | A stated wattage and blades set at different angles so chunks keep moving through the cut zone |
| Leafy greens | Blade count, jar shape | Multiple blades and a jar shape that lets fibrous leaves drop back toward the blades |
| Crushed ice | Blade material, motor speed | Stainless steel blades and a stated RPM figure |
| Protein shakes | Jar lid, rinsing | A lid that seats fully and parts you can rinse right after use |
| Nut butter, hot soup | Manual guidance | Check the manual first; some small blenders are meant for drinks, not thick pastes or hot liquids |
| Blending away from home | Battery, charging port, size | A cordless body with a rechargeable battery that fits in a bag |
Preset options and extra speeds are convenient, but they do not decide whether a blender suits smoothies. Wattage, blade design, jar and lid matter more.
Motor Power and Blade Design
Reading wattage and RPM
Wattage describes the motor, and RPM describes how fast the blades turn. Both should be printed on the box or product page. If a listing gives neither, treat that as a gap in the information.
For example, Blendara lists a 150W copper motor that turns the blades at 18,000 RPM. That is a plain spec pair, and you can compare it line by line with any other blender.
Blade count and angles
A single flat blade can leave frozen fruit circling above the cut zone. A set with several blades at different angles puts cutting edges at different heights in the jar. Blendara, for instance, holds ten stainless steel blades set at different angles, which cut through ice, frozen fruit and fibrous greens as the contents move around the set.
Look for stainless steel blades when you plan to blend ice. Ask whether the blade assembly detaches for rinsing, since fibers from greens collect around the base.
Tamper or no tamper
Full-size blenders sometimes include a tamper, a stick you push through the lid to move thick mixtures toward the blades. Personal and portable blenders skip it. With those, you control thickness by adding enough liquid and by loading the jar in a sensible order.
Jar Size, Material and Handy Features
Jar capacity should match how many servings you make at once. A 600ml (about 20 oz) jar suits a single serving. A household that drinks smoothies together needs a larger pitcher, which usually means a plug-in countertop model.
Leave headroom. Do not fill any jar past its fill line, because ingredients need space to circulate around the blades.
Glass, plastic or stainless
- Glass: does not hold onto smells or stains, and you can see the texture, but it is heavy and can break if dropped or knocked.
- Plastic: light to carry and pour, but it can scratch and cloud over time.
- Stainless steel: resists breaking when dropped, but you cannot see inside, so you cannot judge texture by eye.
Whatever the material, check that the lid seats fully and that the jar locks onto the base. Some portable blenders will not start unless the jar is fully seated, which is worth confirming in the manual.
Features beyond power
- Base grip: a textured or non-slip body gives your hand a surface to hold when it is wet from rinsing or from ice.
- Start control: a single button is simple to learn, and a double-click start can matter if the blender rides in a bag.
- Display: lights or an LED that show battery level and blend progress tell you when to recharge.
- Charging port: USB-C lets you charge a cordless blender with a cable you may already own.
- What is in the box: look for the jar, charging cable and a quick start guide.
- Detachable parts: pieces that come apart can be reached with a sponge.
Corded Countertop or Cordless Portable
A countertop blender stays on the counter and plugs in. A cordless portable blender runs on a rechargeable battery and goes wherever your bag does. The choice depends on where and how many servings you blend.
| Question | Countertop | Cordless portable |
|---|---|---|
| Servings per batch | Several, with a large pitcher | One, with a jar around 600ml (about 20 oz) |
| Needs an outlet | Yes | No while blending; recharge by USB-C |
| Storage | Counter or cabinet space | Fits in a bag or backpack |
| Thick blends, nut butter | Check the manual | Check the manual; built for drinks |
Small, personal and hand blenders
A small or personal blender uses a single-serve cup, often the same one you drink from. A hand blender, also called an immersion blender, is a stick you lower into a cup or pot. It suits soups and sauces, and a tall cup lets you make a single smoothie with it.
If you are weighing blenders against other prep tools, Blender vs Food Processor sorts out which kitchen tasks need which. For the stick style, read What Is an Immersion Blender and Do You Need One? to see where it fits.
Loading Order and Texture Fixes
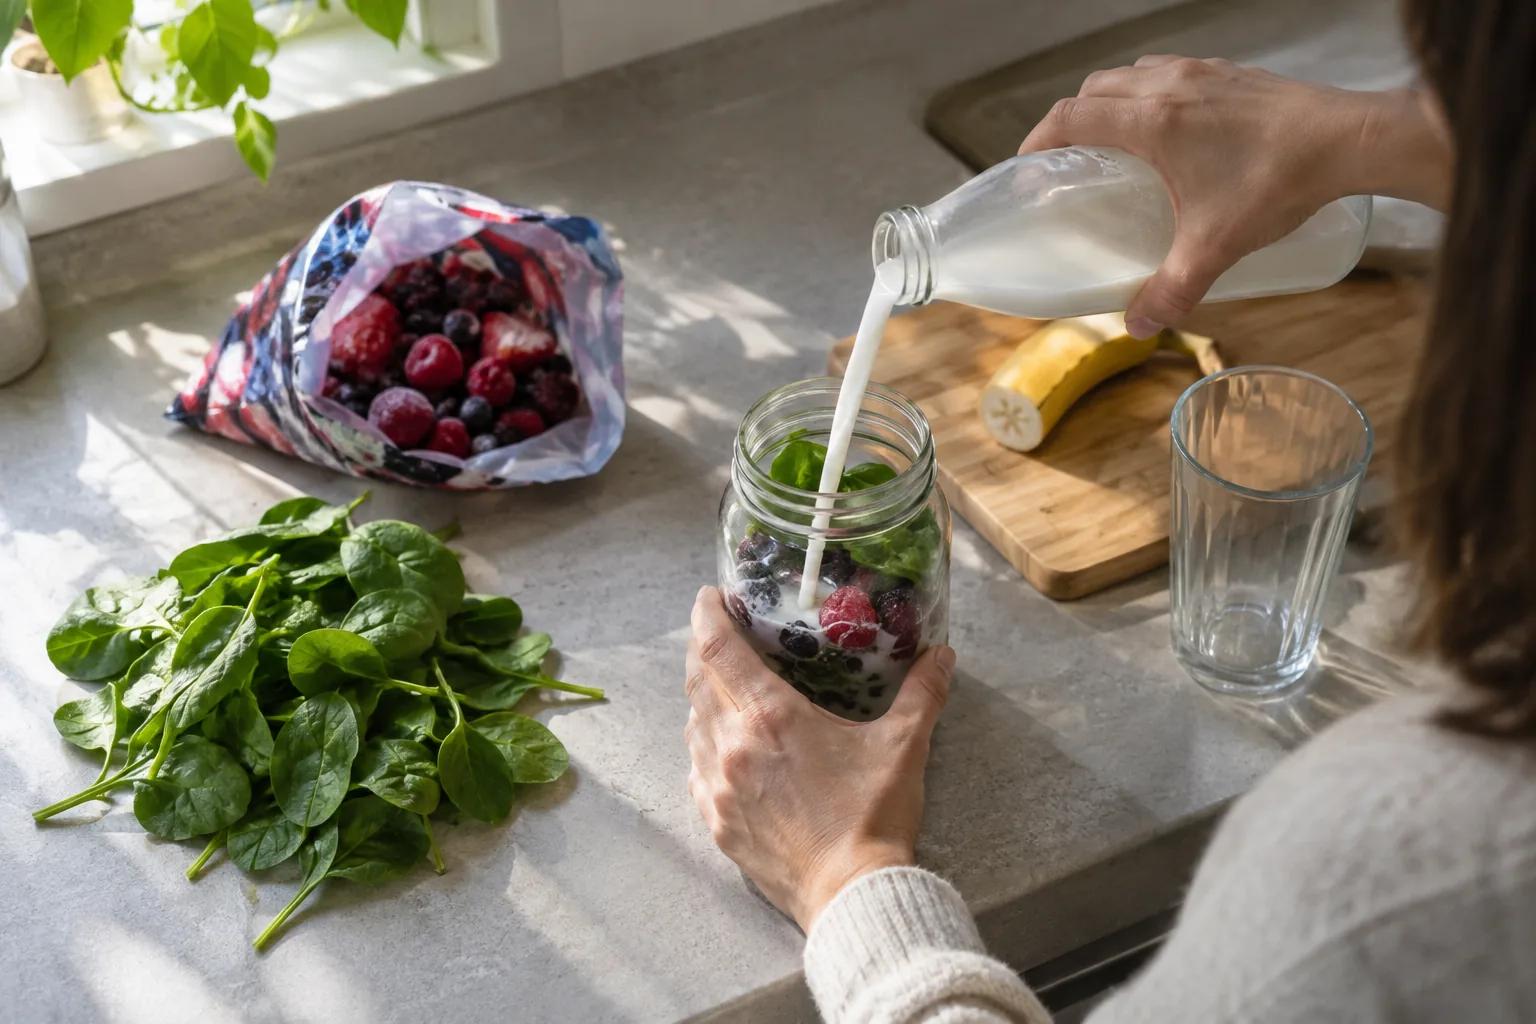
Even a well-specced blender stalls when the jar is loaded badly. Follow this order unless your manual says otherwise.
- Pour in the liquid first: milk, plant milk, water or juice.
- Add soft ingredients and leafy greens next, so they sit near the blades.
- Add powders such as protein or seeds.
- Put frozen fruit and ice on top.
- Twist the jar onto the base until it is fully seated, then start the blend.
- If the contents stop moving, stop the blender, open the jar and loosen the mixture, then add a splash of liquid.
For green smoothies, you can blend the greens with the liquid first when your blender allows it, then add the frozen fruit and run it again.
Fixing texture problems
Texture complaints often trace back to loading, liquid or batch size. Match what you see in the cup to the likely cause.
| What you see | Likely cause | What to try |
|---|---|---|
| Chunks of frozen fruit | Too little liquid or frozen items loaded first | Add a splash of liquid and run the blend again |
| Flecks of leaf | Greens blended with everything else at once | Blend greens and liquid first, then add fruit |
| Blades spinning in an air pocket | Mixture packed too tight | Stop, open the jar, loosen the contents and add liquid |
| Thin and watery | Too much liquid | Add more frozen fruit or ice next time |
| Blender will not start | Jar not seated, or battery low | Twist the jar until it stops; recharge if cordless |
Two Cordless Options From Our Shelves
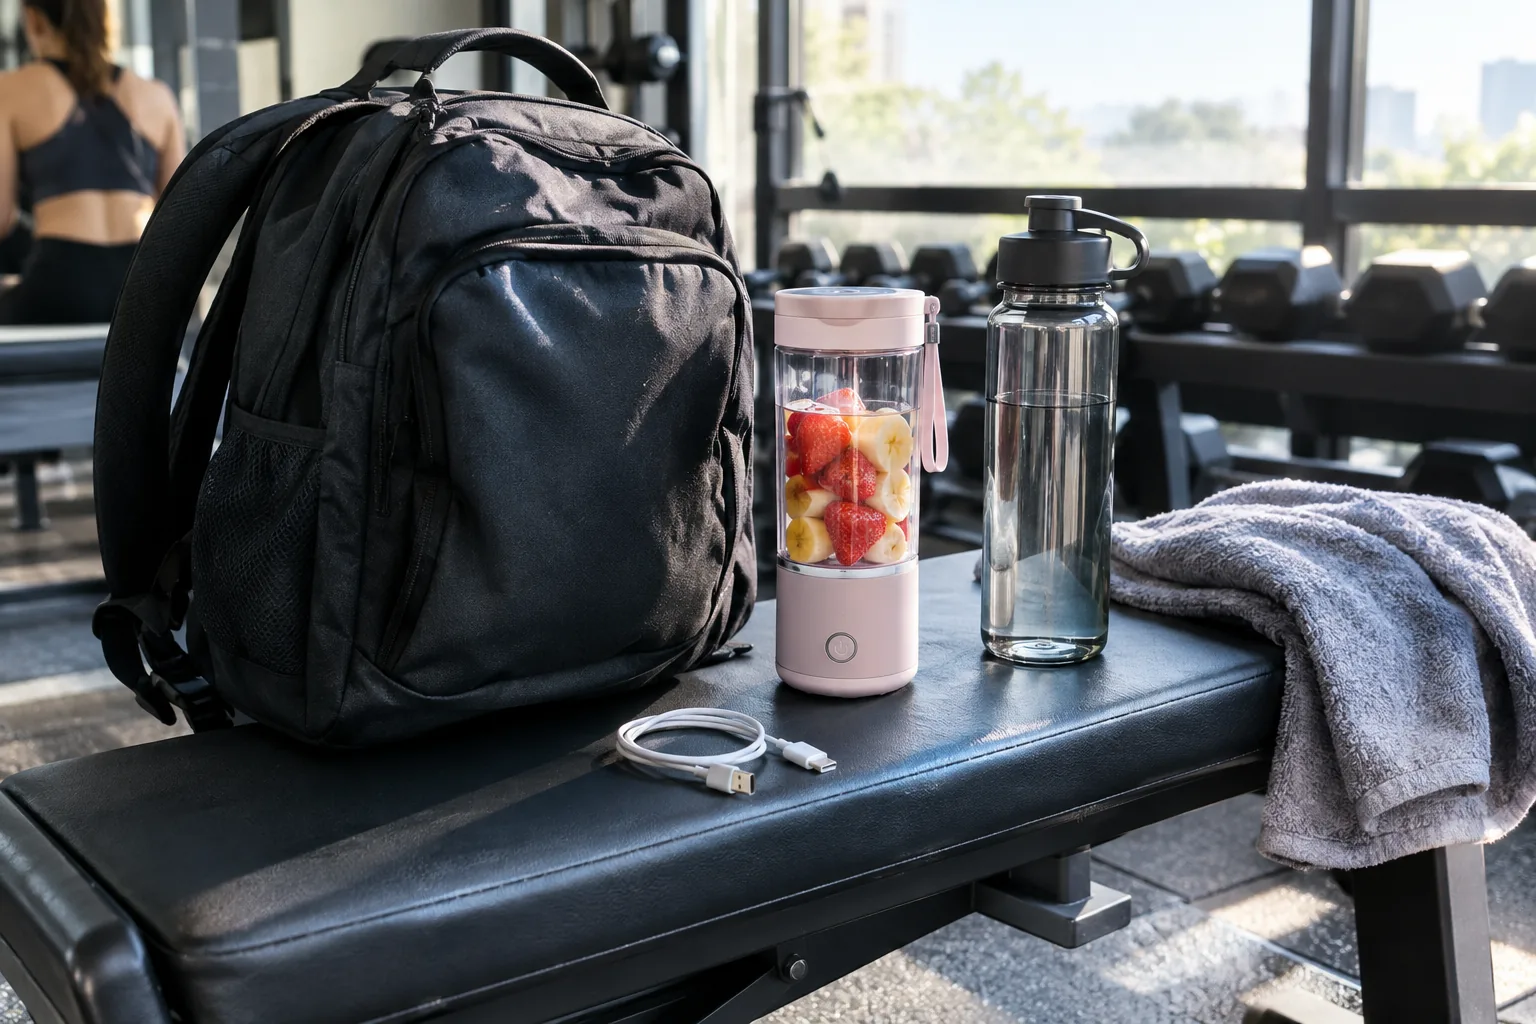
If a single-serving blender that charges over USB-C fits how you blend, these two follow the checklist above. Both list a 150W motor, ten stainless steel blades and 18,000 RPM, and both run without an outlet while in use. You can browse more in Blenders, Mixers & Prep Tools.
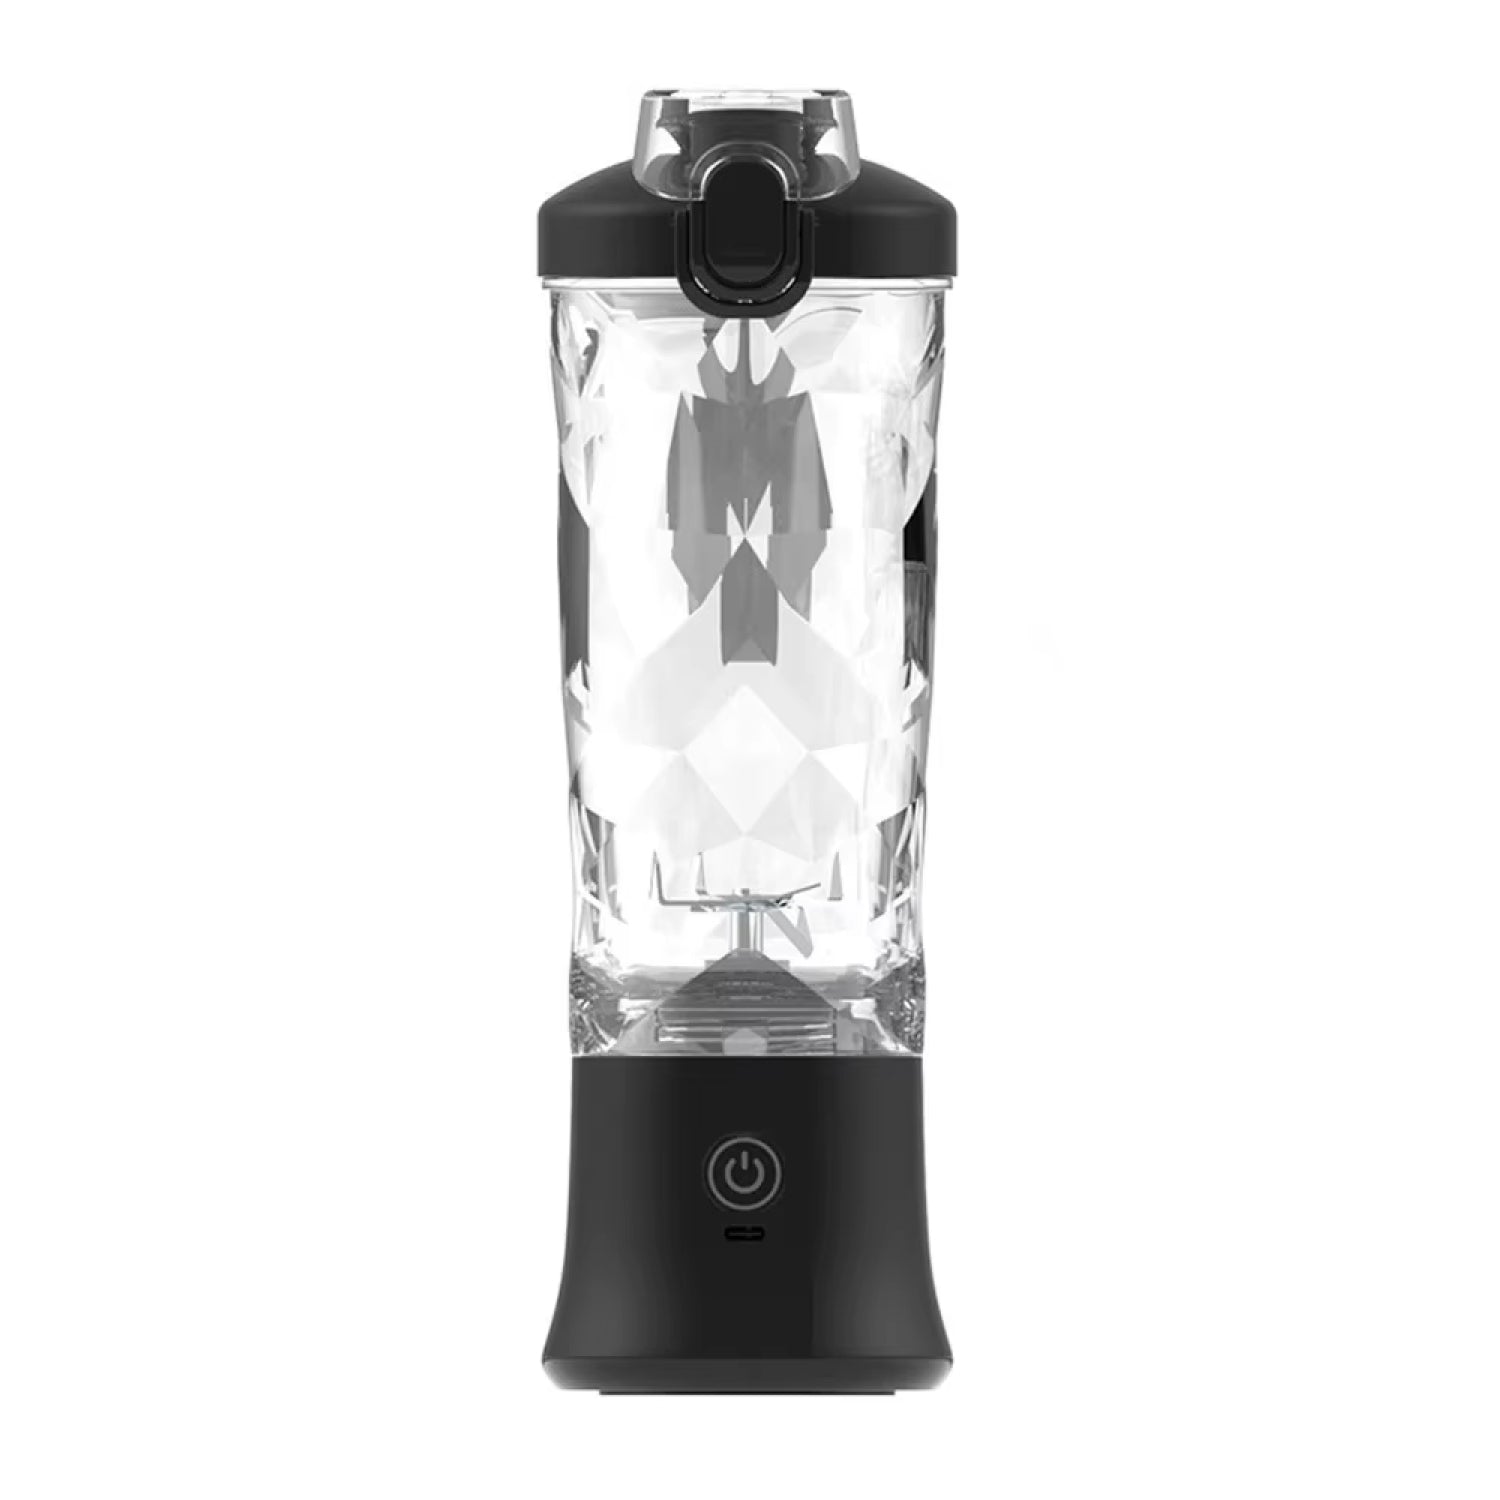
Blendara for fruit, ice and greens
Blendara has a 600ml (about 20 oz) jar and a 4000mAh battery. A single button starts each blend, and a 12-light display shows the battery level and blend progress. You add fruit, ice or liquid, twist the jar onto the base and press the button. The box includes the blender, the 600ml jar, a USB-C cable and a quick start guide.
 In this guideBlendara$99.99View
MotionBlend for milkshakes
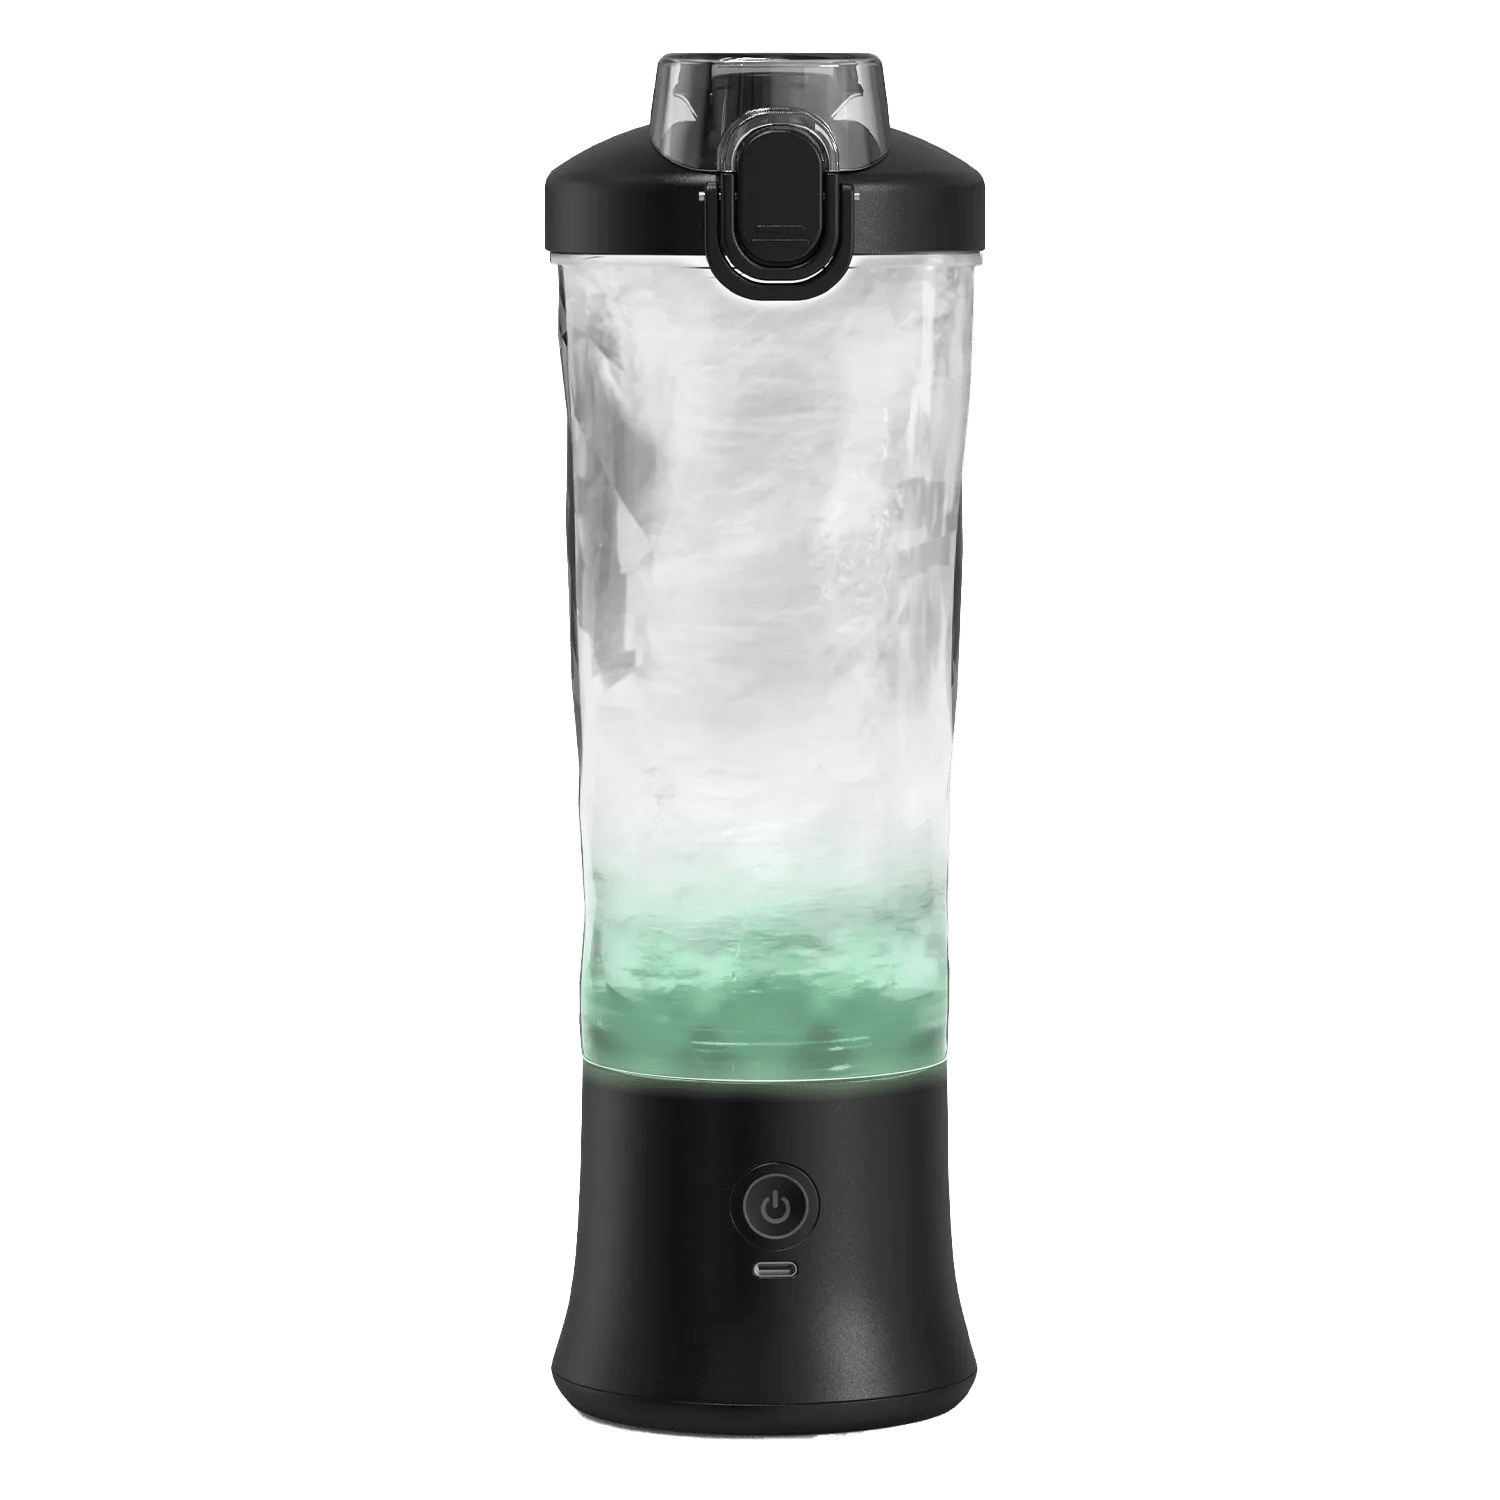
MotionBlend is a portable blender for milkshakes. You pour milk into the cup, add ice cream or frozen fruit on top, and double-click the power button to start. That double click helps keep the blender from switching on inside a bag, and an LED indicator shows the remaining charge. Its dual 4000mAh battery recharges over USB-C, and the body has a diamond-textured grip for damp hands.
 In this guideMotionBlend$99.99View
Field note
Before you buy any blender, find four numbers on the listing: motor wattage, blade RPM, jar capacity in ml or ounces, and battery capacity if it is cordless. A listing that leaves them out has not given you enough to compare.
Common Mistakes, Care and Decision Steps
Check these habits before blaming the motor.
| Mistake | What to do instead |
|---|---|
| Ice and frozen fruit loaded first | Add liquid first and frozen items last |
| Jar filled past the fill line | Blend in two smaller batches |
| Jar not fully seated | Twist until it stops, as the manual describes |
| Rinsing the next day | Rinse the jar and detachable parts right after use |
| Washing the base under water | Wipe the base with a damp cloth; follow the manual |
| Charging only when empty | Plug in the USB-C cable when the battery level is low |
After every blend
Rinse the jar and detachable parts as soon as you finish. Fruit sugar and fiber dry hard on blades. Unplug or disconnect the base from power before you handle the blades, which are sharp.
Once a week
Wash the jar with warm water and dish soap, check the lid seal, and wipe the base and charging port area dry. Store the jar with the lid off so air can circulate.
Quick decision steps
- List what you blend most: frozen fruit, greens, ice, or ice cream.
- Decide on servings per batch, which sets jar size.
- Choose countertop or cordless based on where you blend.
- Confirm wattage, RPM, blade count and jar capacity are listed.
- Read the manual for limits on hot liquids and thick pastes such as nut butter.
With those five answers, you can compare any two blenders on paper and pick the one that fits your routine.
Frequently asked questions
Keep reading
 Blenders, Mixers & Prep ToolsBlender vs Food Processor: Which Kitchen Tasks Need Which7 min read
 Food Storage, Cookware & Water FiltrationNon Stick Ceramic Coating Pans: How to Choose and Make Them Last6 min read
 Blenders, Mixers & Prep ToolsVittoraMix Stand Mixer: Setup, Attachments and Care6 min read