Culinox Pro Immersion Blender: Setup, Use and Cleaning
The Culinox Pro immersion blender is a corded hand blender with a 1200W motor base and clip-on attachments. This guide covers setup, each attachment, the speeds, and care.
The Cobalt Hollow Team
November 21, 2026 · 6 min read

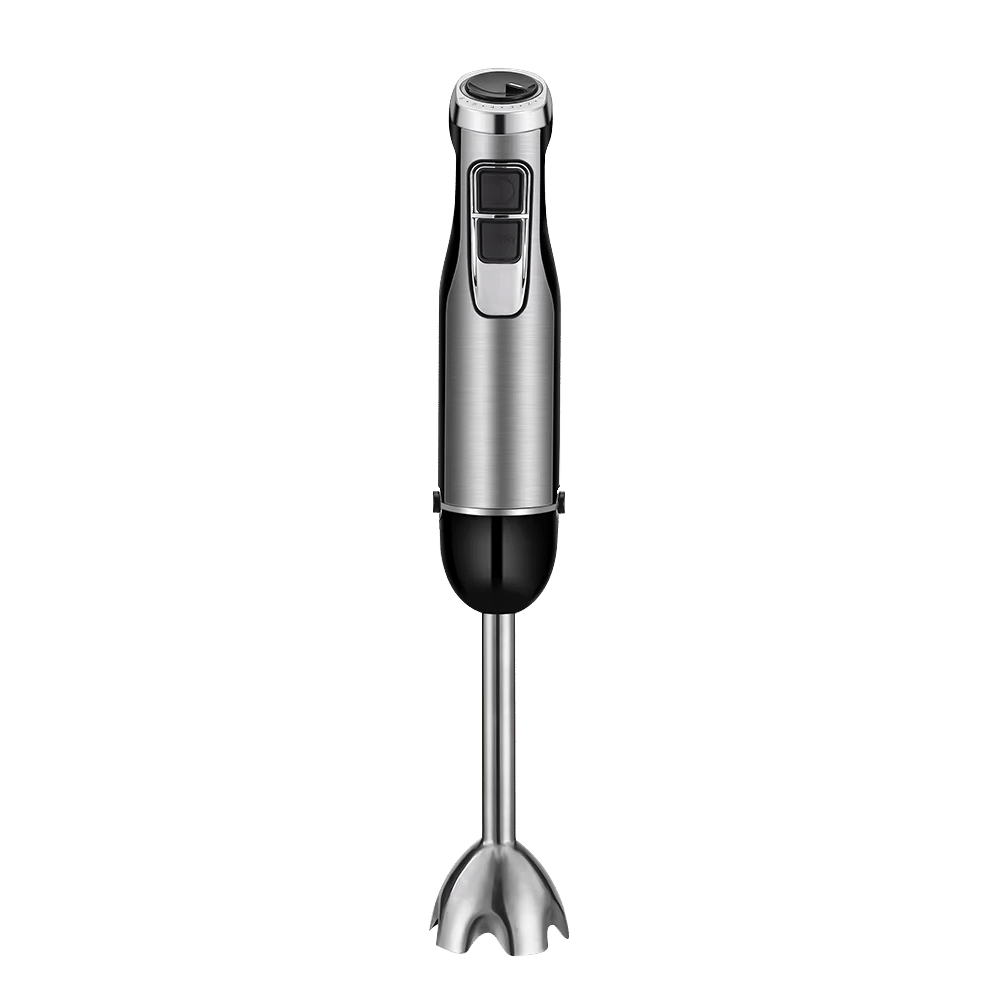
The Culinox Pro immersion blender is a corded hand blender with a 1200W motor base and interchangeable attachments. You click the blending shaft, chopping bowl or whisk onto the base, submerge the shaft fully before switching on, start at the lowest of the 6 speeds, then detach the parts and rinse them. This guide walks through setup, each attachment, the speed controls and a care routine.
Where the product page gives no detail, we say so and give general practice for hand blenders. Follow the manual in the box for anything specific to your unit.
What comes in the box
Check the parts before the first use. The Culinox Pro arrives with the pieces below, and a storage case holds the attachments together.
| Part | What it is for |
|---|---|
| Hand blender with 1200W motor base | Holds the speed controls and the ergonomic handle; every attachment clicks onto it |
| Blending shaft | Stainless steel shaft with 304 stainless steel blades; goes straight into a pot or beaker |
| Blending beaker, 600ml (about 20 fl oz) | A container to blend in |
| Chopping bowl attachment, 500ml (about 17 fl oz) | Ingredient prep |
| Multi-purpose whisk attachment | Mixing |
| User manual | Setup and care instructions for your unit |
If you want background on the tool type before you start, What Is an Immersion Blender and Do You Need One? explains what a hand blender does in the kitchen.
How to set up the Culinox Pro immersion blender
Setup is a matter of washing the parts, choosing an attachment and clicking it on. Work with the cord unplugged until the last step.
- Take the pieces out of the case and read the manual.
- Wash the detachable parts as the manual lists, and dry them.
- Pick the attachment for the job: blending shaft, chopping bowl or whisk.
- Click the attachment onto the motor base until it sits in place. Give it a gentle tug to confirm it is attached.
- Place the container on a flat, stable surface.
- Plug the cord into an outlet only when the attachment is fitted and the shaft is in the food.
The unit is corded, so plan the work near an outlet and keep the cord clear of the pot and any heat source.

 In this guideCulinox Pro$119.99View
Choosing the right attachment
Each attachment has its own job, and switching between them takes a click. Unplug before you swap one for another.
| Job | Attachment | Where to use it |
|---|---|---|
| Blending soup in the pot | Blending shaft | Directly in the pot you cooked in |
| Blending a smaller batch | Blending shaft | The 600ml beaker |
| Ingredient prep | Chopping bowl | The 500ml (about 17 fl oz) bowl |
| Mixing | Whisk | A bowl or container of your choice |
The shaft is stainless steel and carries 304 stainless steel blades, so you can blend where you cook. For the whisk, pick a container with room for the mixture to move. For a broader look at when a hand blender fits a task and when a countertop machine does, see Blender vs Food Processor: Which Kitchen Tasks Need Which.
Using the 6 speeds and turbo
The speed controls sit on the motor base. The product page gives this order: start at the lowest of the 6 speeds, step up through them as the job needs, and use turbo for tougher ingredients.
| Setting | How to use it |
|---|---|
| Lowest speed | The starting point, with the shaft fully submerged |
| Speeds 2 to 6 | Step up one setting at a time as the contents break down |
| Turbo | For tougher ingredients; check the manual for how to engage and release it |
Start low because the shaft is submerged before you switch on, and the product page says a lowest-speed start keeps the contents in the pot. Move the blender in a slow, steady way, and keep the shaft under the surface while it runs.
Holding the unit
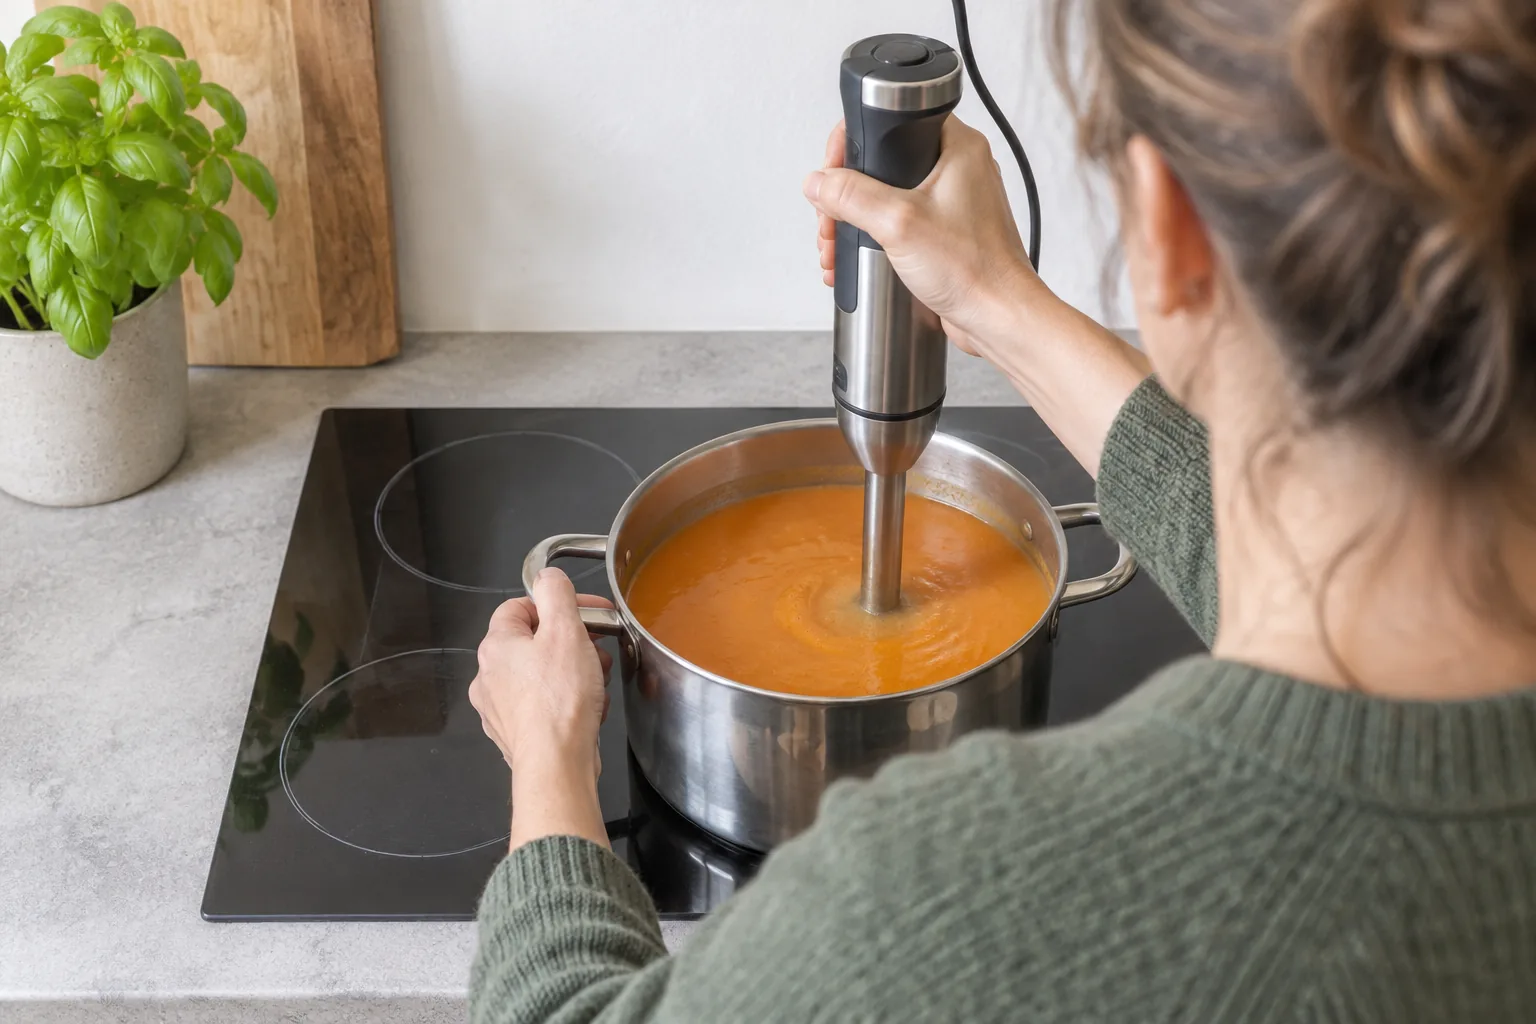
The ergonomic handle is shaped for holding the unit during longer prep work, such as a large pot of soup. Keep a firm grip with one hand and steady the pot with the other, using a dry towel if the pot is hot.
Blending soup in the pot, step by step
This is the job the shaft is built for. Follow the same order each time.
- Take the pot off the burner and turn the heat off.
- Let the soup settle so it is not at a rolling boil. For hot liquids, check the manual for fill levels, and keep the pot well below the rim.
- Unplug the cord, then click the blending shaft onto the motor base.
- Lower the shaft until it is fully submerged, then plug in.
- Switch on at the lowest speed.
- Step up through the speeds, or use turbo for tougher ingredients.
- Switch off and wait until the blades are still before you lift the shaft out of the soup.
- Unplug, then detach the shaft and rinse it.
If a nonstick or enamel pot is involved, check the pot maker's guidance, because a stainless steel shaft and blades can contact the pot's surface. When in doubt, move the soup to the beaker.
Using the chopping bowl and whisk
The chopping bowl is the 500ml (about 17 fl oz) attachment for ingredient prep. Cut ingredients into pieces that fit the bowl, fit the attachment onto the motor base as the manual shows, and plug in only once everything is assembled.
The multi-purpose whisk attachment is for mixing. Clip it on, lower it into your bowl or container, and start at the lowest speed. Check the manual for which speeds suit the whisk, since the product page does not list a speed per attachment.
Cleaning and care routine
The product page says to detach the parts and rinse them after use. The points below are general practice for hand blenders, so confirm them against your manual.
- Unplug the cord and switch off before you touch the blades.
- Detach the shaft, chopping bowl or whisk from the motor base.
- Rinse the attachment right after use, before food dries on it.
- Wash with warm soapy water and a soft brush or cloth, holding the blade end with care.
- Check the manual to see whether any part may go in a dishwasher.
- Dry the parts before storing them.
As general practice, do not submerge the motor base in water. Wipe it with a damp cloth and dry it. Keep the cord away from water and check it for damage before each use. If the cord or plug looks damaged, do not use the unit and ask a licensed electrician or the manual's contact route about next steps.
A short care schedule
| When | What to do |
|---|---|
| After each use | Unplug, detach, rinse, wash and dry the attachments; wipe the base |
| Before each use | Check that the attachment clicks on firmly and the cord is undamaged |
| When storing | Put the dry pieces back in the case |
Storing the Culinox Pro hand blender
The included case holds the attachments together. The shaft, chopping bowl, beaker and whisk stay in one place, which keeps the drawer or shelf tidy between uses. Store the pieces dry, and wrap the cord loosely rather than tightly around the base.
If you are adding to a set of prep tools, the Blenders, Mixers & Prep Tools collection lists the other blenders and mixers we stock.
Common mistakes to avoid
- Switching on before the shaft is fully submerged.
- Starting at a high speed instead of the lowest of the 6.
- Swapping attachments while the cord is plugged in.
- Lifting the shaft out while the blades are still turning.
- Letting the motor base sit in a sink of water.
- Skipping the manual, which has the details for your unit.
Field note
Before the first blend, run through the steps once with the cord unplugged: click the shaft on, lower it into the pot, and find the speed controls on the motor base. Then you know where everything is when you plug in.