
Good Solar Garden Lights: Brightness, Battery and Placement
Good solar garden lights pair a sun-facing panel and a named battery with brightness matched to each zone. Here are the specs to compare and where to place each light.
The Cobalt Hollow Team
October 22, 2026 · 7 min read
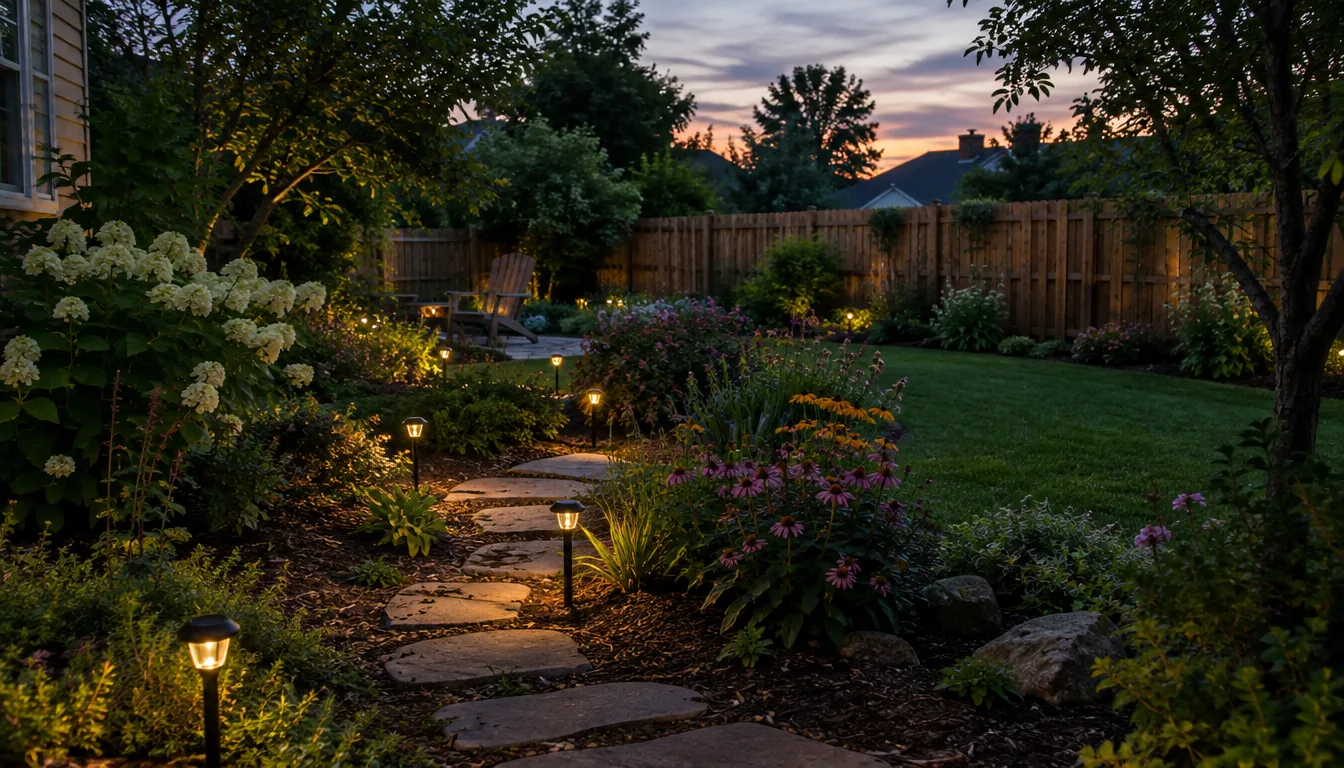
Good solar garden lights have a panel that sits in direct sun, a battery you can identify on the spec sheet, a light sensor that switches them on at dusk, and a brightness matched to the job. Path markers need a soft glow, while steps and entries need more light. This guide covers the specs to compare and where to put each light in your yard.
Solar lights are simple devices: a panel charges a battery during the day, and an LED draws from it after dark. Most disappointing results come from placement and mismatched expectations, not from the idea itself. Work through the specs first, then plan the garden zone by zone.
What makes good solar garden lights: the specs that matter
Packaging often leads with a single number. Look at four things together instead: light output, battery, panel, and housing.
Brightness in lumens
Lumens measure how much light the LED emits. A higher number is not always what your garden needs. For path edging, a low, even glow is enough to mark the route. For stairs, a gate or a seating area, look for a higher lumen figure printed on the box or listing.
If a listing gives no lumen figure and only says "super bright", treat that as missing information and ask the seller or choose a different model.
Battery type and capacity
Check which rechargeable battery the light uses and its capacity, usually shown in mAh. A larger capacity gives the LED more stored energy to draw on, but only if the panel can refill it. Look for a battery you can replace, so the fixture stays useful after the original cell wears out.
Panel size, angle and position
The panel is where the energy comes from. A tilting panel lets you aim it at the sun even when the lamp itself sits in a shadier spot. A panel built into the top of a stake light needs a clear view of the sky, so check what is overhead before you push it in.
Housing and sensor
The housing should be made for outdoor placement, and the dusk-to-dawn sensor should switch the light on and off without a remote or timer. Keep the panel surface clean, since dirt on it blocks sunlight.
| Spec | What to look for | Red flag |
|---|---|---|
| Lumens | A stated figure that matches the zone | Only words like "super bright" |
| Battery | Named type, capacity in mAh, replaceable | No battery information at all |
| Panel | Visible size, tilt or adjustable aim | Tiny fixed panel in a shaded spot |
| Sensor | Automatic on at dusk, off at dawn | Manual switch only, if you want hands-off use |
| Mounting | Stake plus hardware for fences or posts | Flimsy single-piece stake |
| Color | Warm white, or color modes if you want them | Only one harsh cool tone for a cozy seating area |
A placement plan by garden zone
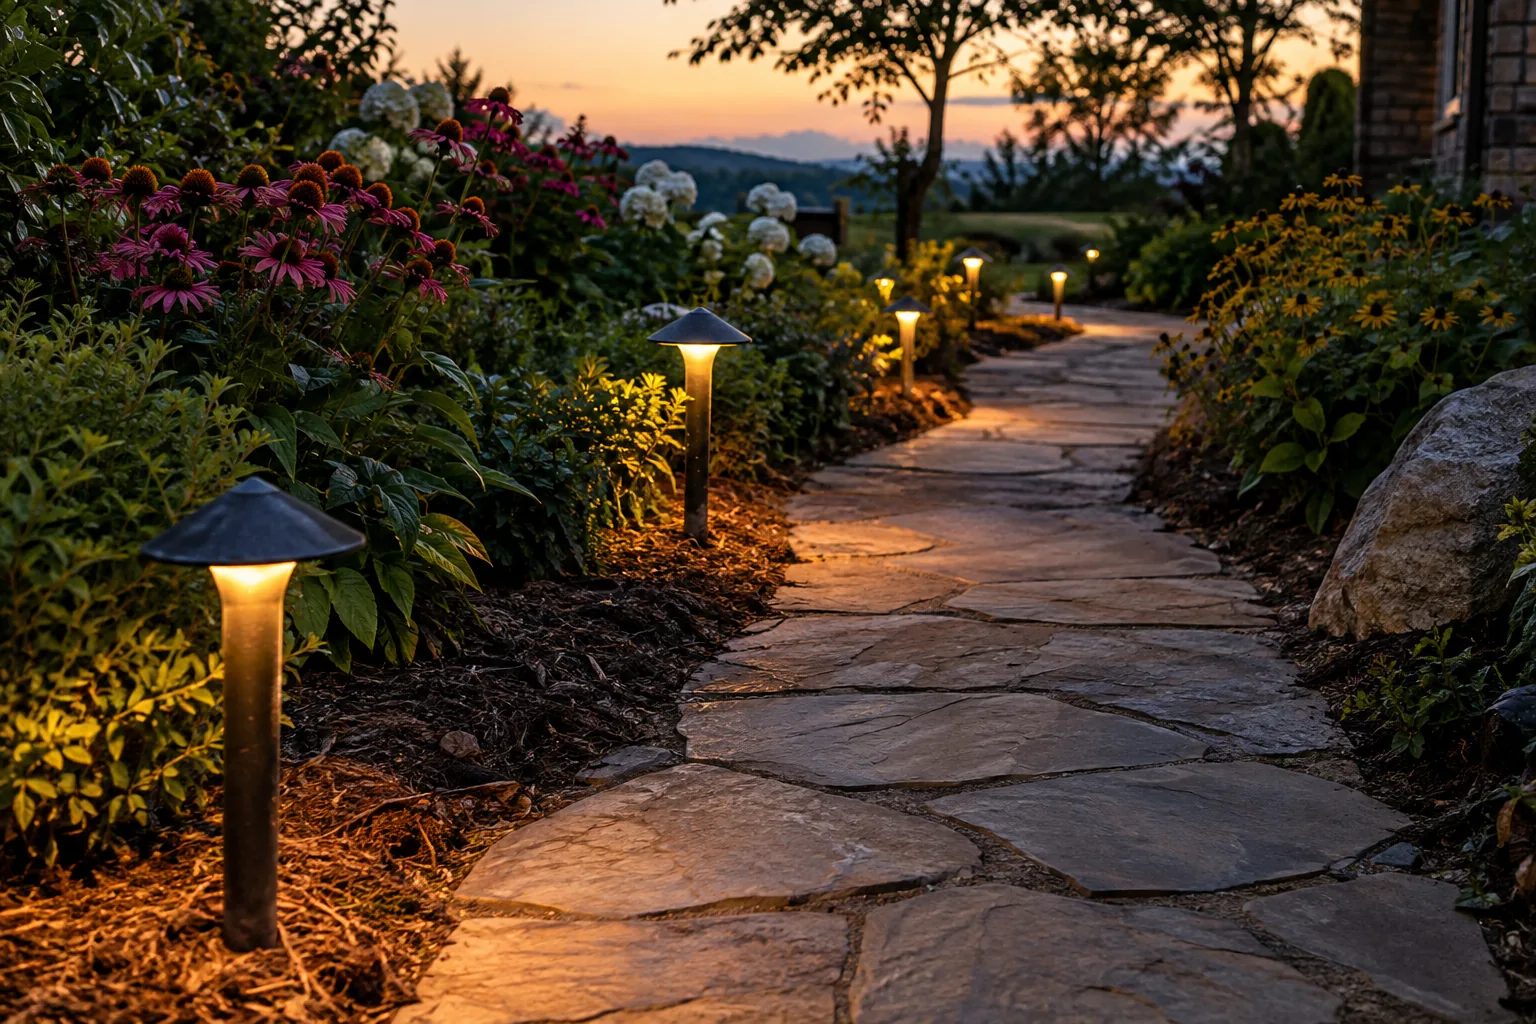
Different parts of the yard ask for different light. Plan by zone rather than buying one style for everything.
| Zone | Light style | Placement tip |
|---|---|---|
| Front path | Stake lights | Space them along one side so the route reads as a line |
| Garden beds | Low stakes or small spikes | Keep them clear of tall plants that shade the panel |
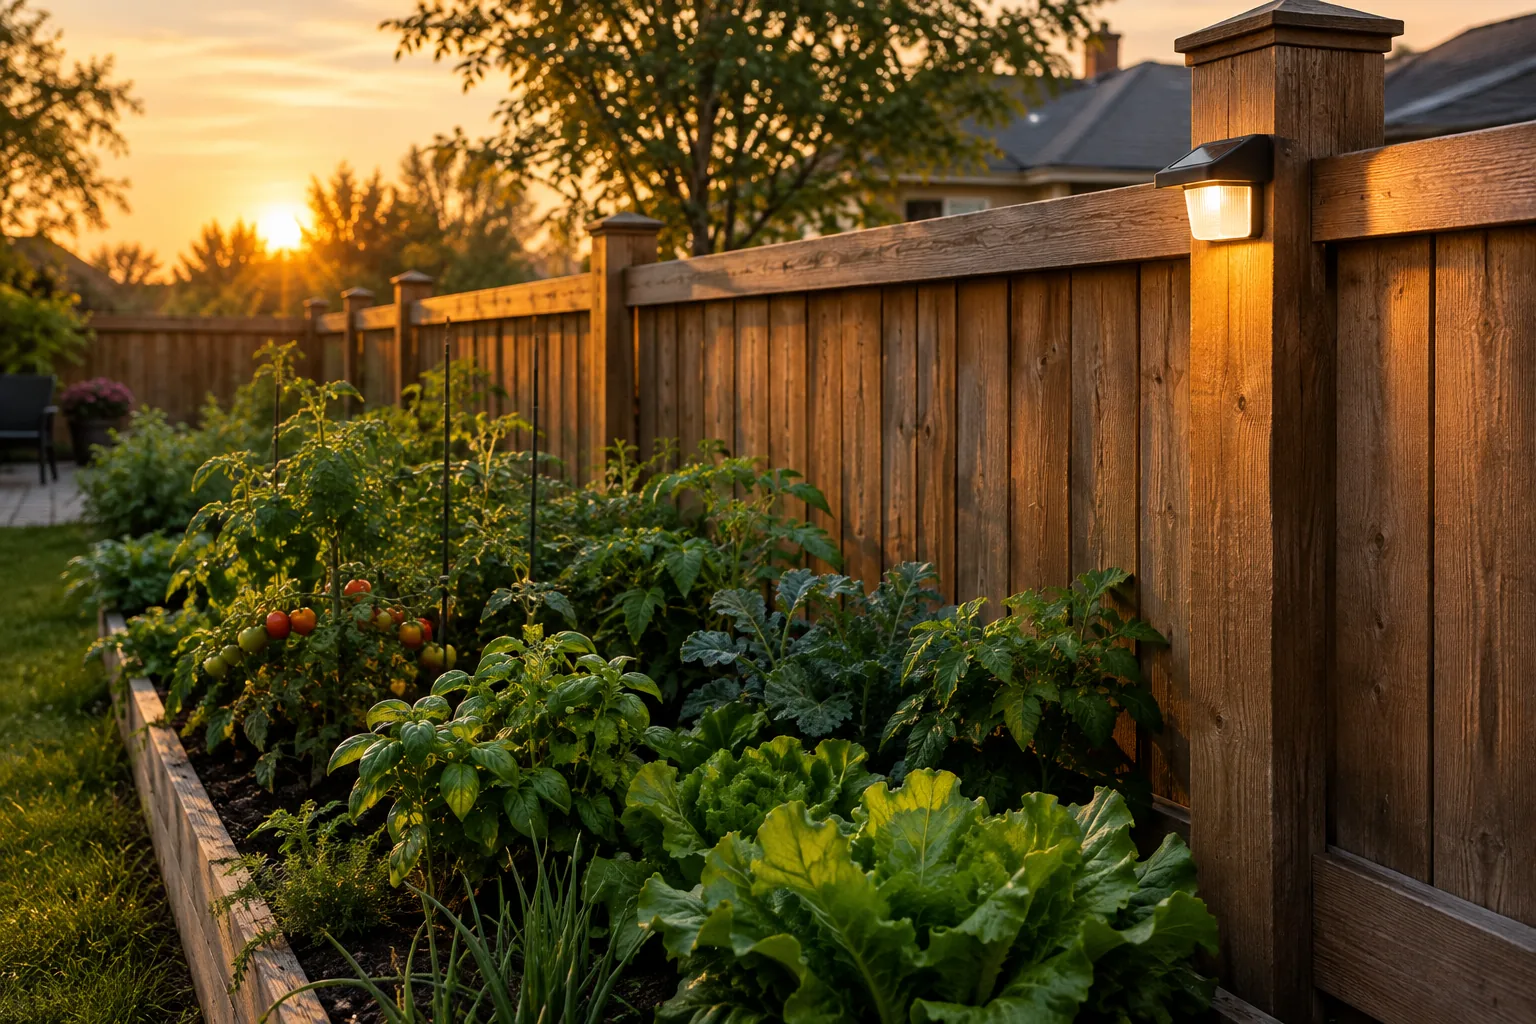
| Fence line | Fence-mounted lights | Mount on the sunniest face of the fence |
| Steps and gate | Higher-lumen fixtures | Light the edge of each change in level |
| Seating area | Warm white, low glow | Hang lights above eye level to avoid glare |
| Trees and pergola | Outdoor hanging solar garden lights | Put the panel on a sunny branch or beam, away from dense canopy |
Paths and borders
Place stake lights at a consistent spacing so the glow overlaps slightly. Staggering them on alternate sides makes a path look busy, so keep to one side unless the path is wide.
Fences, steps and gates
These areas call for fixed mounting. A fence-mounted light with screws and rubber plugs holds position in a way a pushed-in stake may not. Aim the lamp where you walk and the panel where the sun is.
Hanging and seating areas
For a patio corner or pergola, choose warm white. Keep the fixture out of direct eye line when you are seated, and check that nothing above blocks the panel.
Where the sun actually hits
Before you place anything, walk the yard at a few points in the day and note where direct sun lands. A light that looks fine at noon can sit in shade for most of the afternoon.
- Face the panel toward the open sky, usually south in the US northern hemisphere.
- Look up for eaves, branches and wires that cast shade.
- Check again in different seasons, because the sun sits lower in winter and shadows from fences and trees grow longer.
- Wipe the panel when it collects dust, pollen or leaves.
This is also why the lights that work through the darker months are the ones with the clearest view of the sky. If a spot is shaded, move the panel, not the expectation. Our guide to a solar powered outdoor security camera covers the same panel-positioning logic for devices that need steady charge.
Field note
Before you commit to a spot, stand there at mid-afternoon and look up. If you can see the sun from where the panel will sit, the spot is worth using.
A solar set that stakes or mounts: HelioGrove
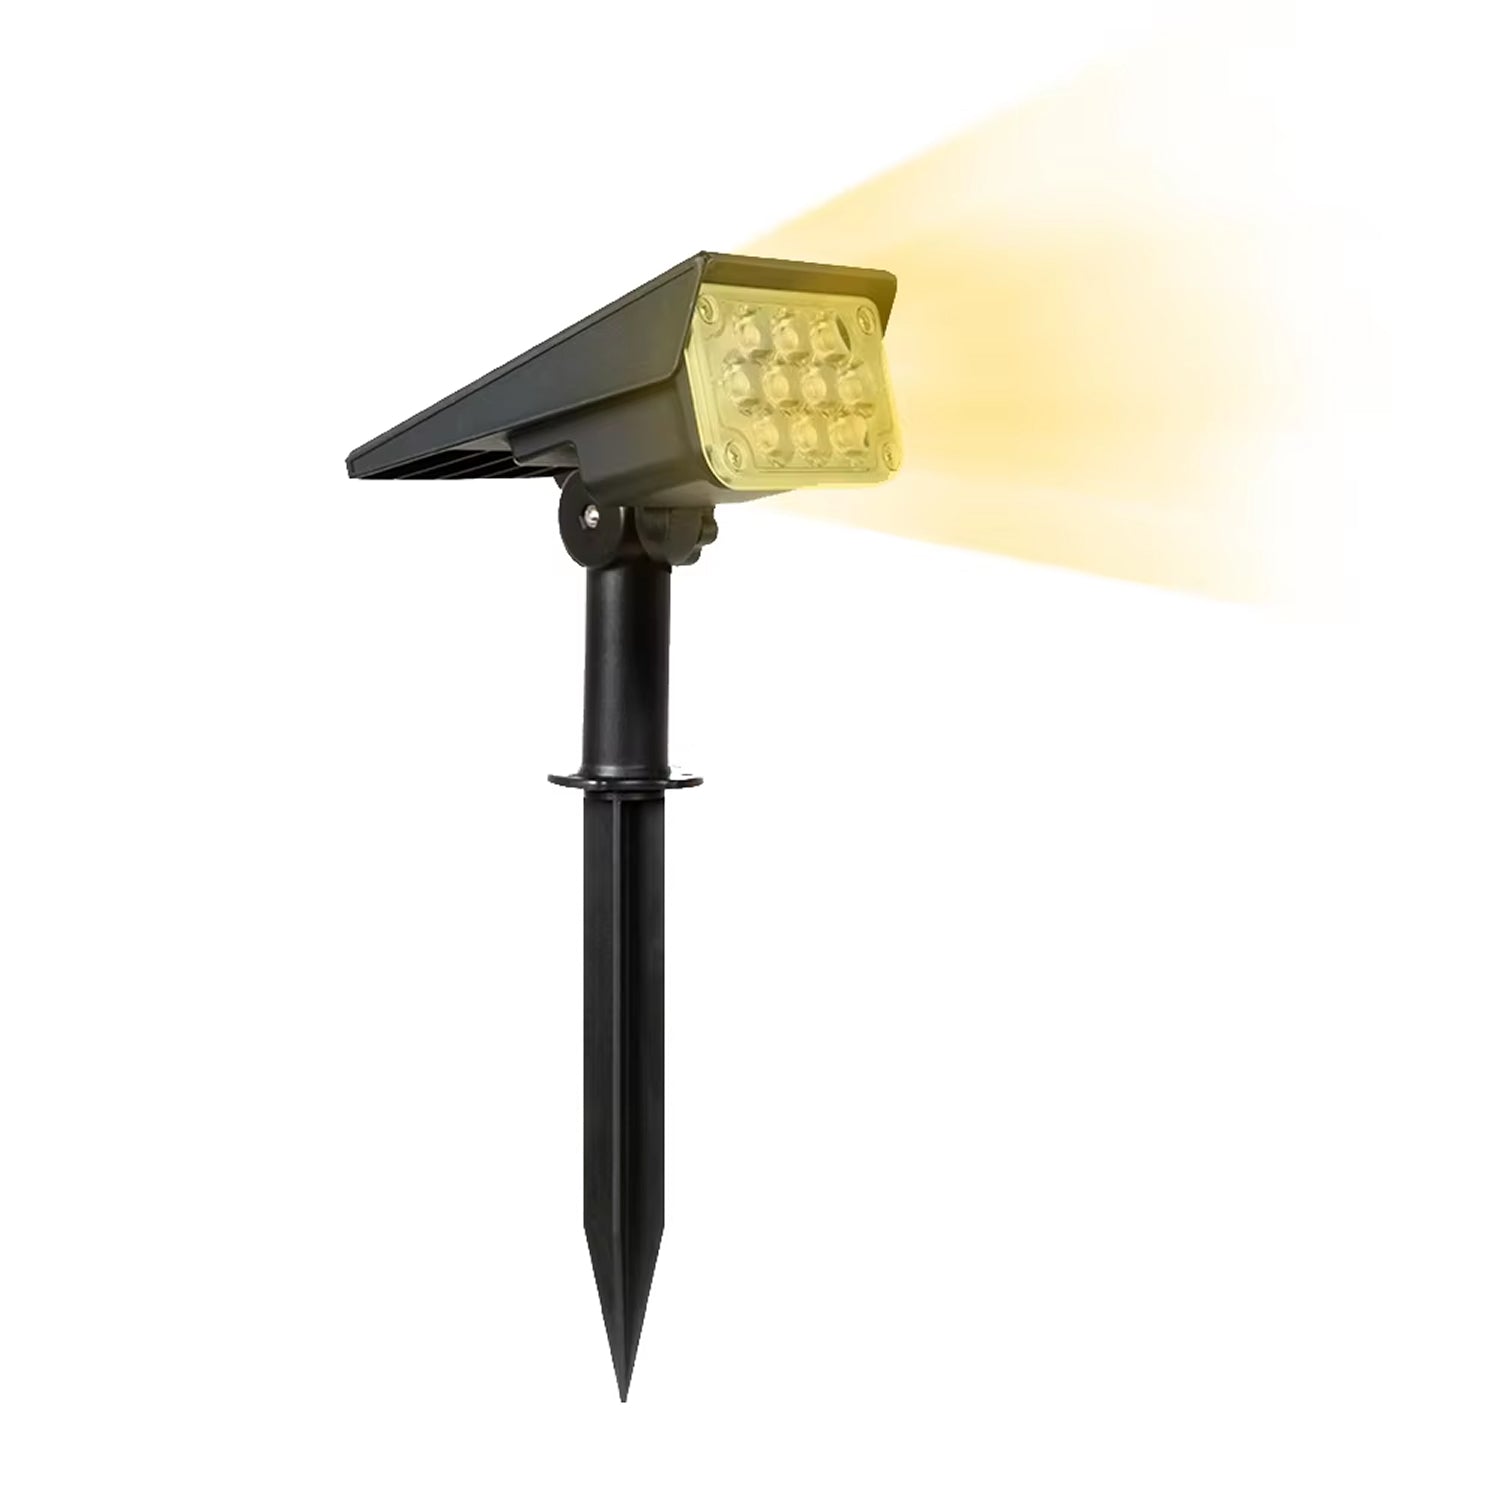
HelioGrove is a set of solar garden lights that charge through a built-in solar panel and need no wiring. Push the light into the ground on a ground stake along a path, or mount it on a fence with the included screws and rubber plugs. The panel tilts so you can aim it at the sun.
An onboard light sensor switches it on at sunset and off at sunrise, with no timers or remotes. A button on the unit cycles through six color modes: warm white plus five RGB tones. The box holds two lights, a user manual, one ground stake, three expanding rubber plugs and three mounting screws.
 In this guideHelioGrove$99.99View
Setup checklist for good garden solar lights
Use this order when you install a new set, and follow the manual that comes with it.
- Remove any protective film or tab from the panel and battery compartment.
- Switch the unit on if it has a switch, and let it sit in sun for its first charge before judging results.
- Pick the spot using your sun walk-through.
- Stake the light into soil, or mount it on a fence or post with the supplied hardware.
- Aim the panel at the sun if it tilts.
- Check the lights after dark on the first evening and adjust any that stay dim.
Stake lights sink into hard or rocky soil with difficulty, so loosen the soil first rather than forcing a stake.
Common mistakes with good solar lights for garden use
- Placing the light under a tree canopy or a roof overhang, where the panel gets no direct sun.
- Choosing by lumens alone and ignoring battery and panel.
- Letting leaves, dust or mulch cover the panel.
- Using one style everywhere, so the steps are dim and the flower bed is glaring.
- Mixing cool white and warm white along the same path.
Care schedule
| When | What to do |
|---|---|
| Each season change | Re-check sun and shade, and move panels if needed |
| When dusty or after storms | Wipe the panel with a soft damp cloth |
| When a light looks dim | Check the panel for shade or dirt, then the battery |
| Before storing | Follow the manual for batteries and storage |
When plug-in lighting fits better: RadiantStrand
Solar suits spots with sun. Along a covered deck, a railing under a roof or a patio edge, a panel has little to work with. RadiantStrand is an outdoor LED light strip that runs from an included power adapter instead of a solar panel. It mounts with clips, adhesive strips, or both.
You control it from a free app over WiFi or with the included Bluetooth remote. It offers 16 million color options, 213 preset scenes and a music sync mode with built-in sound sensors. You can browse more options in the Smart & Ambient Lighting collection.
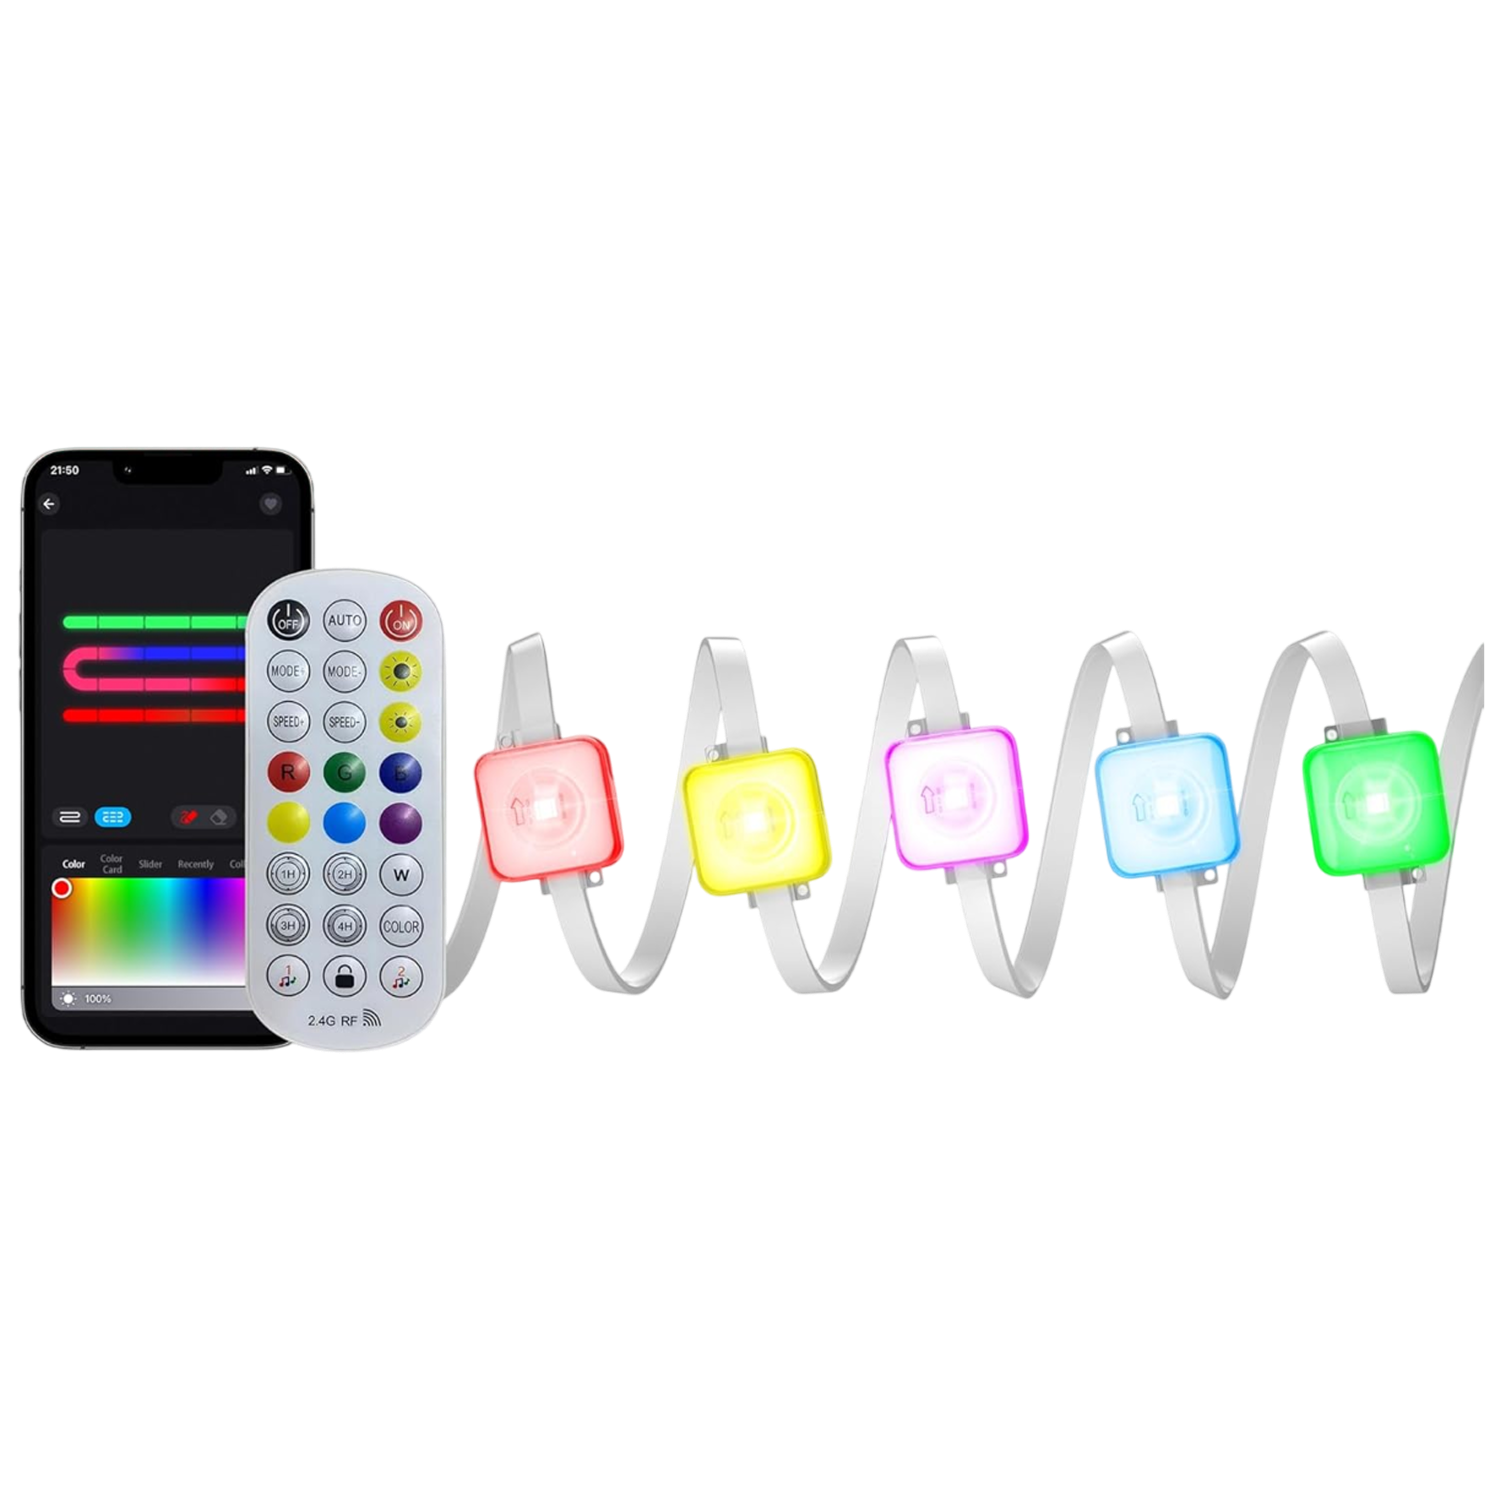 In this guideRadiantStrand$99.99View
Quick decision guide
- Sunny path or border: stake lights with a tilting panel.
- Sunny fence or post: mountable lights with included hardware.
- Shaded deck or railing: a plug-in strip rather than solar.
- Seating area: warm white, hung above eye level.
- Steps and gates: look for a stated higher lumen figure.
Start with one zone, watch it for a week of evenings, and then extend the same approach to the rest of the yard.
Frequently asked questions
Keep reading
 Security Cameras & DoorbellsOutdoor Lighting Plan: Layering Path, Accent and Security Light6 min read
 Home Utility & Detection DevicesWhat Is a Water Leak Detector? Types and Where to Place Them6 min read
 Security Cameras & DoorbellsDIY Home Security Systems: Cameras, Doorbells and Lights to Combine9 min read