
Solar Powered Outdoor Security Camera: What to Check Before Buying
Check four things before buying a solar powered outdoor security camera: panel sun exposure, battery behavior, Wi-Fi range at the wall, and local storage.
The Cobalt Hollow Team
October 18, 2026 · 7 min read
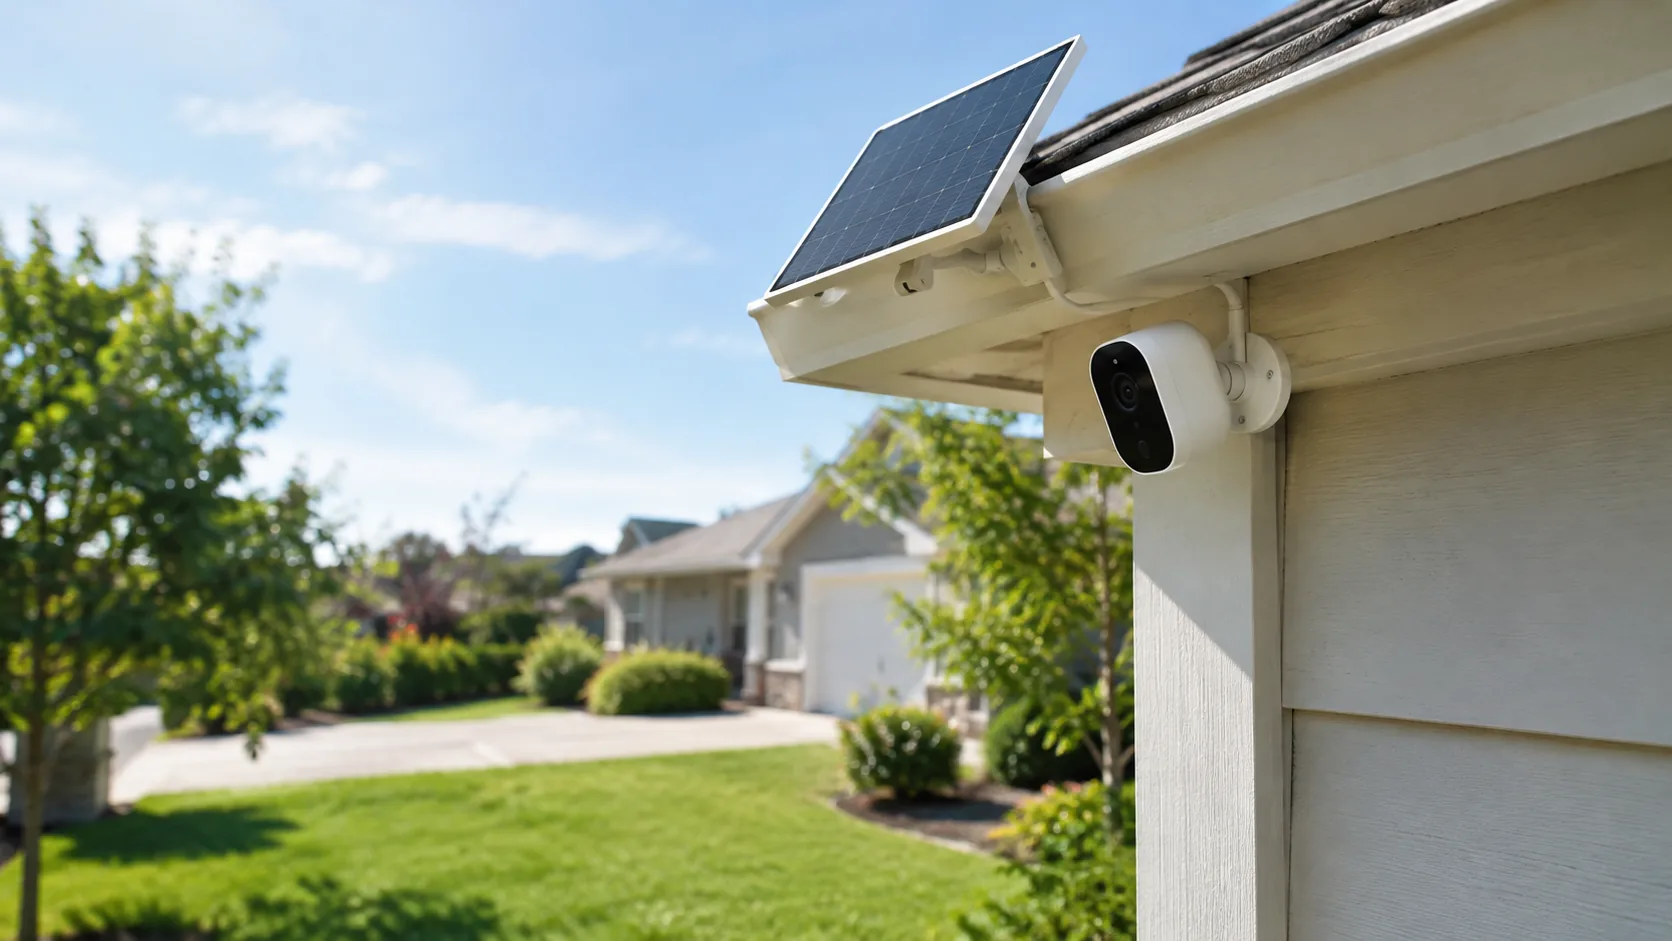
A solar powered outdoor security camera works well when four things line up: a spot where the panel faces open sky, a battery sized for how often the camera wakes, a Wi-Fi signal that reaches the mounting spot, and local storage so clips do not depend on a monthly plan. Check those four in order before you compare resolution or extras.
This guide walks through each check, gives you a decision table, lists common mistakes and ends with a setup checklist you can use on mounting day.
How a solar powered outdoor security camera works
In many designs the solar panel does not run the camera directly. It tops up an onboard battery, and the battery runs the sensor, the radio and the recording. That is why the panel placement and the battery behavior matter more than the panel itself.
Some wireless units sleep until a PIR (passive infrared) sensor detects movement, then wake, record and send an alert to your phone. Between events the camera rests. A camera that streams around the clock asks more of the battery and the panel.
Wireless here means no power or video cable to the house. It does not mean no network: the camera still needs a way to send alerts, usually your home Wi-Fi, and some models use a cellular data plan instead.
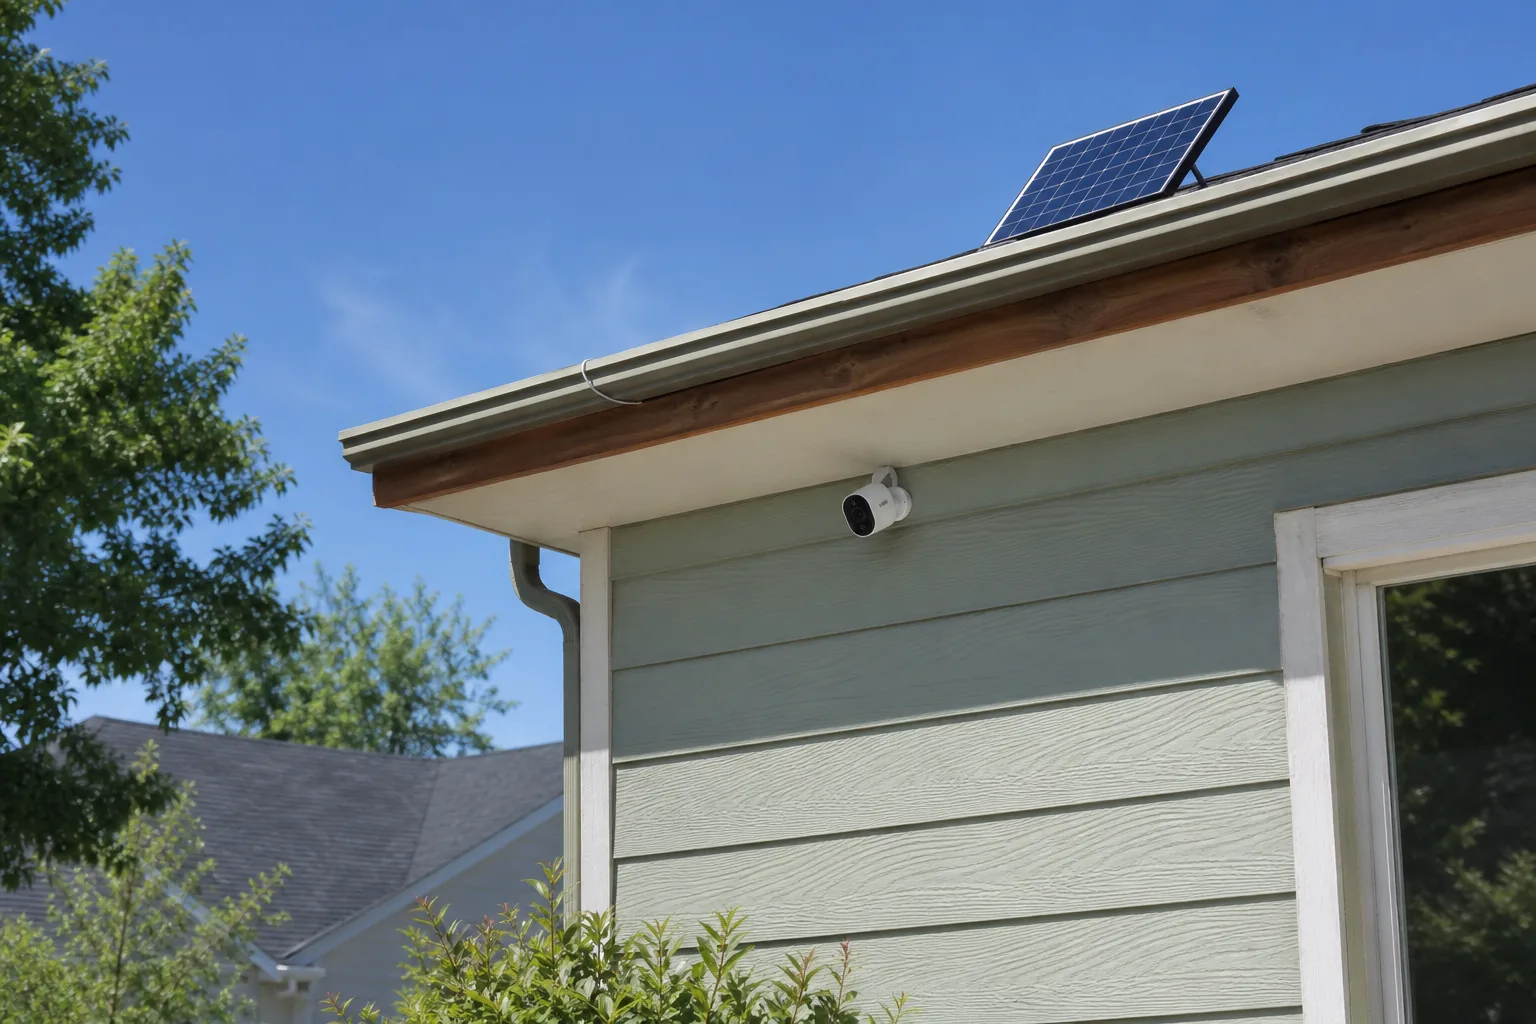
Check 1: sun exposure for the panel
Walk the property at different times of day and look at where direct light lands on the wall or eave. A panel in permanent shade from a roof overhang, a tree or a neighboring fence will not keep the battery topped up, however good the camera is.
Panel position
- Face the panel toward the sky, not toward a wall or hedge.
- Pick a spot with open sky for much of the day, and think about how trees leaf out in summer.
- Choose a camera with a detachable or separate panel if the spot with the right view and the sunniest spot are not the same place.
- Keep the panel surface clear of dust, leaves, snow and bird droppings.
A separate panel on a cable lets you put the camera under the eave for its view while the panel sits in the sun. Look for the cable length on the spec sheet before you decide where each piece goes.
Seasons and latitude
Winter days are shorter and the sun sits lower. If you live in a cloudy or northern region, plan on the panel as a top-up and expect to charge the battery by cable now and then. A USB charging cable in the box makes that possible.
Check 2: battery capacity and how the camera wakes
Look for the battery capacity on the spec sheet, usually listed in mAh, and then look at how the camera spends it. Motion-triggered wake, a rest mode and adjustable sensitivity all affect how often the battery is used.
- Wake mode: a PIR sensor with an auto-wake mode lets the camera rest between motion events.
- Activity at the spot: a camera facing a busy street wakes more often than one aimed at a side gate.
- Extras: live view, two-way talk and night recording each draw on the same battery.
- Charging path: confirm you can charge by cable as a backup to the panel.
Set the detection zone to your own property so passing cars and neighbors do not trigger recordings. Each false wake draws on the battery, so a tighter zone means fewer unneeded recordings.
Field note
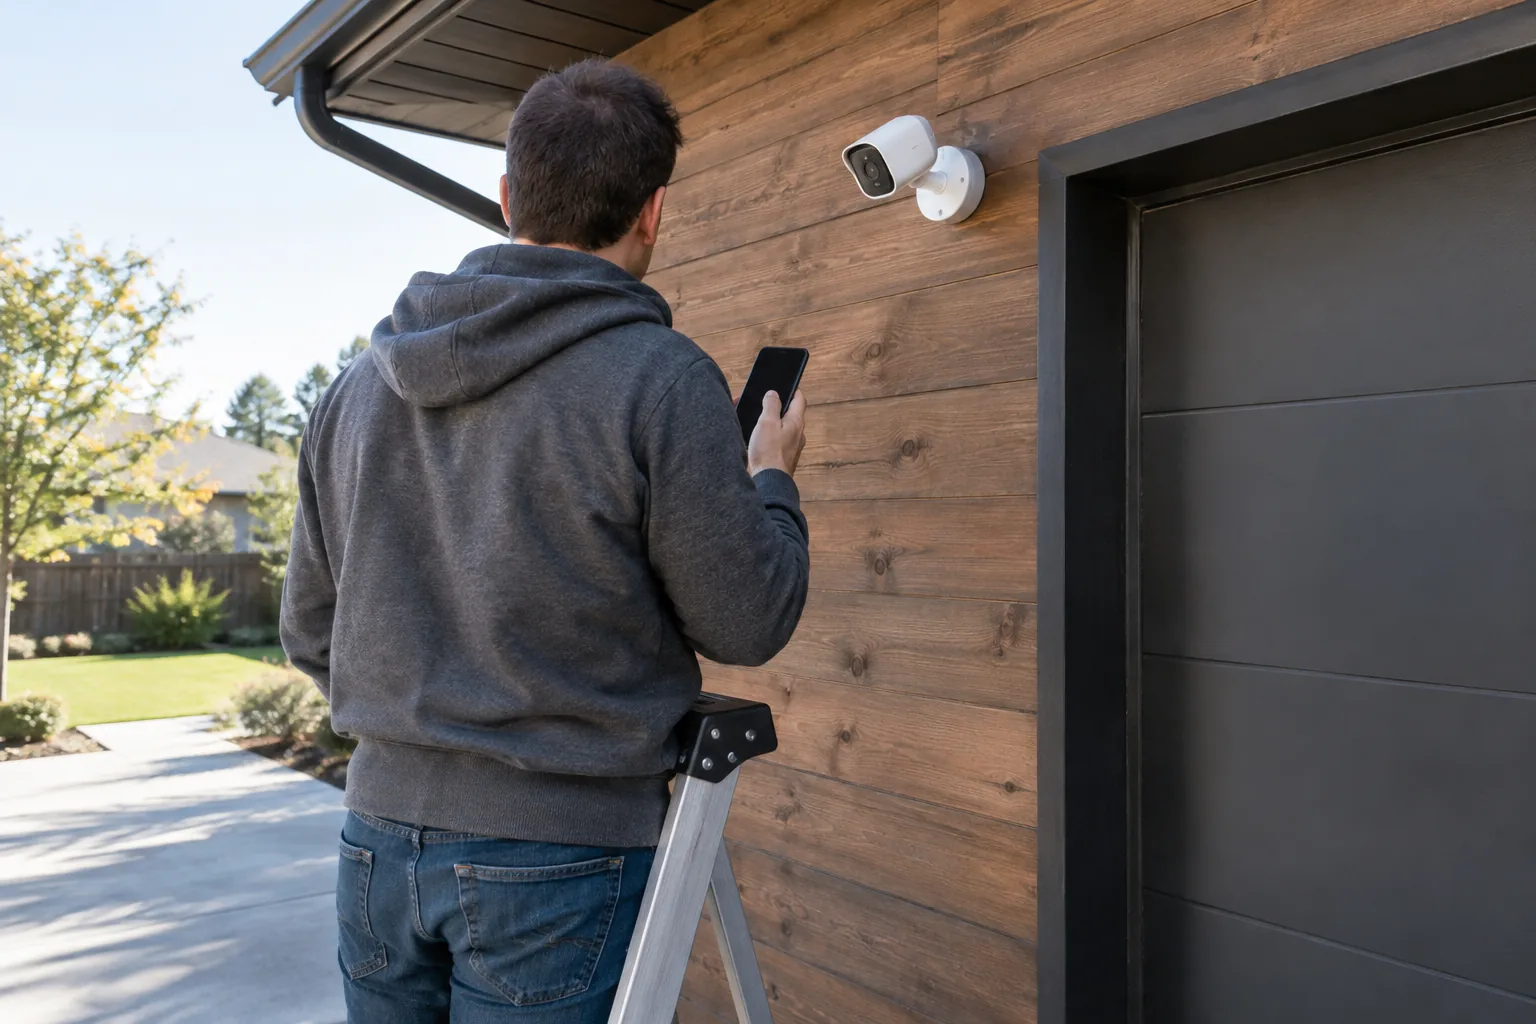
Before you drill, hold the camera and panel at the planned spots and watch where shadows fall through the day. A ladder and a pencil mark cost little before the holes are made.
Check 3: Wi-Fi range at the mounting spot
A camera that works on the bench can fail on the wall if the router is two rooms and one exterior wall away. Stand at the mounting spot with your phone and look at the Wi-Fi signal bars, or run a speed check on the 2.4 GHz band if your router separates bands.
- Some wireless cameras connect only to 2.4 GHz Wi-Fi, which carries farther through walls than 5 GHz. Confirm the band on the spec sheet.
- If the signal is weak, move the router, add a mesh node or extender near the exterior wall, or move the camera.
- Brick, stucco, metal siding and foil-backed insulation all weaken a signal.
If your question is whether you need Wi-Fi at all: some solar cameras use a cellular plan instead and suit properties with no network, such as a barn or a far gate. They come with a data plan, so weigh that against a Wi-Fi model. Cameras like the ones in this guide connect to your home Wi-Fi through the app.
Check 4: local storage and subscriptions
For a wireless solar-powered security camera, decide where clips go. A local SD or microSD card keeps footage in the camera, so recording does not depend on a cloud upload. Cloud storage can be a second copy, but some cloud plans are billed monthly, so read what the camera does without one.
- Check the card type and the largest size the camera accepts.
- Check whether a card is included or you have to buy one.
- Check what the app still does without a plan: live view, alerts and playback.
- Remember that a camera on a wall can be taken. A cloud copy or an in-house backup keeps a second set of clips if the camera and its card go missing.
For a solar powered outdoor security camera you want to run without a plan, a model with local card storage is the starting point. You can also compare other models in our Security Cameras & Doorbells collection.
Two solar-ready cameras we stock
These two fit the checklist above in different ways. Both save to a local card and connect through Wi-Fi.
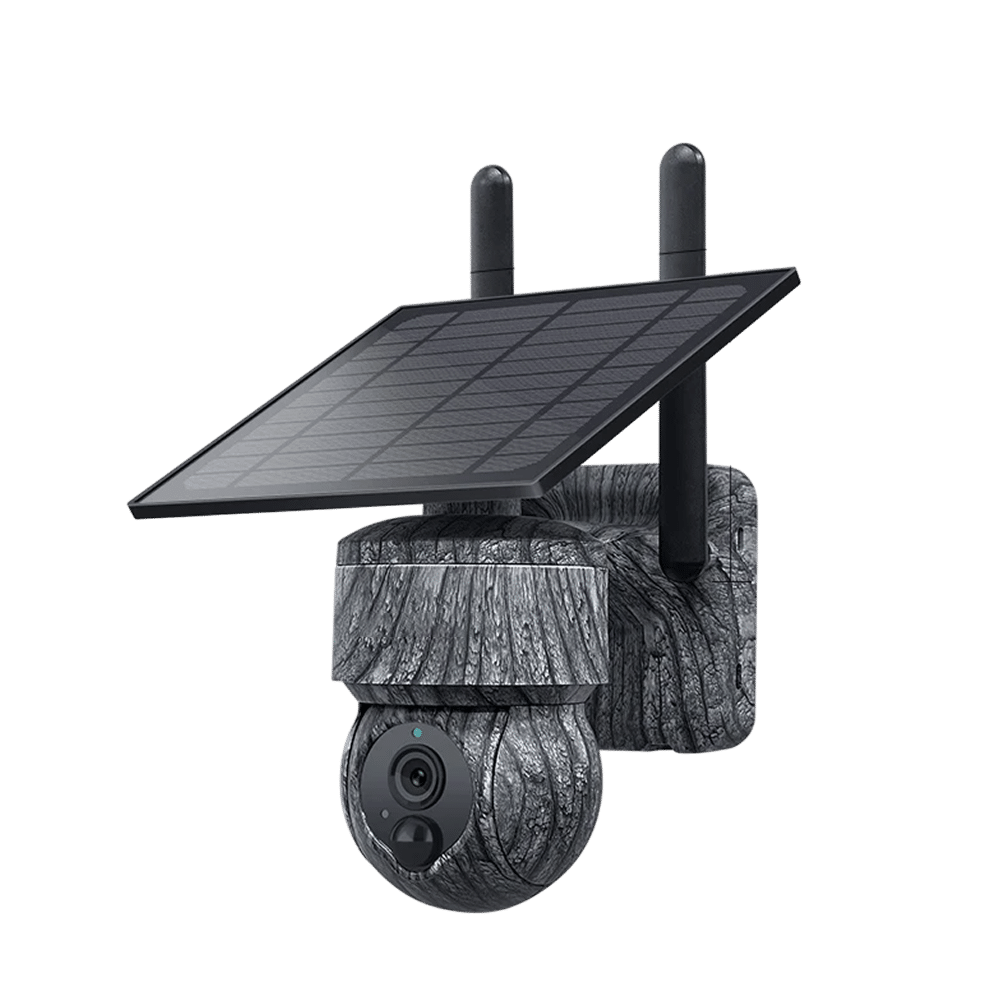
HelioSentry with a detachable solar panel
HelioSentry is a wireless outdoor security camera with a detachable solar panel, a USB charging cable and a 4MP sensor. PIR sensors send motion alerts to your phone, and the auto-wake mode lets the camera rest between events. A built-in mic and speaker give you two-way talk, and clips save to a local SD card, with cloud backup as an option. The housing is made for outdoor mounting and a mounting kit is included.
 In this guideHelioSentry$199.99View
SentryNest with a solar panel in the box
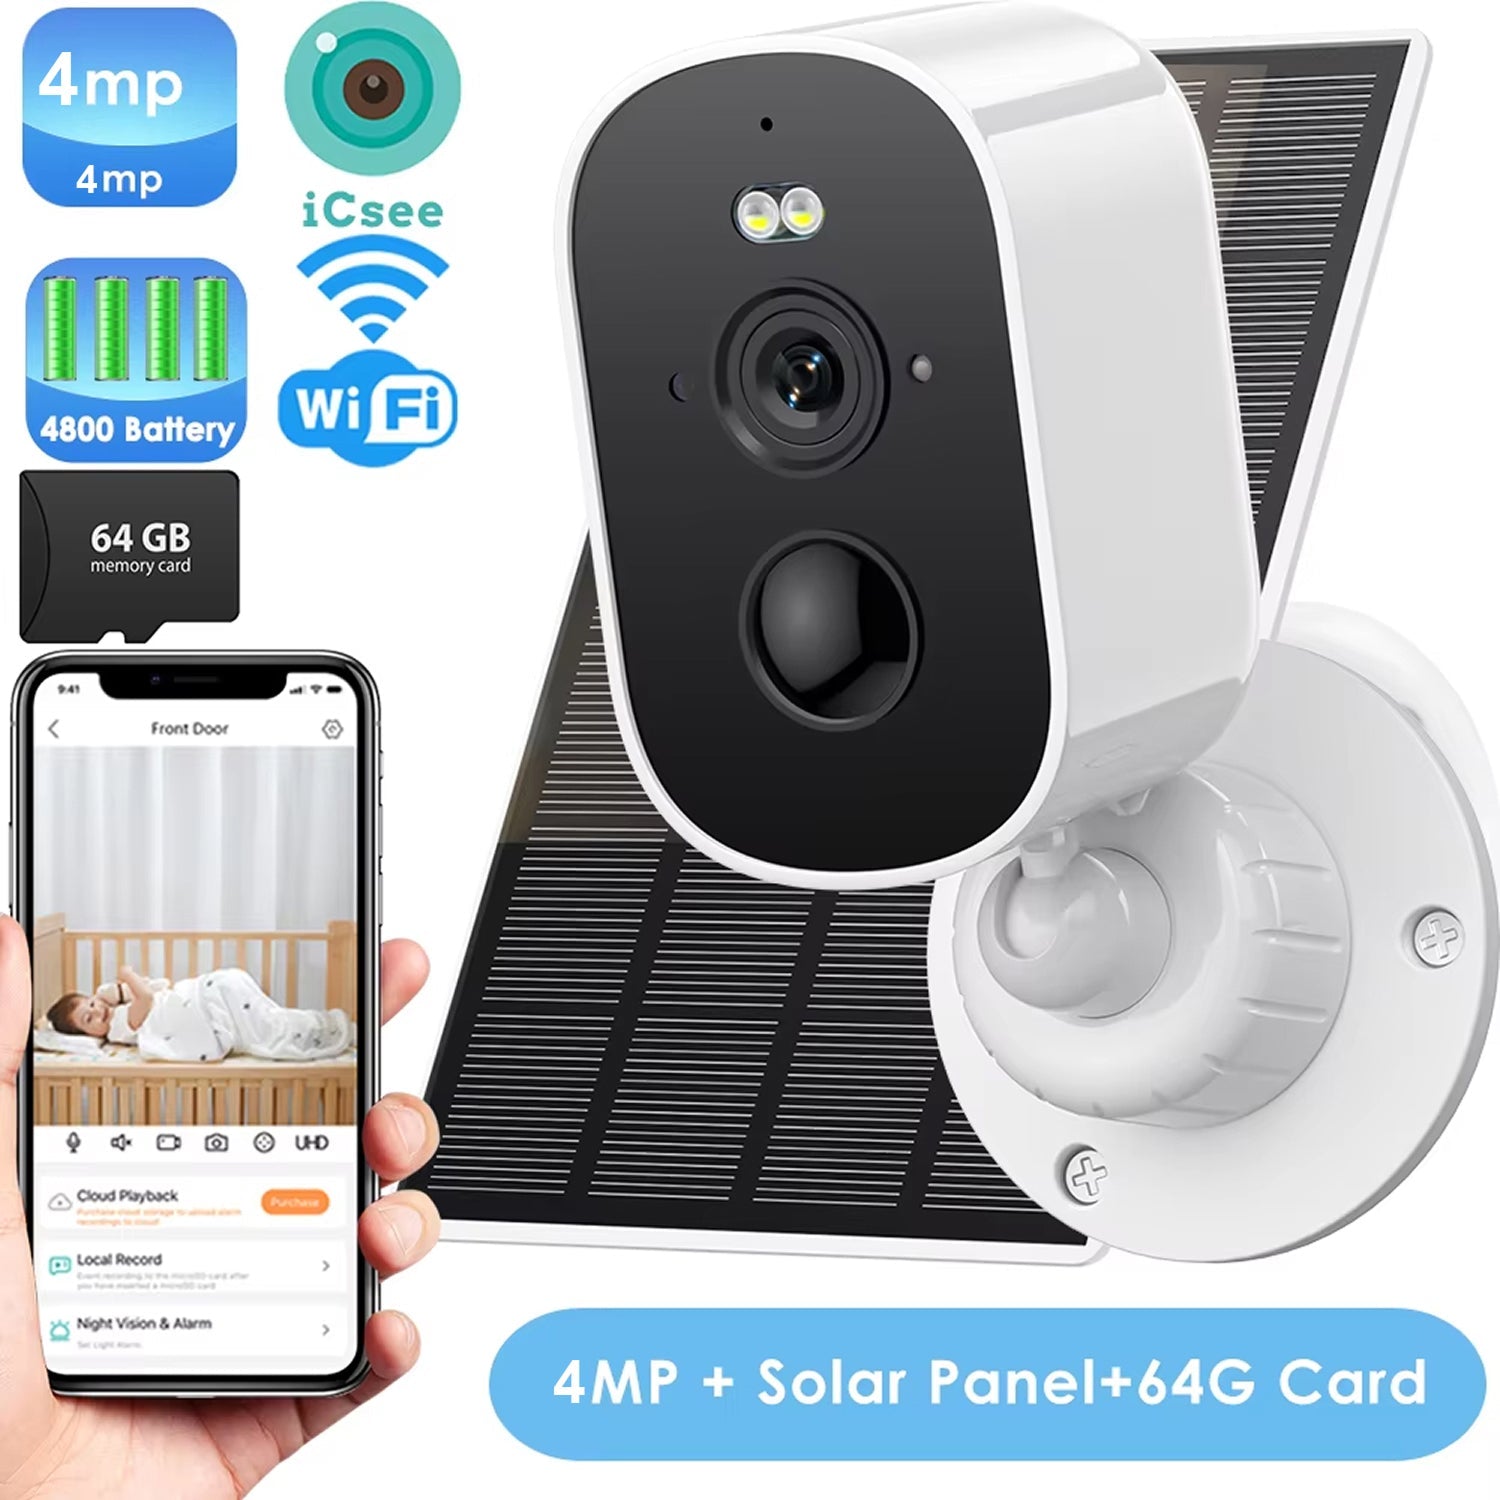
SentryNest is a wireless camera with a PIR motion sensor and Wi-Fi. It records to a local microSD card, with a 64GB card in the box, and sends alerts to a companion app. A solar panel and its bracket are included, along with a USB-C charging cable if you prefer to charge the battery directly. The base fixes to a wall with the 4 screws and 4 anchors in the box, indoors or outdoors.
 In this guideSentryNest$149.99View
Decision table: match the check to the spec sheet
Use this table to screen any camera against the four checks.
| Check | What to look for | Red flag |
|---|---|---|
| Panel sun exposure | Open sky, detachable panel, charging cable | Panel fixed to the camera in a shaded spot |
| Battery | Listed mAh, PIR wake mode, cable charging | Continuous streaming with no rest mode |
| Wi-Fi range | Band stated, signal confirmed at the spot | Router behind several walls |
| Storage | Local card, stated max size | Clips only usable with a paid plan |
| Mounting | Hardware included, outdoor housing | Indoor-only housing for an exposed spot |
| Alerts | Phone notifications, adjustable zones | No way to limit motion detection |
Common mistakes to avoid
- Mounting under a deep eave and putting the panel on the same bracket.
- Checking Wi-Fi at the router instead of at the wall.
- Aiming at a road or a swaying tree, which triggers constant wakes.
- Skipping the first full charge by cable before mounting.
- Mounting too low, where the lens can be reached or the panel covered.
- Ignoring recall notices. Check official recall listings for any model you are considering, and follow the manual for charging.
Setup checklist for mounting day
- Charge the battery by cable and pair the camera with the app first, indoors.
- Confirm the Wi-Fi signal at the exact mounting spot.
- Hold the camera and panel in place and check the live view and the sky.
- Mount with the included hardware, then route any cable away from the lens.
- Set the detection zone and walk through it to confirm alerts reach your phone.
- Confirm a clip lands on the card, then play it back.
- Wipe the panel on a regular schedule and check the app battery level after cloudy stretches.
If you are also lighting the area, our guide to choosing power, range and settings for an outdoor motion sensor light covers the same placement questions for lights.
Frequently asked questions
Keep reading
 Security Cameras & DoorbellsDIY Home Security Systems: Cameras, Doorbells and Lights to Combine9 min read
 Home Utility & Detection DevicesWhat Is a Water Leak Detector? Types and Where to Place Them6 min read
 Security Cameras & DoorbellsDoorbell Camera No Subscription: Storage Options and Setup7 min read