How to Care for an Aloe Plant Indoors: Light, Water and Soil
Learn how to care for an aloe plant: measure light in lux, set a grow light height for winter, and water by reading the leaves and checking that the soil is dry.
The Cobalt Hollow Team
November 13, 2026 · 6 min read
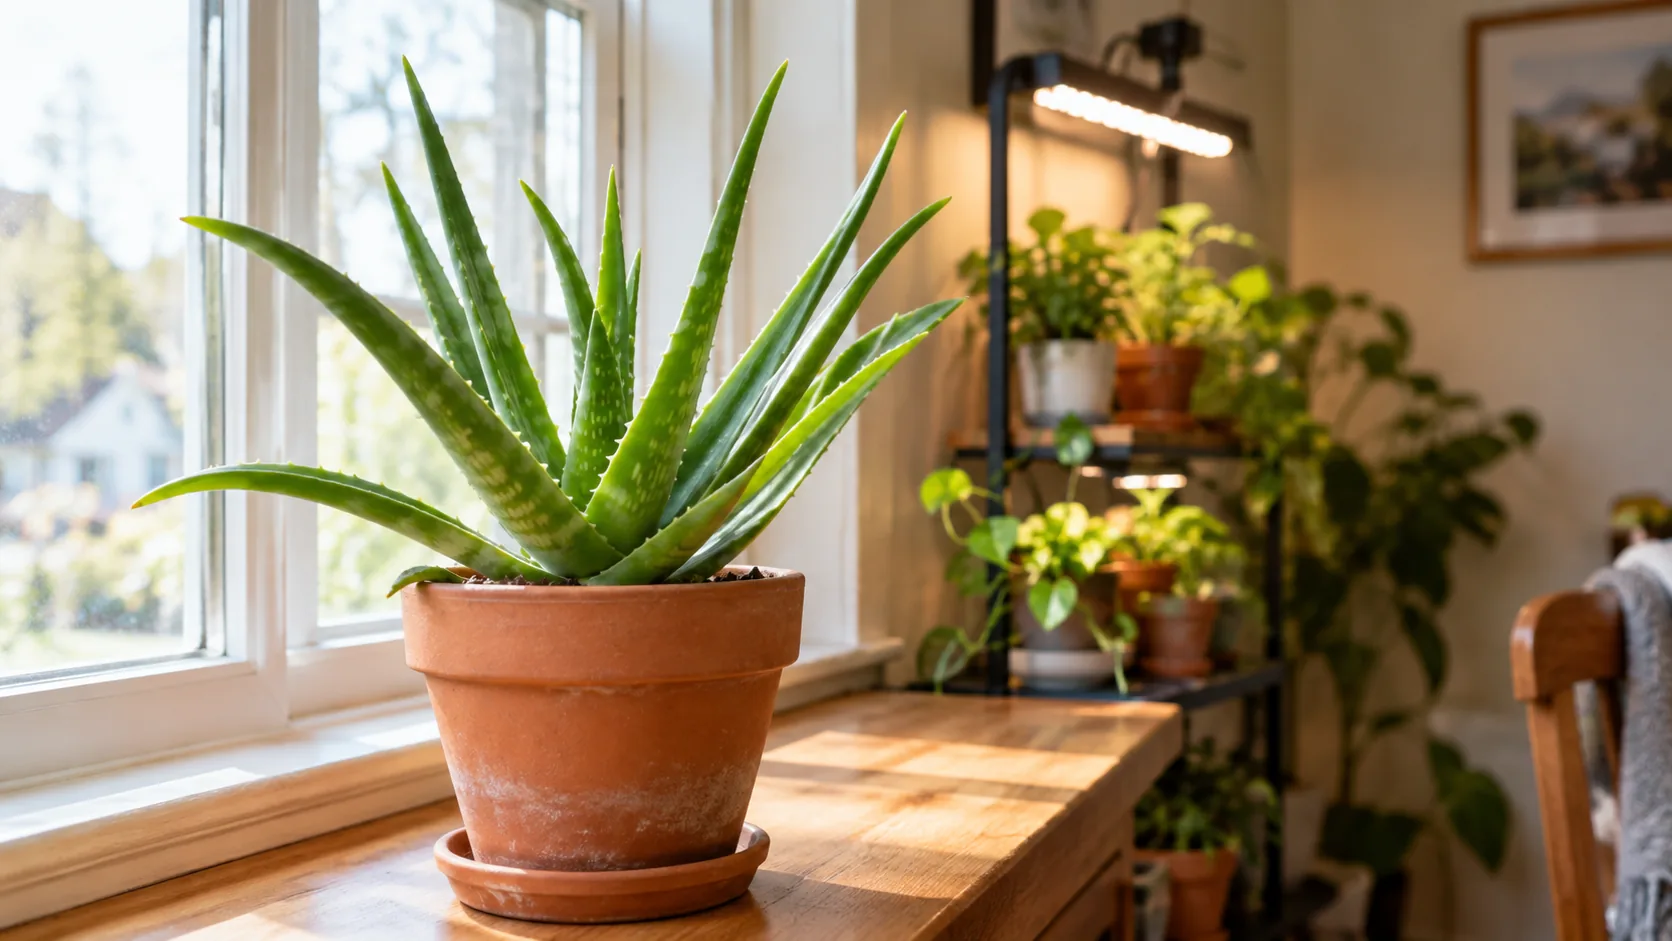
To learn how to care for an aloe plant indoors, give it bright light, water only after the soil has dried out completely, and plant it in a gritty mix in a pot with drainage holes. Problems often trace back to one of those three. This guide shows how to measure the light, set a grow light in winter, and read the leaves to decide when to water.
Aloe is a succulent, so its thick leaves store water. That is why a missed watering is less of a problem than a soggy pot.
Aloe care at a glance
| Factor | What to do | Warning sign |
|---|---|---|
| Light | Bright light, with direct sun only if the leaves handle it; aim for a steady reading at leaf height | Tall, leaning, pale growth |
| Water | Soak the pot, then wait until the soil is dry all the way down | Mushy base or soft, drooping leaves |
| Soil | Succulent soil or cactus mix, loosened with grit | Soil that stays wet for days |
| Pot | Drainage holes, snug fit | Water pooling in the bottom |
| Feeding | Light feeding in the growing season only | White crust on the soil surface |
How to care for an aloe plant's light: measure it, don't guess
Do aloe plants need direct sunlight? They need strong light, but not always direct sun. A south- or west-facing window gives bright light, and some plants scorch when they move from a dim room straight into hot afternoon sun. Brown or reddish-tan patches on the side facing the glass point to too much light. Stretched, thin, leaning growth points to too little.
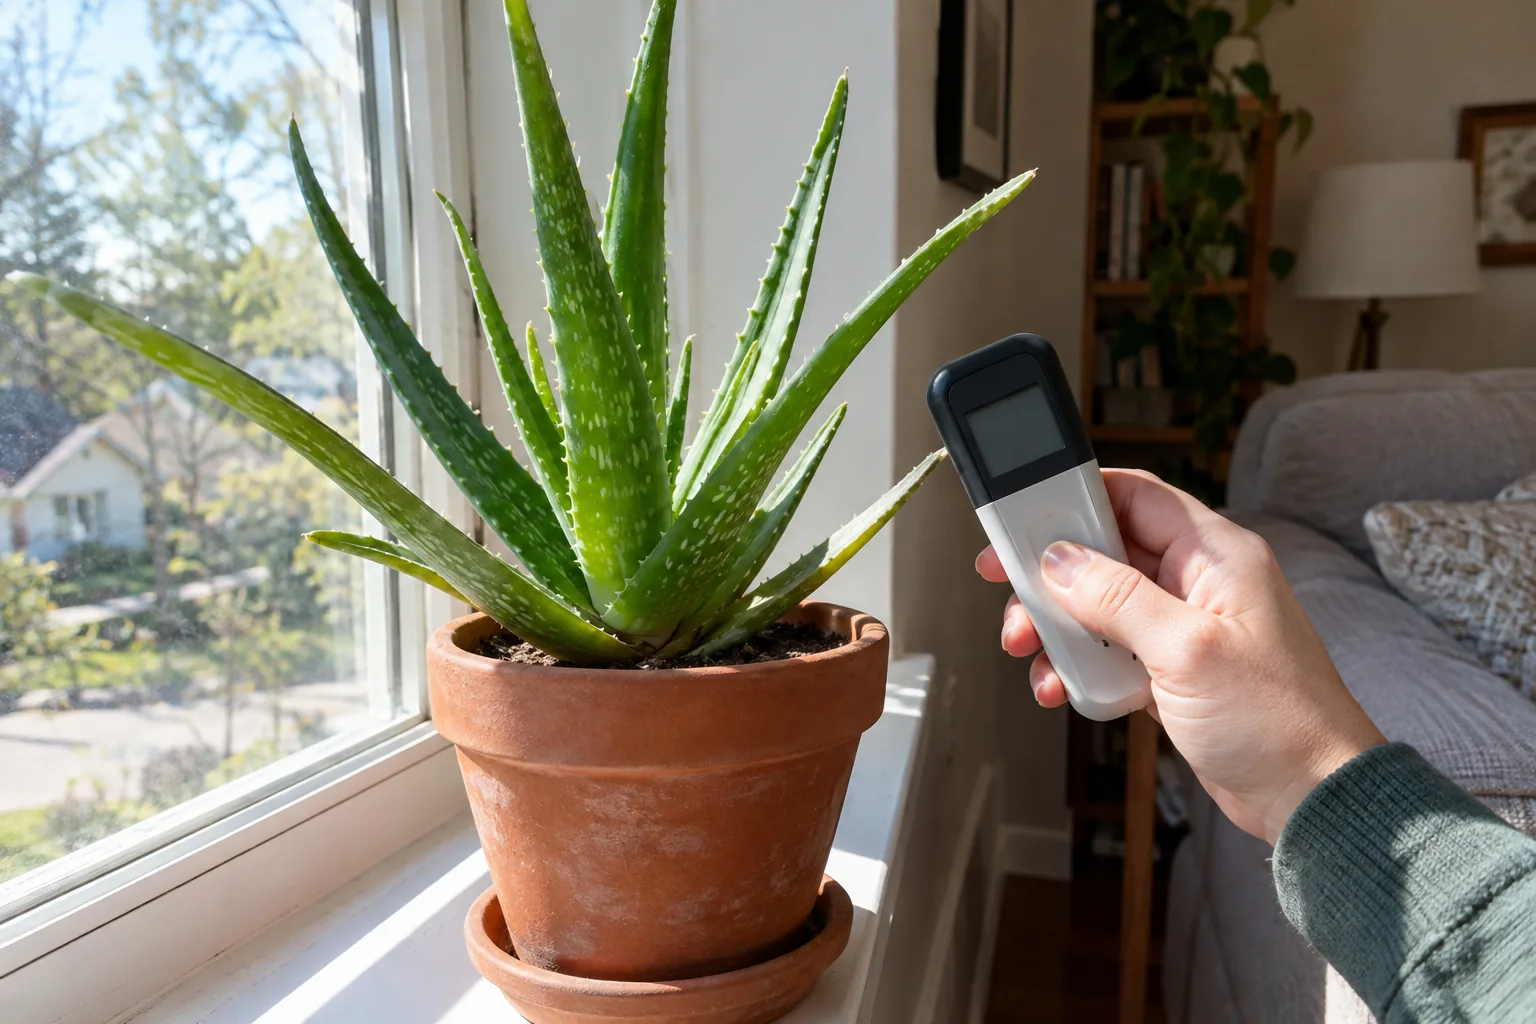
Your eye is a poor judge of this, because a room that looks bright can read low. A light meter turns the guess into a number. Hold the sensor toward the light at the height of the leaves, read the lux value, and compare spots.
Target readings to start from
As a starting point, look for a reading in the range of roughly 10,000 to 20,000 lux at leaf height for a few hours a day, and check it against the light range on your plant's tag. If a spot reads far lower, move the plant closer to the window or add a grow light. If the leaves redden or bleach while the reading is high, step back from the glass or add a sheer curtain.
Take readings at different times, because a window that is bright at noon can be dim by 3 p.m. Rotate the pot a quarter turn each week so the rosette grows evenly instead of leaning.
 In this guideLuxBloom$99.99View
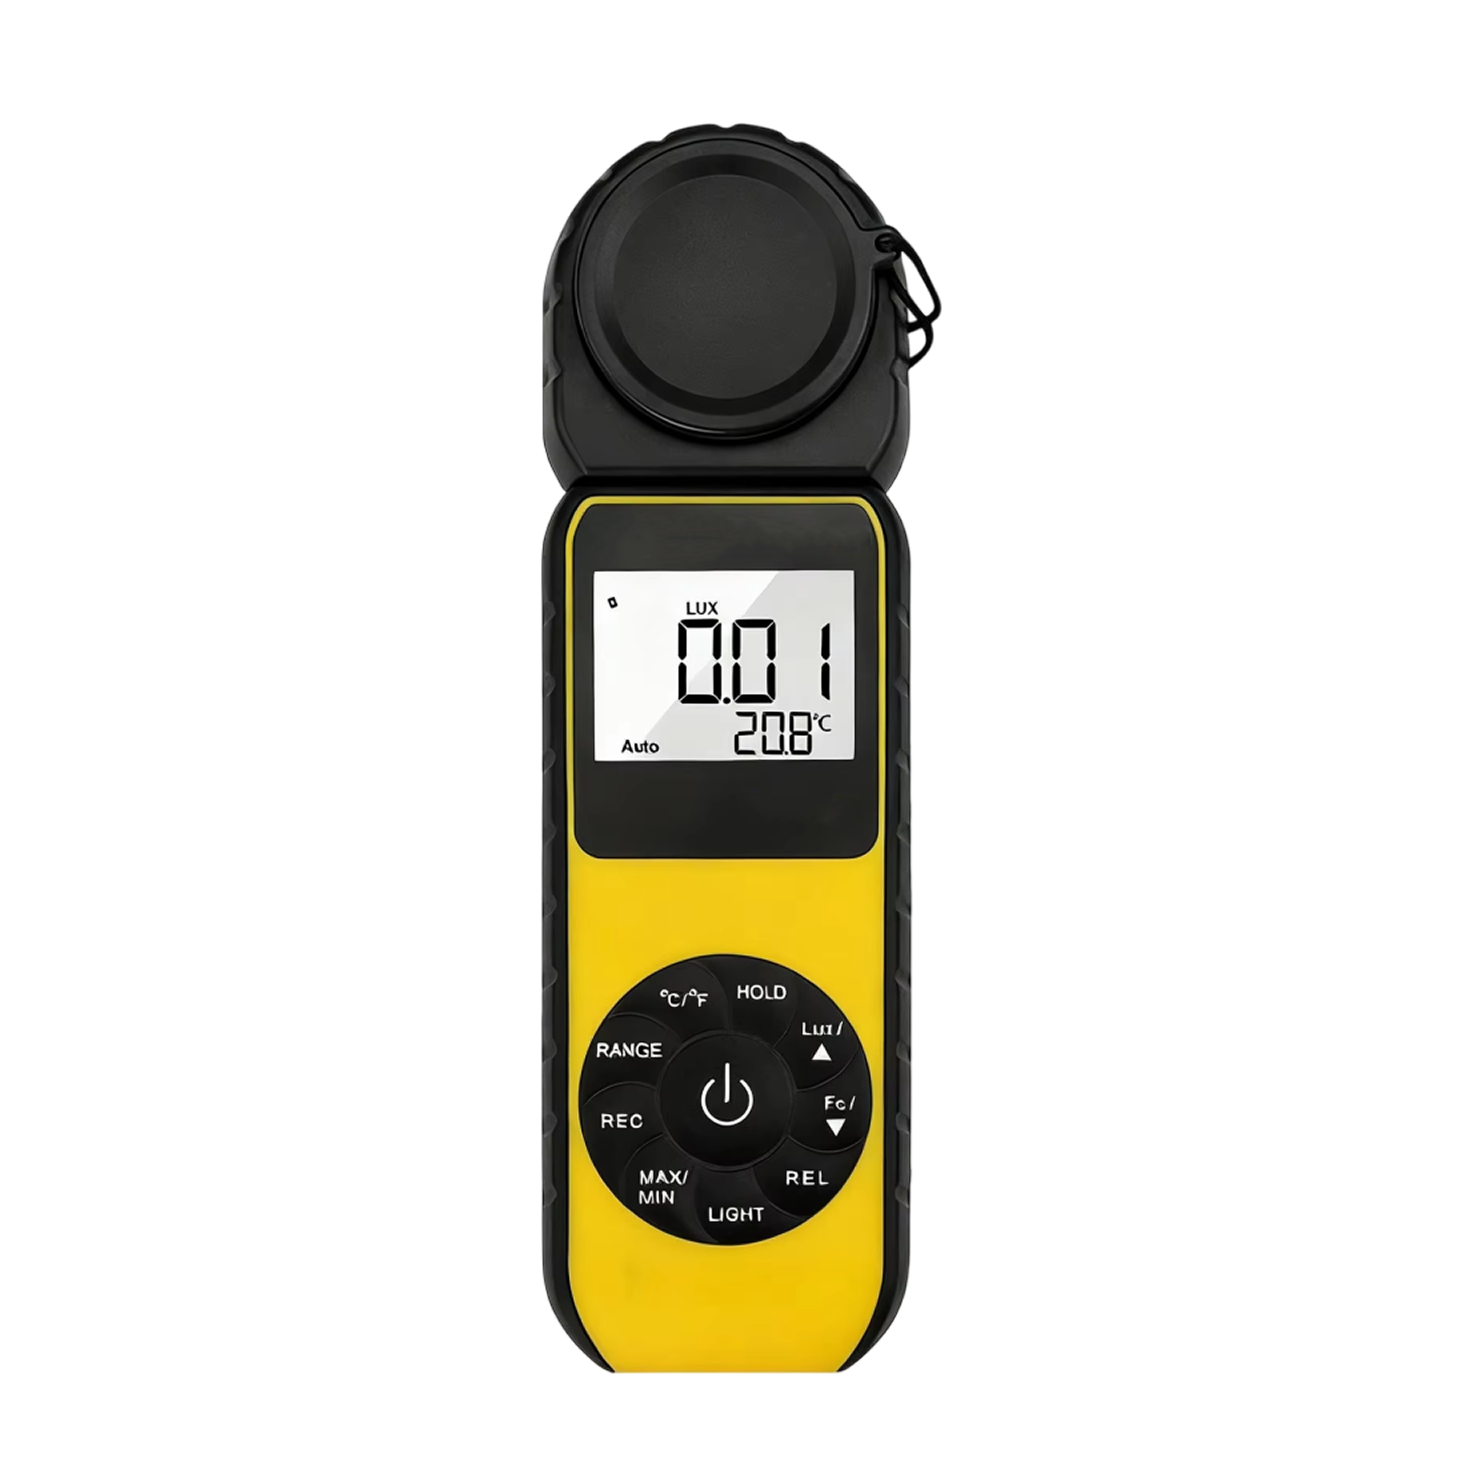
The LuxBloom is a handheld light meter for plants with a photodiode sensor and a backlit display, so you can read the lux number in a dim corner. Its sensor head rotates through 270° to aim at the leaves, and it stores 33 saved readings, which helps when you compare a windowsill, a shelf and a desk.
Using a grow light in winter
Short winter days and low sun can leave a window too dim for aloe. A full-spectrum LED grow light fills the gap. For a deeper look at spectrum and hours, read Can Plants Grow With LED Lights? Spectrum, Distance and Hours.
How far to hang the light
Start with the head about 30 to 45 cm (12 to 18 in) above the leaves, then take a reading at the top of the rosette. If the number is under your target, lower the head a few centimeters. If the leaf tips look bleached or tan, raise it and read again. Adjust in small steps and wait a few days between changes so you can see how the plant responds.
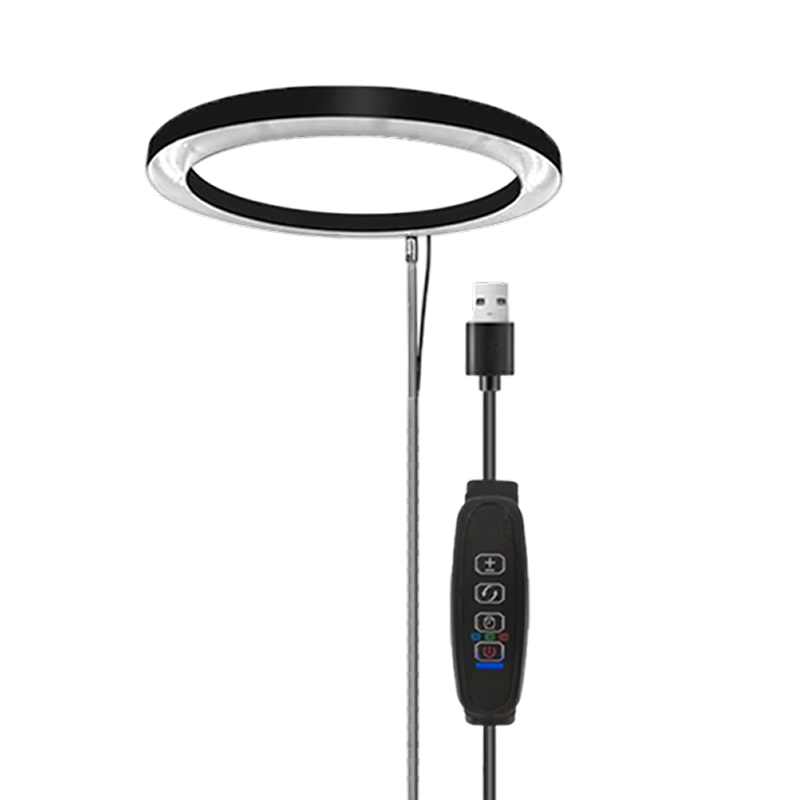
The FloraAxis fits this job. It has a round 16 cm (about 6 in) LED head with 70 LED beads giving full-spectrum white light, so you can check leaves and soil in normal color while it is on. The stand adjusts from 20 to 165 cm (about 8 to 65 in) by hand, and the built-in auto-timer has three settings so the light follows a daily schedule. Follow the manual for assembly and plug it in only after the stand is set up.
 In this guideFloraAxis$99.99View
More lights for shelves and windowless corners are in the Indoor Gardening & Grow Lights collection.
Water by reading the leaves
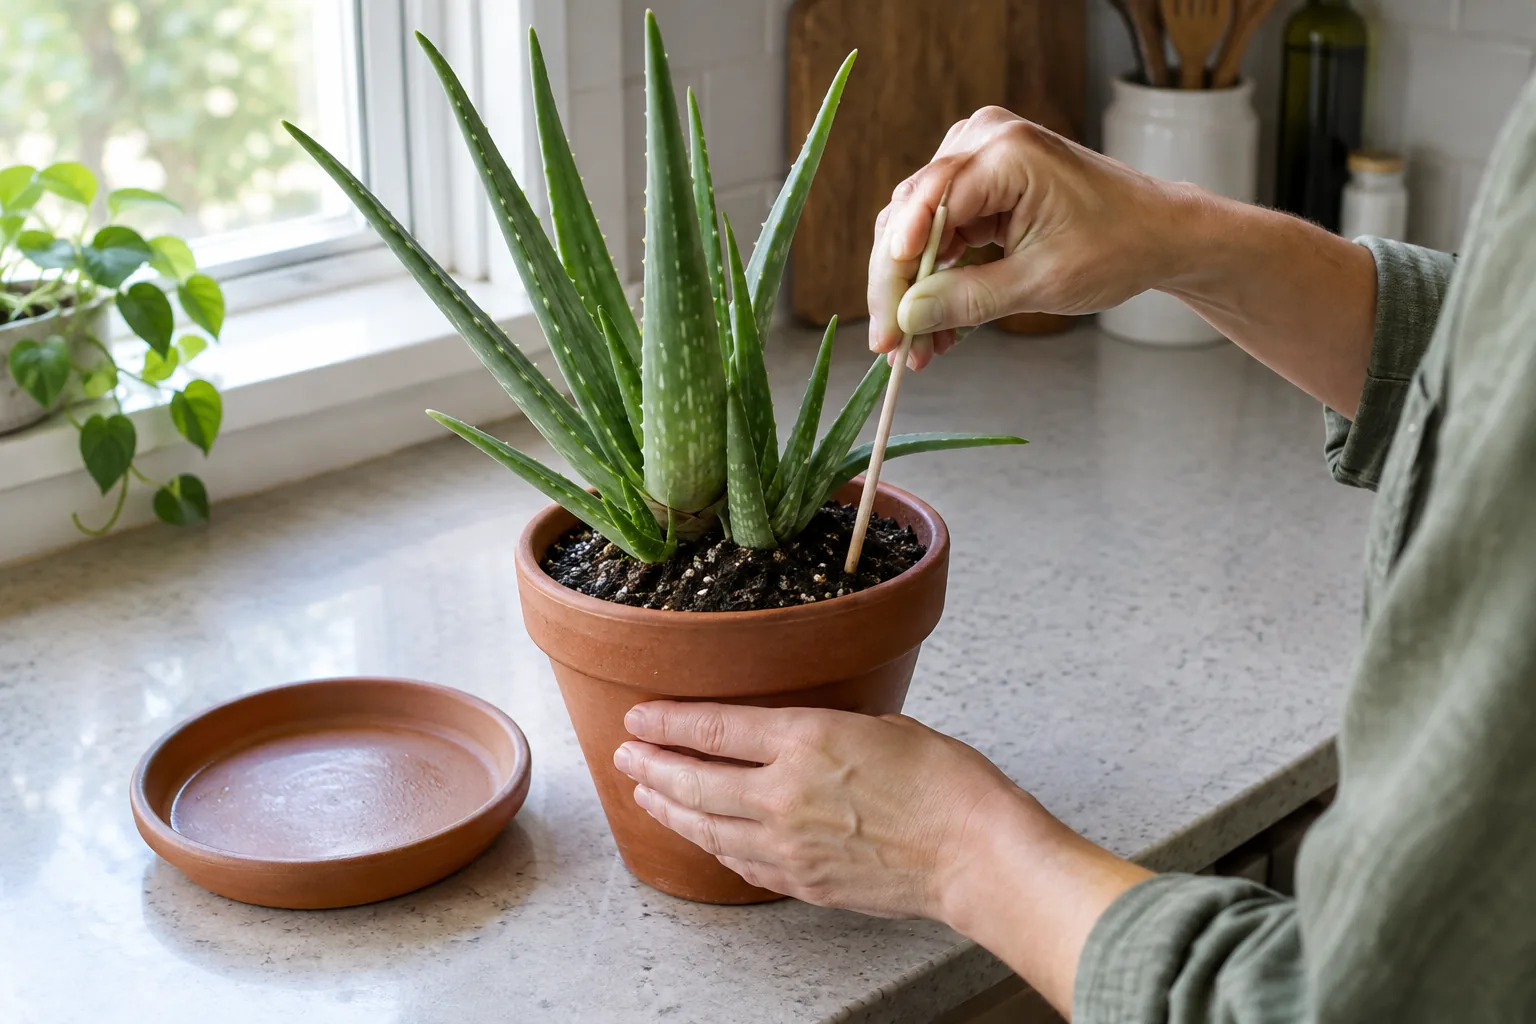
The rule is simple: soak, then dry. Water until it runs out of the drainage holes, empty the saucer, and do not water again until the soil is dry through the whole pot. Push a finger or a wooden skewer to the bottom to check. If the skewer comes out with damp soil on it, wait.
The leaves tell you the rest. Use this table as a check before every watering.
| What you see | Likely cause | What to do |
|---|---|---|
| Plump, firm, upright leaves | Balanced | Keep the routine |
| Thin, curled or creased leaves, dry soil | Underwatering | Soak thoroughly, then drain |
| Soft, translucent or yellowing leaves, damp soil | Overwatering | Hold water, check the roots |
| Mushy, dark base | Root rot | Unpot, cut away soft roots, repot in dry mix |
In the growing season (spring and summer) the soil dries sooner, so you will check more often. In fall and winter, growth slows and the pot stays damp longer, so check less often and still go by the soil, not the calendar.
Pot and soil
Choose a pot with drainage holes that is only slightly wider than the root ball. Terracotta lets the soil dry from the sides, which suits a plant that dislikes wet roots. A pot without drainage holds water at the bottom, so avoid it, or keep the aloe in a plain nursery pot inside the decorative one and lift it out to water.
Standard potting soil holds a lot of moisture on its own. Use a cactus and succulent mix, or blend potting soil with coarse sand, perlite or pumice so water passes through. Repot when roots circle the bottom or pups crowd the pot, ideally in spring. Wait a few days after repotting before the first watering.
Feeding
Aloe needs little. Use a diluted houseplant or cactus fertilizer once or twice in the growing season and follow the label. Skip feeding in winter.
Trimming, cutting and harvesting
Should you cut off brown tips?
You can trim them for looks. Use clean scissors and cut only the dead brown part, following the natural taper of the leaf. Brown tips come from dry soil, too much sun or mineral buildup, so fix the cause as well, or they return. A fully brown, shriveled leaf can be cut off at the base.
How to cut an aloe so it keeps growing
Remove the oldest outer leaves, cutting close to the stem. Leave the center leaves alone, because new growth comes from the middle of the rosette. Do not cut the top off the plant, and leave several healthy leaves in place.
How to harvest aloe vera gel
- Pick a thick, mature outer leaf from a plant that is not stressed.
- Cut it close to the base with a clean, sharp knife.
- Stand the leaf upright in a cup so the yellow sap drains.
- Rinse it, trim off the spiny edges and slice the leaf open.
- Scoop out the clear gel with a spoon.
Use the gel fresh, since it does not keep well. Take only one or two leaves at a time and let the plant rest before you harvest again.
Common mistakes checklist
- Watering on a fixed schedule instead of checking the soil.
- Leaving water standing in the saucer.
- Moving the plant into full afternoon sun all at once.
- Keeping it in a dim corner without checking the light reading.
- Using dense potting soil with no grit.
- Repotting into a pot much larger than the roots.
If you grow other plants near the same window, Indoor Herb Garden: Which Herbs to Grow and How to Set It Up covers a setup that can share the light.
Field note
Check the lux reading in winter, not just summer. A spot that suits your aloe in July can read much lower in December, and that is when the plant starts to stretch.