
Coffee Manual Burr Grinder vs Electric: Which Fits Your Brew
Choose a manual burr grinder if you brew one or two cups and don't mind cranking. Choose electric for larger batches or when you switch brew methods often.
The Cobalt Hollow Team
October 17, 2026 · 8 min read
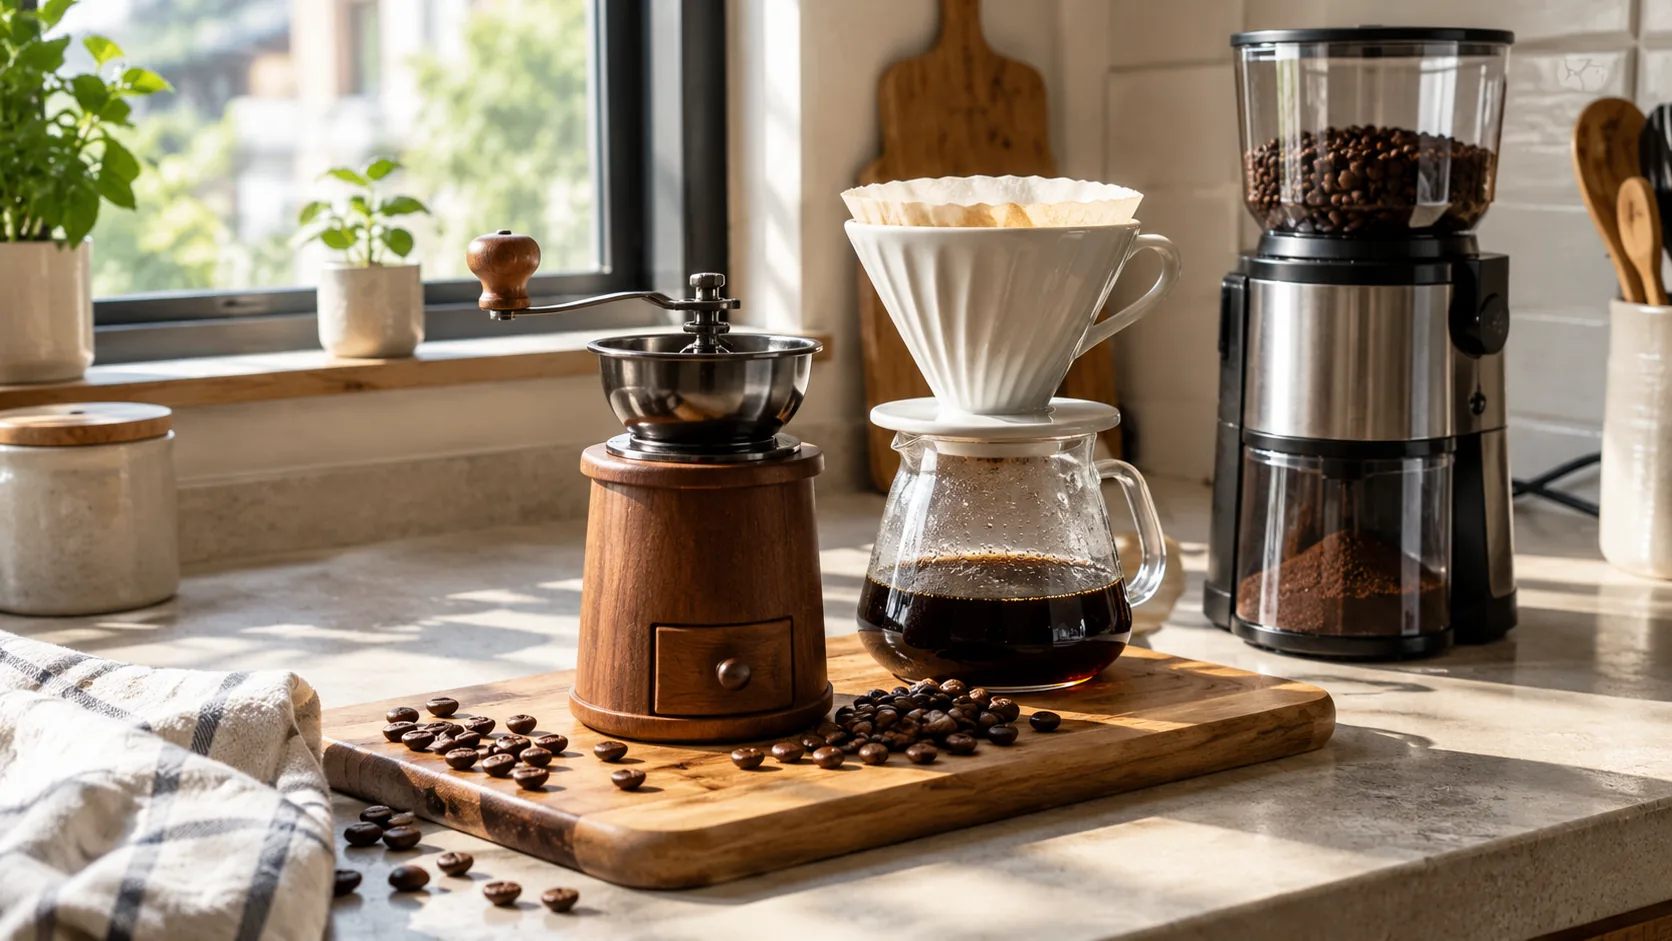
A coffee manual burr grinder and an electric burr grinder both crush whole beans between two burrs, so the real difference is who supplies the power and how many cups you make. Pick manual if you brew one or two cups, want a compact tool and don't mind cranking. Pick electric if you grind bigger batches, switch brew methods often, or want to press a button and walk away.
This guide compares the two on grind consistency, effort, speed, capacity and brew method. It then gives you a decision checklist, a grind size chart and a care routine.
Coffee manual burr grinder vs electric at a glance
Burrs are two toothed surfaces that crush beans to a size set by the gap between them. That is different from a blade grinder, which chops beans at random. The table shows where manual and electric burr grinders actually differ.
| Factor | Manual burr grinder | Electric burr grinder |
|---|---|---|
| Power source | Your hand and a crank | Motor, plugged into an outlet |
| Grind consistency | Depends on burr quality and how well the unit is built | Depends on burr quality and how well the unit is built |
| Effort | You crank for the whole dose | Press a button |
| Speed | Tied to how fast and how long you crank | Set by the motor; you can do something else meanwhile |
| Capacity | Suits one to two cups | Suits a single cup through a full pot |
| Portability | No cord, easy to pack for camping or travel | Needs an outlet and counter space |
| Adjustment | Click or dial steps, varies by model | Collar or dial steps, often with a dose control |
| Cleaning | Few parts, brush out the burrs | Hopper, catch chamber and burr cavity |
Look at the consistency row. Power source does not decide grind quality. Burr material, how steady the burrs sit and how precisely the adjustment works matter more than whether a motor or a hand turns them. A cheaply built unit of either type can be less consistent than a well built one.
How a manual burr grinder works in daily use
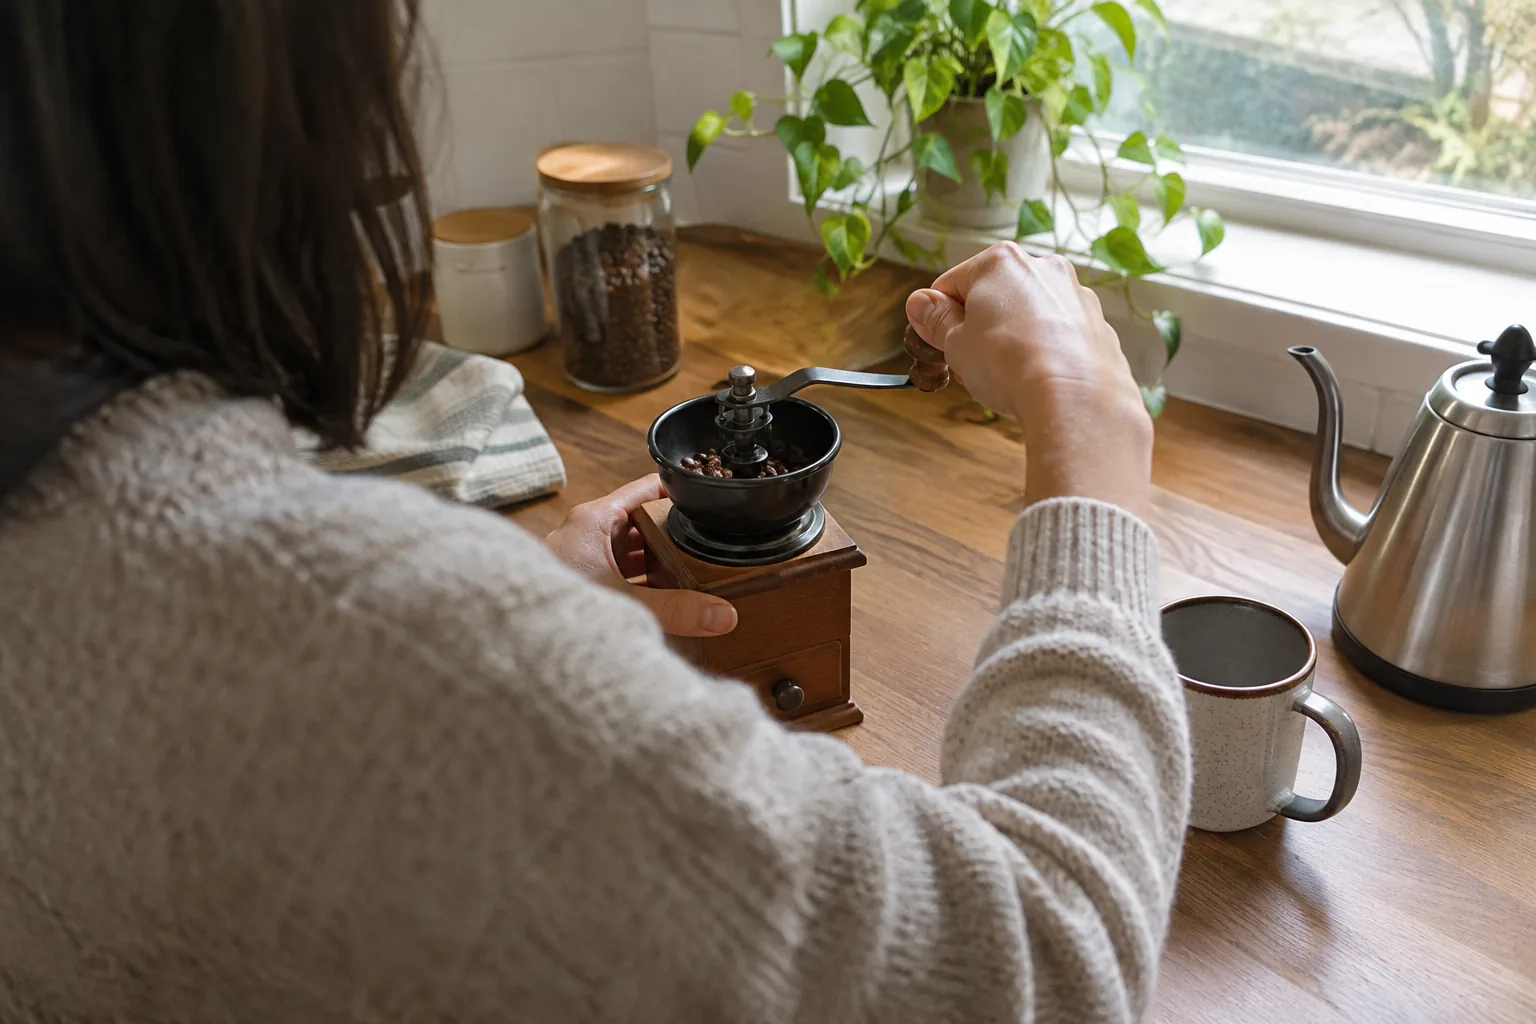
You drop whole coffee beans into a small hopper, set the adjustment, and turn the handle. The burrs pull beans down, crush them, and drop the grounds into a catch cup below. When the cup is full or the crank spins freely, you are done.
The parts of a hand grinder
- Burr mechanism: one burr stays fixed while the other turns with the handle.
- Adjustment dial: it moves the burrs closer together or farther apart. Many models use numbered or clicked steps.
- Handle and crank: the crank turns the moving burr. A longer handle changes how the turn feels in your hand.
- Grounds chamber: the catch cup collects the grounds and usually twists or slides off the body.
Ceramic burrs, stainless steel and conical shapes
When you compare hand grinders, the burr is the part to read about. Ceramic burrs and stainless steel burrs are the two common materials, and product listings state which one a grinder uses and which brew methods it is meant for.
You will also see the term conical burr coffee grinder. A conical burr is cone-shaped, with a ring-shaped burr around it. Many hand grinders and many electric grinders use this shape. Whatever the shape, check that the burrs sit steadily and that the adjustment does not wobble when you crank.
What you gain
- Small footprint: most hand grinders fit in a drawer or a bag.
- No outlet needed: useful for a camper, a cabin, or a desk at work.
- Simple parts: fewer components means a quick brush-out between uses.
What you give up
- Arm work: fine settings for espresso take more turning than coarse settings for French press.
- Capacity: the catch cup and hopper set the size of each batch, and grinding enough for a large pot by hand gets tedious.
- Hands-on time: you cannot start it and leave the room.
Hand grinding on the road
For camping or travel, a hand grinder needs no outlet. Pack whole beans in a sealed container, grind one dose at a time, and keep the grinder in a bag where loose grounds will not spill into other gear.
How an electric burr grinder changes the routine
An electric model turns the burrs with a motor. You choose a setting, load beans, and press start. For households that brew several cups each morning, or that switch between a pour-over on weekdays and a French press on weekends, that removes the cranking and keeps the routine repeatable.
Electric units usually add a larger bean hopper, a catch chamber, and sometimes a dose control. A burr grinder for drip coffee often falls in this group, since a full pot means a bigger dose. These grinders take counter space, need an outlet, and have more parts to clean. Follow the manual, and unplug the unit before you clean or open the burr area.
GrindNova as an electric example
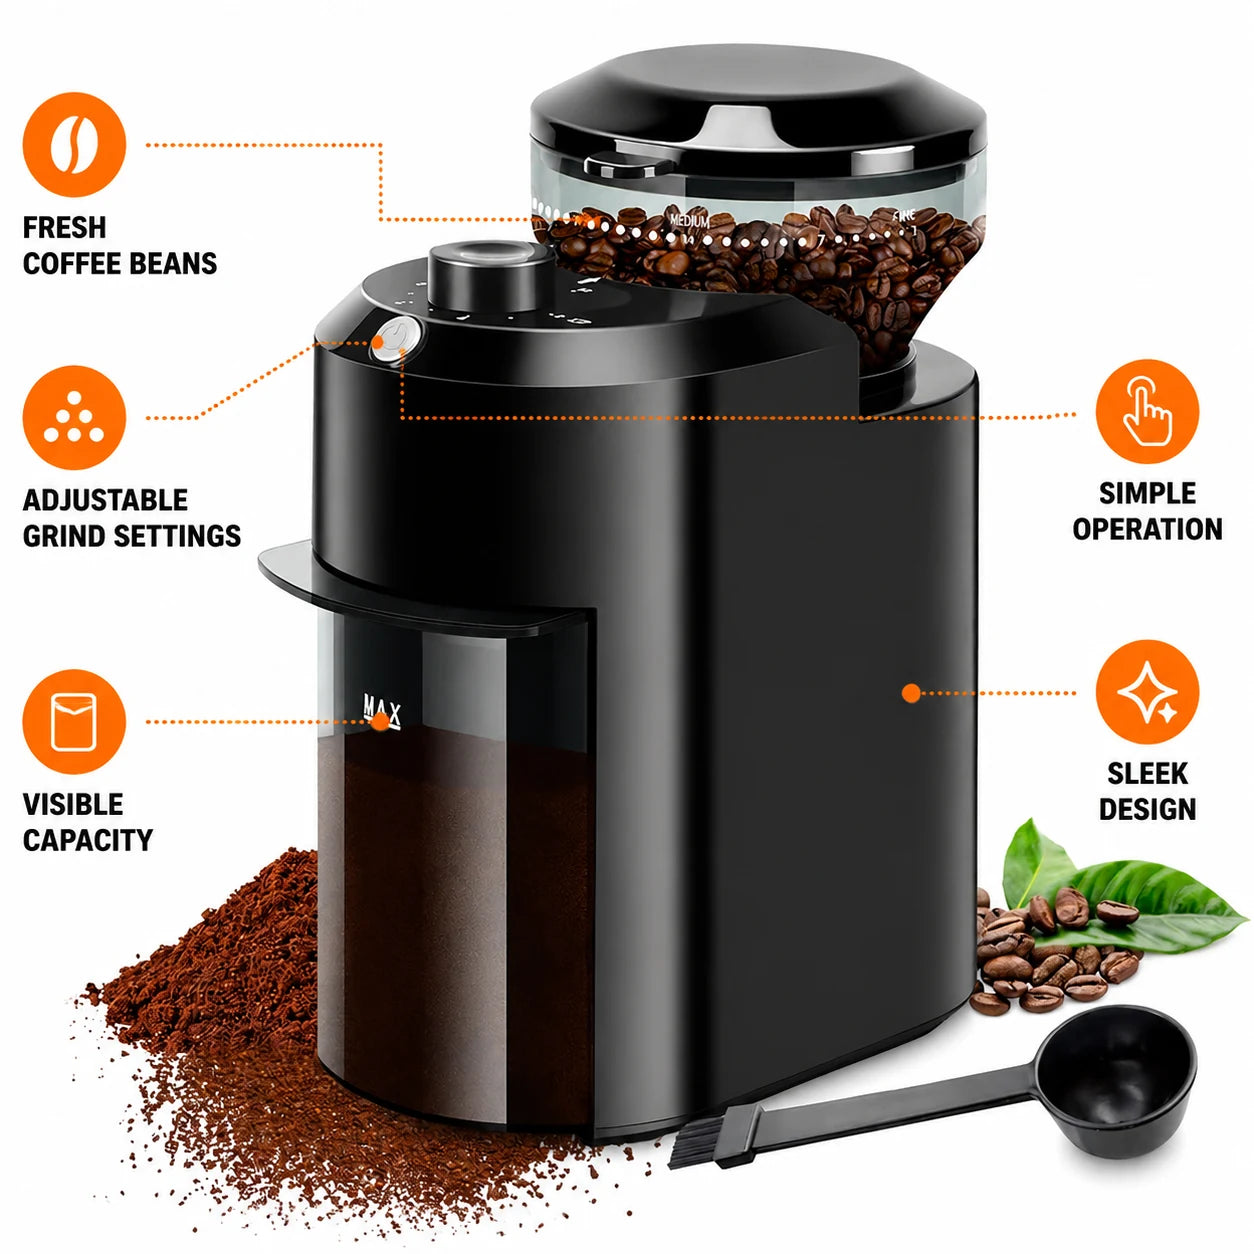
GrindNova is an electric burr grinder with metal burrs. Beans pass between the burrs rather than under a spinning blade, and the outer collar sets the burr spacing, which sets the size of the grounds.
- 28 grind settings: steps 1-8 suit espresso, 9-15 pour-over, 16-20 drip, and 21-28 French press and cold brew. A reference card lists them.
- Dose dial: set it between 2 and 12 cups to match the batch.
- 250g bean hopper with lid, and a removable anti-static catch chamber with a lid.
- Power: it plugs into a standard US 110V outlet.
To use it, pour whole beans into the hopper, turn the collar to the step for your brew method, set the dose dial, and press start. Slide out the catch chamber, tap it once, and move the grounds to your basket or filter.
The box includes the grinder, hopper and lid, catch chamber and lid, a cleaning brush sized for the burr cavity, a step reference card, a quick-start guide with espresso dial-in tips, and a US power cord. To compare other brewers and tools, browse the Coffee & Hot Beverage Makers collection.
 In this guideGrindNova$149.99View
Match the grinder to your brew method
Brew method often decides the question. Every method needs a different grind size, and some need finer, more precise adjustment than others. Use this table as a starting point, then adjust to taste.
| Brew method | Grind size | Looks like | Grinder note |
|---|---|---|---|
| Espresso | Fine | Table salt or finer | Needs small, repeatable adjustment steps |
| Moka pot | Medium-fine | Between table salt and sand | Either type works if adjustment is steady |
| Pour-over | Medium-fine to medium | Sand | Either type works if adjustment is steady |
| Drip machine | Medium | Coarse sand | Larger batches favor a motor |
| French press | Coarse | Sea salt flakes | Easy to crank by hand |
| Cold brew | Extra coarse | Cracked peppercorns | Easy by hand, but big batches take a while |
Coarse grinds are easy on your arm. Fine grinds for espresso ask the most from a hand crank, and they also expose any looseness in the adjustment. If you are shopping for a manual grinder for espresso, check that it has a clear, repeatable setting system before you buy.
Reading your cup
Taste tells you which way to move. Grounds that are too fine for the method can taste harsh or bitter, while grounds that are too coarse can taste thin or sour. Change one step at a time and taste again.
Field note
Write down the setting that makes a cup you like for each brew method. With either grinder type, that note turns dialing in into a one-step change instead of guesswork.
A five-step checklist for choosing
- Count your cups. One or two cups a day points to manual. Three or more, or a full pot, points to electric.
- Name your main brew method. Espresso and drip lean electric for convenience; pour-over, French press and travel brewing suit manual.
- Check your space. A small kitchen or no outlet near the brewing spot favors a hand unit.
- Check your patience in the morning. If cranking would feel like a chore, you may skip it. Choose what you will actually use.
- Look at adjustment. Whichever type you pick, look for numbered or clicked steps you can write down and repeat.
If you are also weighing other countertop tools, our guide to blender vs food processor uses the same task-first approach.
Common mistakes when picking or using a grinder
- Buying for espresso without checking adjustment: large jumps between steps make it hard to dial in a fine grind.
- Grinding ahead: grind just before brewing so the grounds stay fresh.
- Skipping the brush-out: built-up grounds change how the burrs behave over time.
- Changing too many things at once: adjust grind size, then taste before touching dose or water.
- Forcing the crank: if a hand grinder jams, stop, empty it and check for a stuck bean or a too-tight setting.
Burr vs blade, and why grind just before brewing
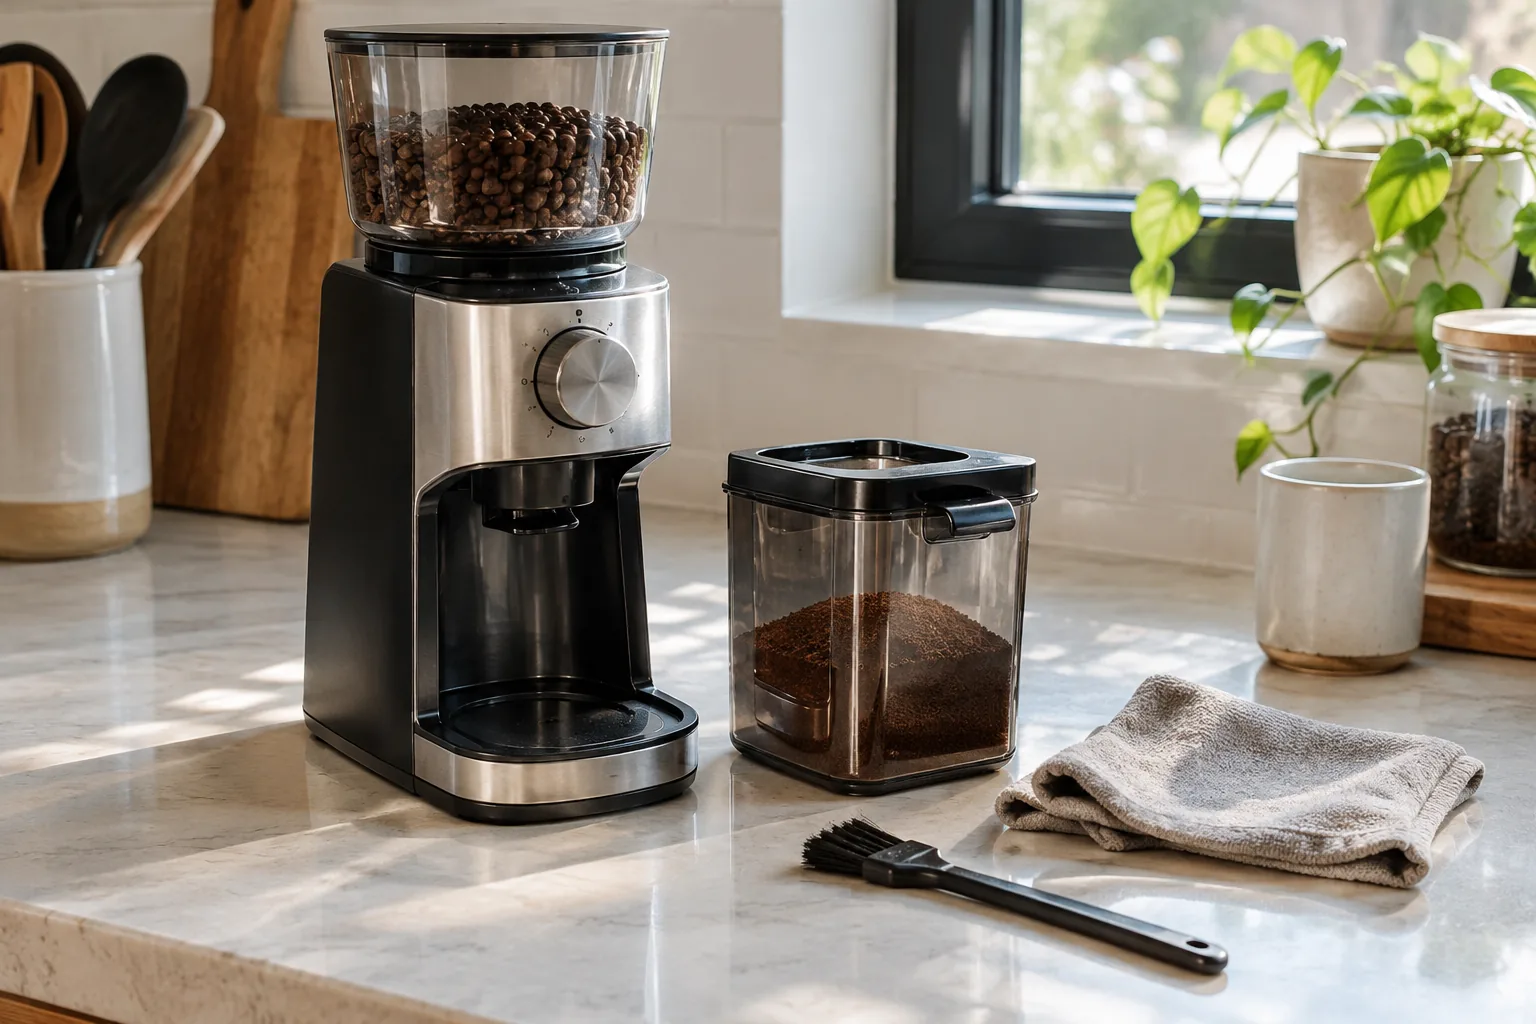
Burr grinders crush beans between two surfaces, so grind size follows the gap you set. Blade grinders chop with a spinning blade, and the pieces vary from dust to chunks depending on how long you run them. If you brew with methods that depend on an even grind, such as pour-over or espresso, a burr grinder gives you a setting you can adjust and repeat. A blade grinder can handle rough, coarse jobs, but it offers no real setting control.
Whole beans hold their aroma better than ground coffee does. For freshly ground coffee, grind right before you brew and only the amount you need. This is easy with a hand grinder at a small dose, and just as easy with an electric one that has a dose control.
How to clean a burr grinder, manual or electric
Cleaning keeps old coffee oils and fine dust from building up around the burrs. Follow your model's manual first, since materials and parts differ.
Manual grinder routine
- Empty any beans from the hopper.
- Remove the handle, then the burr and adjustment parts as the manual allows.
- Brush the burrs, the catch cup and the body with a dry brush.
- Wipe removable plastic or metal parts with a damp cloth if the manual permits, and dry them fully.
- Reassemble and return the adjustment to your usual setting.
Avoid soaking the burrs unless the manual says you can. Steel parts left damp can rust, so dry every part fully before reassembling.
Electric grinder routine
- Unplug the unit.
- Empty the hopper and slide out the catch chamber.
- Brush out the burr cavity on a regular schedule.
- Wipe the chamber and hopper with a dry or barely damp cloth, and let everything dry before reassembling.
- Keep the motor base away from water.
A coffee manual burr grinder rewards patience and small batches. An electric one rewards routine and volume. Match the tool to how you actually brew, and the rest comes down to dialing in the setting.
Frequently asked questions
Keep reading
 Coffee & Hot Beverage MakersHow to Make Espresso in a Moka Pot: Grind, Water, Heat, Timing6 min read
 Food Storage, Cookware & Water FiltrationNon Stick Ceramic Coating Pans: How to Choose and Make Them Last6 min read
 Blenders, Mixers & Prep ToolsVittoraMix Stand Mixer: Setup, Attachments and Care6 min read