Pancakes on an Electric Griddle: Temperature and Timing
Set the plate to 350°F to 375°F (175°C to 190°C), oil it lightly, and flip when bubbles stay open and the edges look set. This guide covers oiling, flip cues and batch timing.
The Cobalt Hollow Team
November 1, 2026 · 6 min read
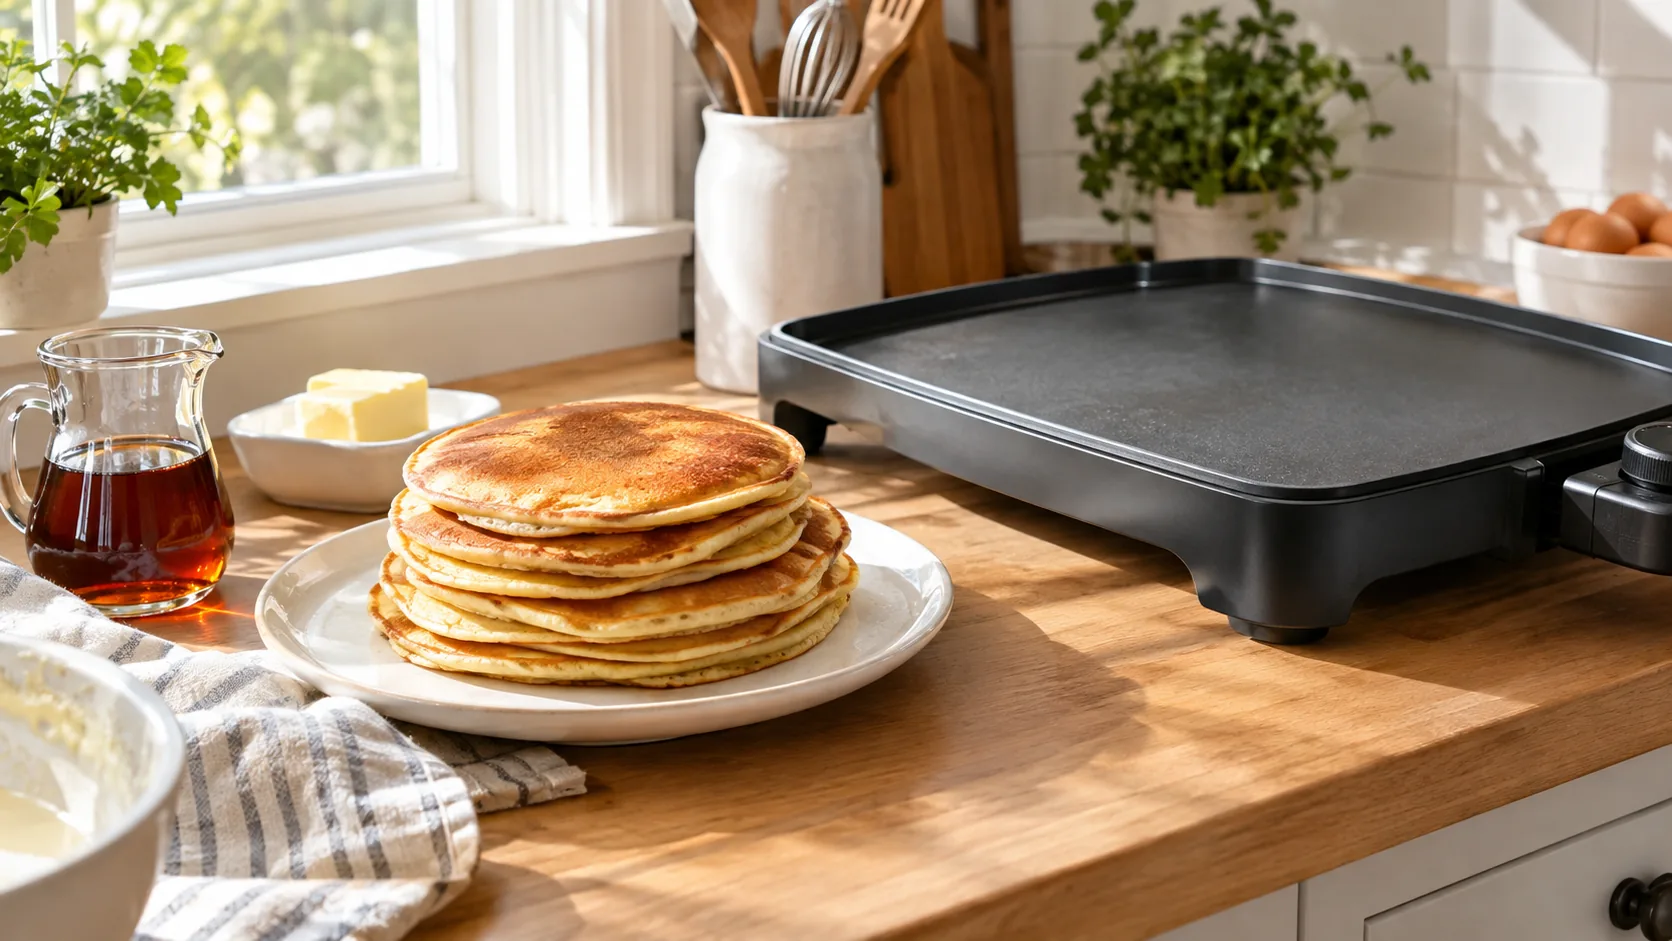
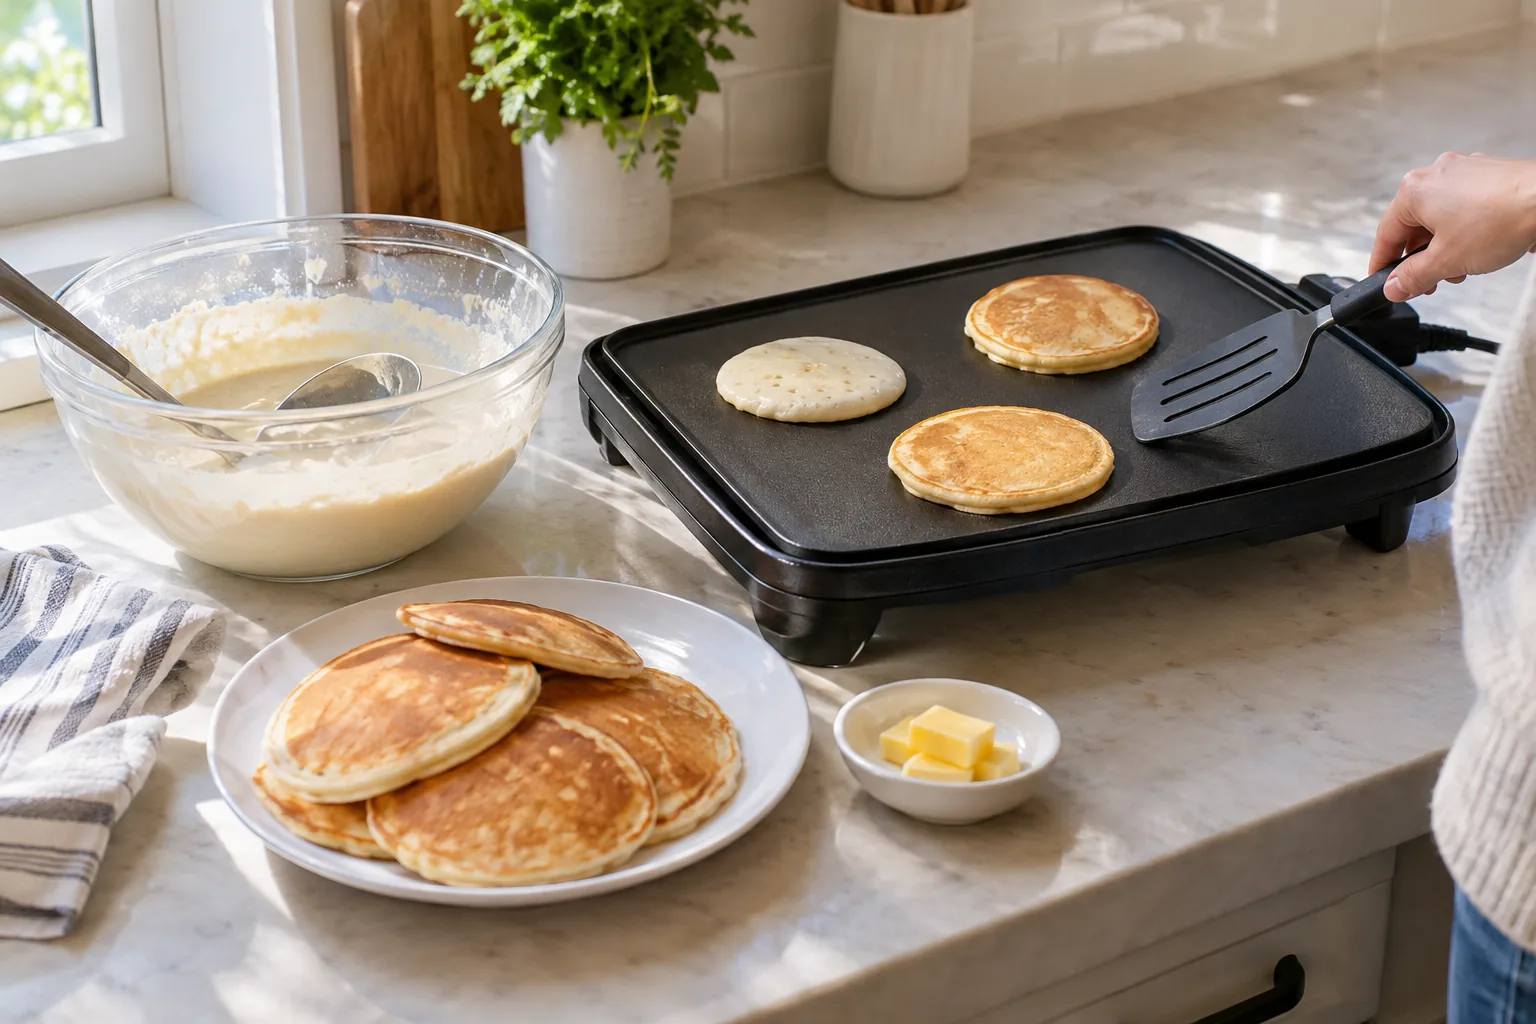
For pancakes on electric griddle plates, preheat to 350°F to 375°F (175°C to 190°C), wipe on a thin film of oil or butter, and pour about 1/4 cup (60 ml) of batter per pancake. Flip when bubbles form and the edges look set, then finish the second side until golden brown.
The rest of this guide is a reference: temperature settings, oiling, flip cues, batch timing, and the mistakes that cause pale, greasy or doughy pancakes.
Temperature for pancakes on an electric griddle
A surface between 350°F and 375°F is the target range for pancake batter. Set lower, the pancakes turn pale and dense before they set. Set higher, the outside darkens while the center stays wet.
If your control shows degrees, set it in that range. If it uses numbers or a low-to-high sweep, the manual lists what each marking means, so check it before the first batch. Without a number to go by, start in the lower-middle part of the control and adjust after the first test pancake.
Preheat before the first pour
Let the griddle preheat fully before any batter goes on. A cold or half-heated plate is a frequent reason the first pancakes stick or cook unevenly. If your unit has an indicator light, wait for it before pouring.
Sprinkle a few drops of water on the surface once it should be hot. If the drops skitter and evaporate, the plate is ready. If they sit and bubble gently, wait a little longer.
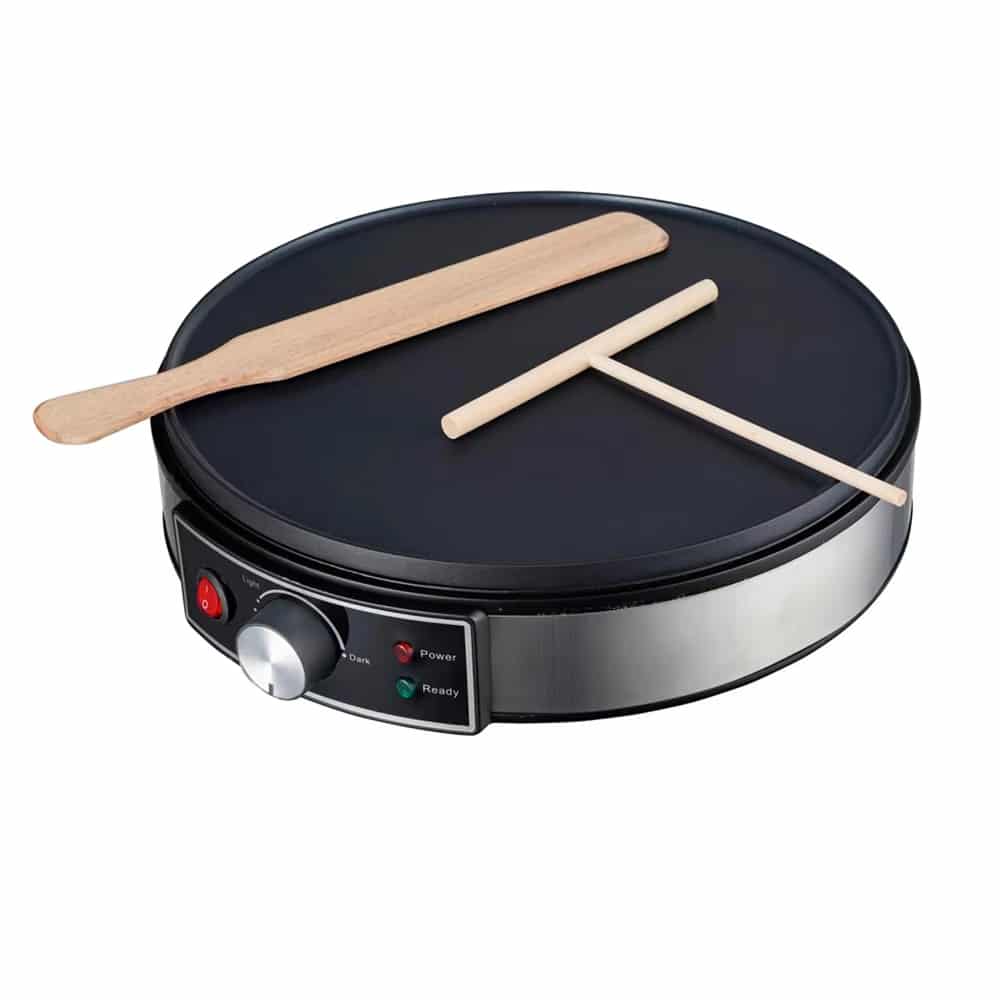
A round plate with a temperature control for pancakes
An electric griddle suits pancakes because the surface is flat and open on all sides, so you can pour, watch and flip without reaching over a rim. You set the heat with a control and watch the batter, not a flame.
The CrepeSera is an electric crepe maker, and its product page lists pancakes among the foods cooked on its flat surface. It has a 30cm plate (about 12 inches) made of die-cast aluminum with a non-stick coating, plus a temperature control with an LED indicator. You set the temperature, wait for the LED indicator, then pour. A wooden spatula for flipping comes in the box, along with a T-shaped spreader and an illustrated user guide.
 In this guideCrepeSera$139.99View
Do you oil a griddle for pancakes?
Yes, but lightly. A thin film of oil or butter helps the surface brown evenly, while too much fat fries the edges and leaves lacy, greasy pancakes. With a non-stick coating like the CrepeSera plate has, a light brush of oil is all the batter needs.
How to oil the plate
- Preheat the griddle to your target temperature.
- Brush on a thin layer of neutral vegetable oil, or fold a paper towel, dip it in oil and wipe the plate in one pass.
- Add a small amount of butter only if you want the flavor. Butter browns fast on a hot plate, so wipe off any excess.
- Re-oil lightly every few batches, not before every pancake.
Cooking spray is an option, but follow the manual for non-stick surfaces and spray away from the heat source. Keep the surface clean between batches so burnt bits do not mark the next pancakes.
Step-by-step: how to make pancakes on an electric griddle
Mix the batter
In a large bowl, whisk the dry ingredients (all-purpose flour, sugar, baking powder, salt). In a separate bowl, combine the wet ingredients (milk or buttermilk, egg, melted butter). Pour the wet into the dry and stir until just combined.
Leave the lumps. Over-mixed batter turns tough and flat, and lumps cook out on the griddle. Let the batter rest while the griddle preheats.
Pour and cook
- Plug in the unit, set the temperature and oil the plate lightly.
- Spoon or ladle about 1/4 cup (60 ml) of batter for each pancake, leaving about 2 inches (5 cm) between them. The number that fit depends on your plate size.
- Wait for bubbles to rise across the top and pop, and for the edges to look dry and matte.
- Slide the spatula under and flip once. Do not press the pancake down.
- Cook the second side until golden brown, then move the pancake to a plate.
For pancakes, pour a round and leave it as it is. The T-shaped spreader is made for dragging batter thin across the plate for crepes, so skip it when you want thick, fluffy pancakes.
Field note
Make a test pancake first. If it browns too fast, lower the control slightly and wait before the next pour. Adjust one step at a time and watch the LED indicator or your manual's markings.
When to flip: timing and cues for each batch
The batter tells you more than the clock. For standard pancakes about 4 inches (10 cm) wide, the first side takes longer than the second, because the batter has to set before it can be turned. Thicker buttermilk batter needs more time on the first side before the bubbles open and hold.
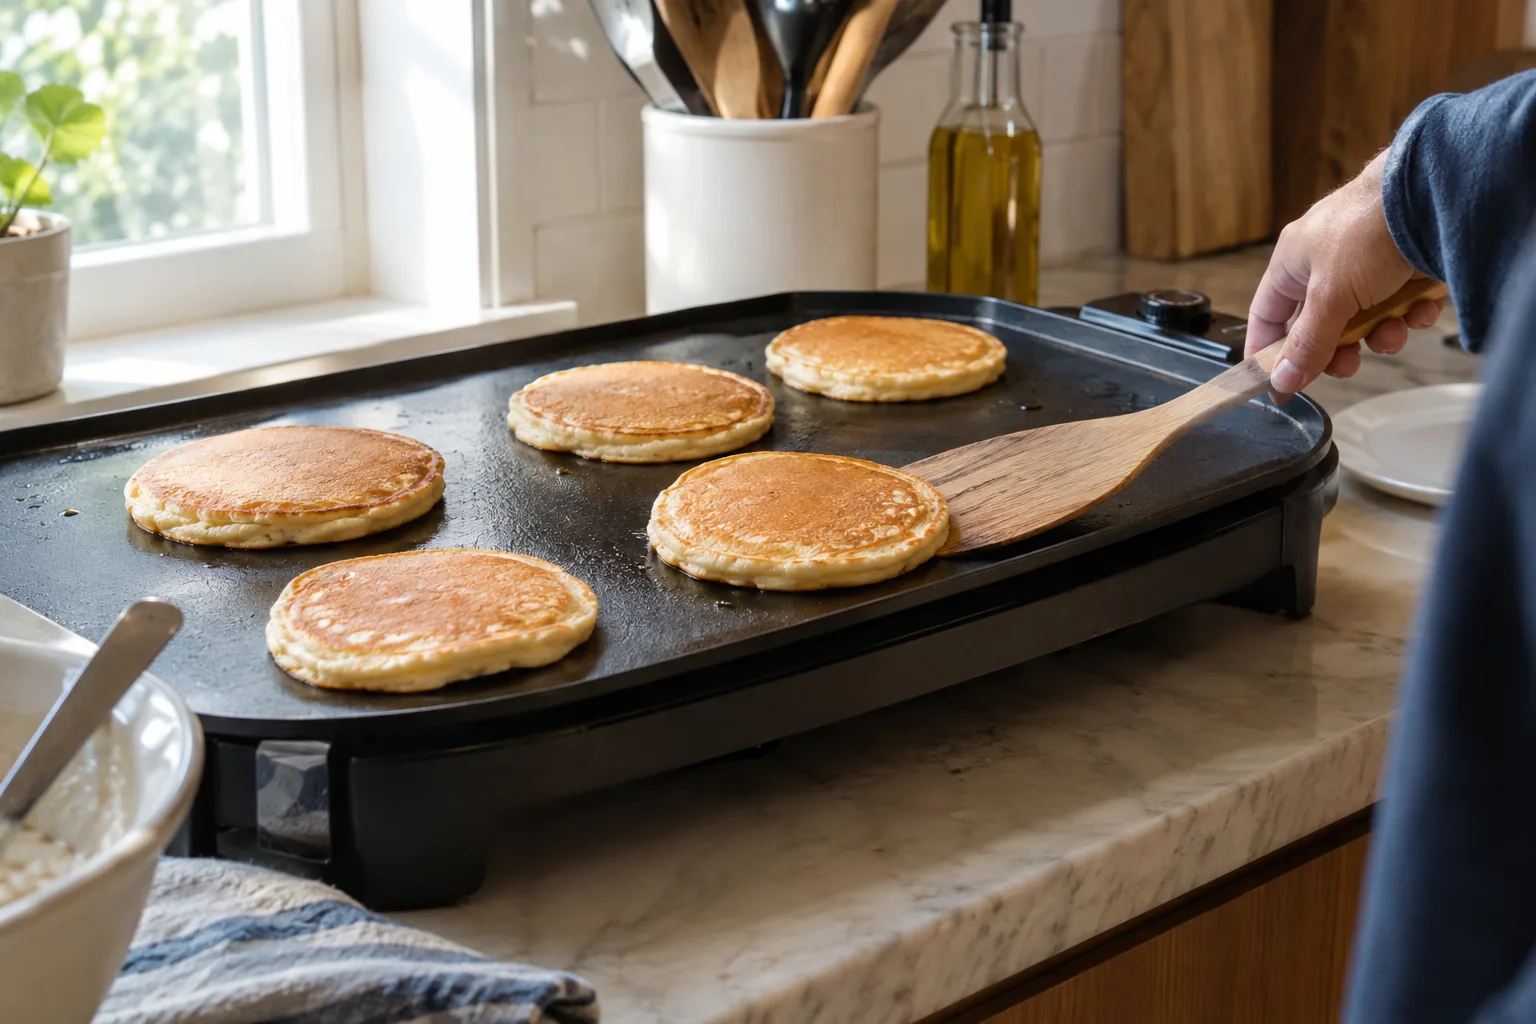
Watch the surface rather than a timer. Flip when the bubbles pop and leave open holes, and when the rim of the pancake looks dry instead of glossy. The second side needs only enough time to turn golden brown.
| Stage | What to look for | Adjustment |
|---|---|---|
| Just poured | Batter spreads slightly and holds shape | If it spreads thin, the batter may need more flour |
| Ready to flip | Bubbles pop and stay open, edges look dry | If bubbles are slow, wait a little longer |
| Underside | Even golden brown | Dark spots mean the setting is too high |
| After flip | Light brown, springs back when touched | Pale means raise the setting a step |
Plan a batch
Pour a round, watch the first pancake for bubbles, then flip in the order you poured. While the round finishes, whisk any batter that has settled. Move cooked pancakes to a warm plate and stack them loosely, since tight stacking steams the crust.
Common mistakes and fixes
- Pancakes stick: the plate was not fully preheated, or the oil film is missing. Preheat longer and re-oil lightly.
- Pale and flat: the setting is too low, or the batter was over-mixed. Raise the setting a step and stir less.
- Dark outside, raw inside: the surface is too hot. Lower the setting and wait before the next pour.
- Uneven browning: hot spots or a tilted unit. Keep the griddle level on the counter and rotate pancakes as needed.
- Greasy edges: too much butter or oil. Wipe the plate between batches.
Cleaning after breakfast
Unplug the griddle and follow the manual. With the CrepeSera, let the plate cool, then wipe it down with a damp cloth. Wipe leftover batter off before it hardens. For care of a non-stick surface on another appliance, see how to clean a waffle maker without ruining the nonstick.
If you are building out a breakfast setup, browse the Cooking Appliances & Countertop Ovens collection.
Settings reference
| Setting | Guide |
|---|---|
| Surface temperature | 350°F to 375°F (175°C to 190°C) |
| Oil | One thin brush or wipe, refresh every few batches |
| Batter per pancake | About 1/4 cup (60 ml) |
| First side | Until bubbles pop and edges look dry |
| Second side | Until golden brown |
| Holding finished pancakes | Warm plate, loosely stacked |