Smart Thermostat Install: Wiring Check and Step-by-Step Setup
A smart thermostat install comes down to four things: confirm compatibility, shut off and verify power, label every wire, then mount and connect. This guide gives the checklist and the steps.
The Cobalt Hollow Team
October 26, 2026 · 7 min read
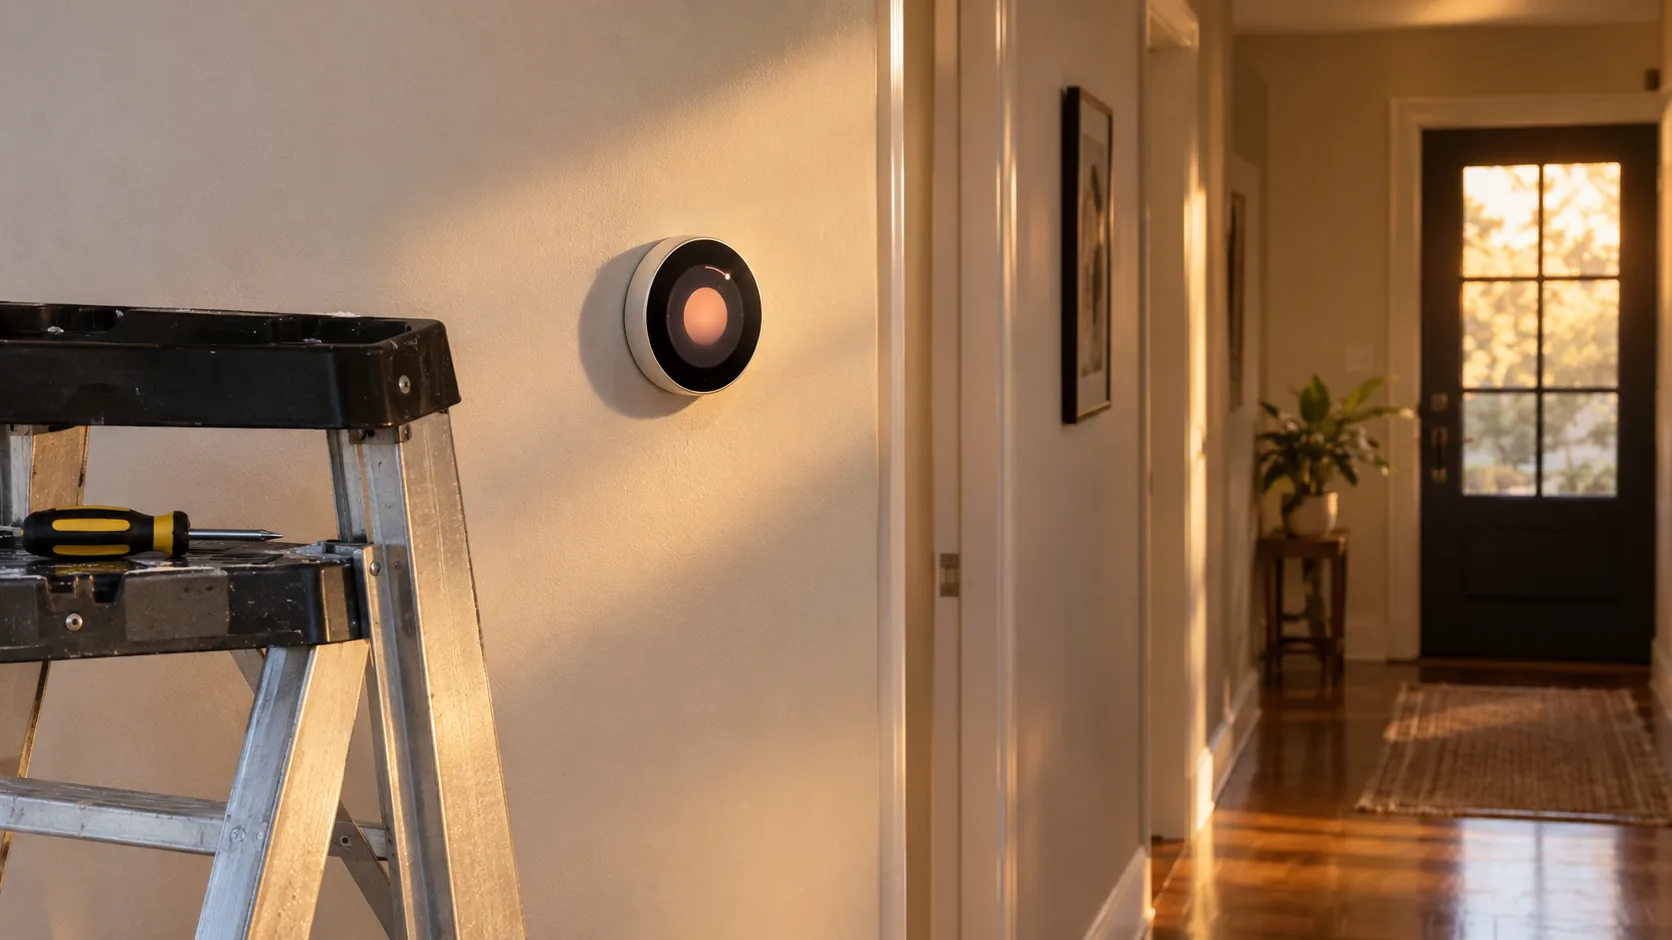
A smart thermostat install follows one order: confirm your heating system is compatible, shut off power and verify it is off, photograph and label each wire, then mount the new base and connect the wires. After that you join Wi-Fi, add the app and set a schedule. If the wires do not match what the manual describes, or you see line-voltage wiring, do not continue; call a licensed electrician or HVAC technician.
This guide gives you the checklist to run before you unscrew anything, the steps in order, and the situations where a smart thermostat installer is the right call.
Smart thermostat install: the wiring check first
Skipping the wiring check is where trouble starts in a smart thermostat install. Pull the cover off your old thermostat and look at the wires before you buy or order anything. Take a clear photo of the terminals with the wires in place.
Thermostat terminals are usually marked with letters. The table below shows what the common letters mean in general terms. Your system may use only some of them, and the manual for your new unit has the final word.
| Terminal | Usually means | What to check |
|---|---|---|
| R, Rh, Rc | 24V power from the heating or cooling equipment | One wire or two; some systems have a jumper between Rh and Rc |
| W, W1, W2 | Heat call | A second W wire can mean multi-stage heat |
| Y, Y1, Y2 | Cooling call | Missing if you have heat only |
| G | Fan | Not every system uses it |
| C | Common wire, a continuous power return | Some smart thermostats draw power from it |
| O/B | Heat pump reversing valve | Tells you the system is likely a heat pump |
Look for line-voltage wiring
Thick wires, 120V or 240V labels, or a thermostat that clicks as a baseboard heater switch are signs of line-voltage wiring. Low-voltage smart thermostats are generally not built for that. Check the compatibility notes for the model you want, and ask an electrician if you are unsure.
Pre-install checklist: C-wire, labels and breaker
Run through this list before you start. It takes a little time and avoids a half-finished wall.
- Confirm your heating system type against the compatibility checker or manual for the thermostat.
- Find out whether a C-wire is connected at the thermostat and at the equipment.
- Photograph the existing terminals, then label each wire with the letter of the terminal it was on.
- Locate the breaker for the furnace, boiler or air handler, and any separate switch near the equipment.
- Gather a small screwdriver, a level, a pencil and wall anchors if the new base does not line up with the old holes.
- Check that you have Wi-Fi coverage at the thermostat location.
- Download the app ahead of time so you are not stuck on a slow download at the wall.
Label wires by the terminal letter, not by color. Wire colors are not standard across houses, and a previous installer may have used whatever was on hand.
Step-by-step setup
These steps match how a typical wall-mounted unit goes in. Where your manual differs, follow the manual.
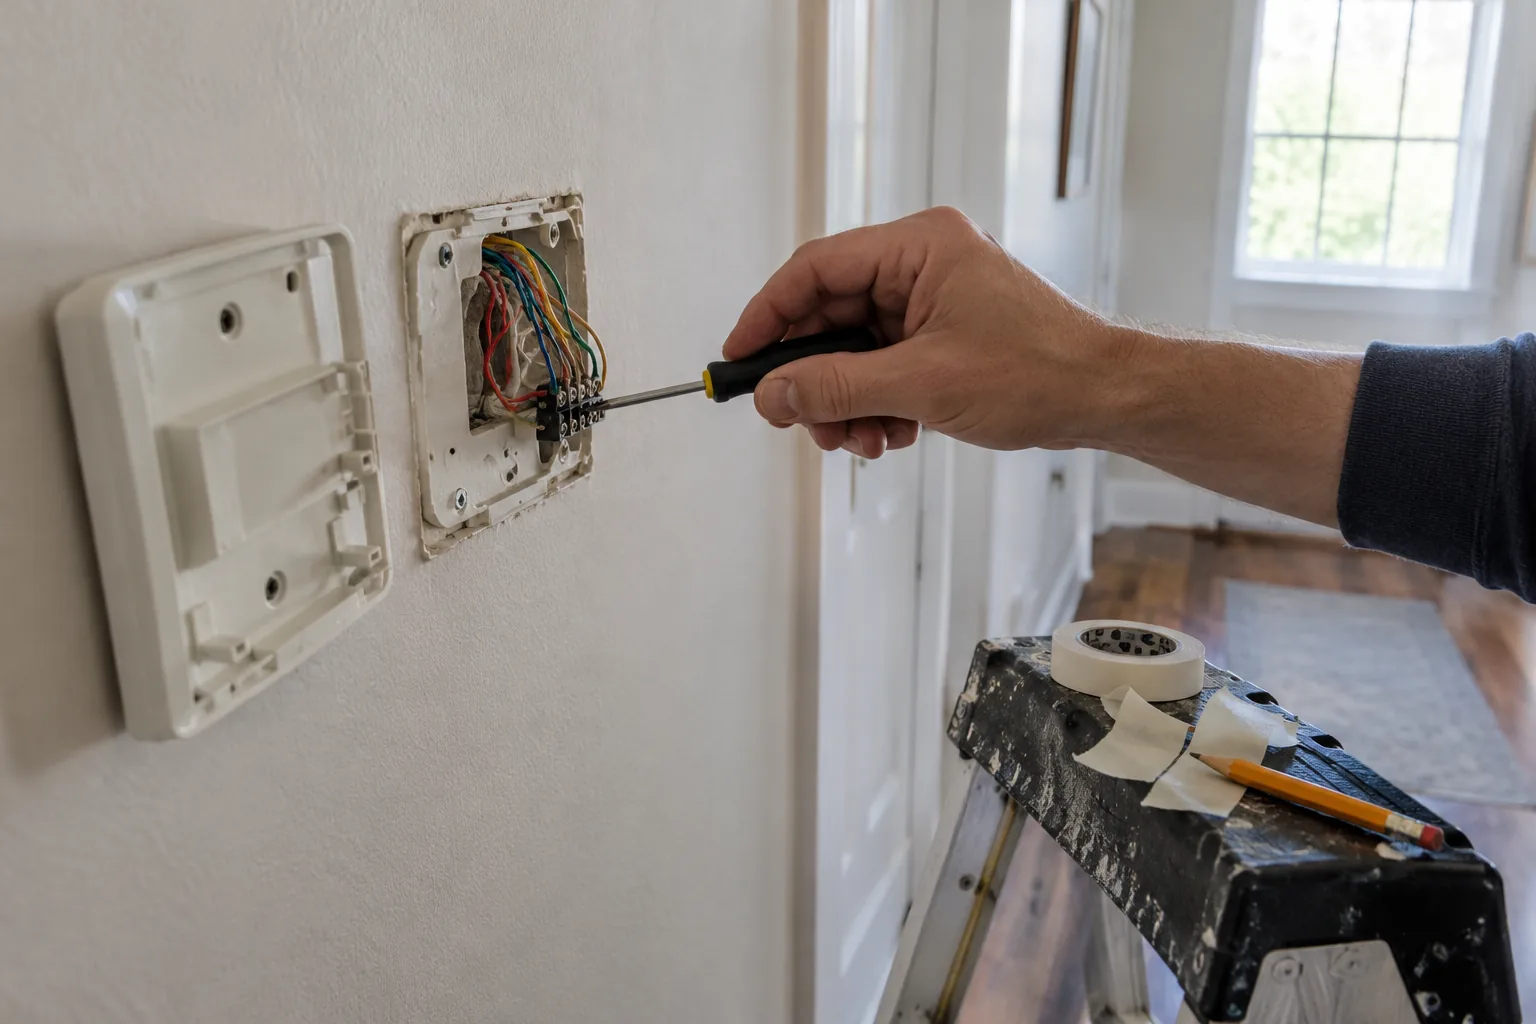
- Turn off the breaker for the heating and cooling equipment. Switch the old thermostat to call for heat and confirm the equipment does not respond.
- Remove the old thermostat cover and photograph the wiring again with the power off.
- Attach a label to each wire for its terminal letter, then loosen the terminal screws and free the wires. Tape the wires to the wall so they do not slip back into it.
- Unscrew the old base from the wall.
- Hold the new wall plate against the wall, level it with a pencil mark, and mark the screw holes. Fill or drill holes as needed.
- Fasten the plate with the supplied screws, feeding the wires through the opening.
- Connect each labeled wire to the matching terminal on the new base. Make sure bare copper is fully seated and no strands stick out.
- Attach the thermostat unit to the plate.
- Turn the breaker back on and wait for the display to start.
- Join your home Wi-Fi, install the app, and set target temperatures, zones and a schedule.
- Run a heat call and, if you have cooling, a cooling call, to confirm the equipment responds.
Keep the old thermostat and your photos until the system has gone through a few full heating cycles. If something behaves oddly, the photos show what was where.
Example: a wall-mounted unit for floor heating and boilers
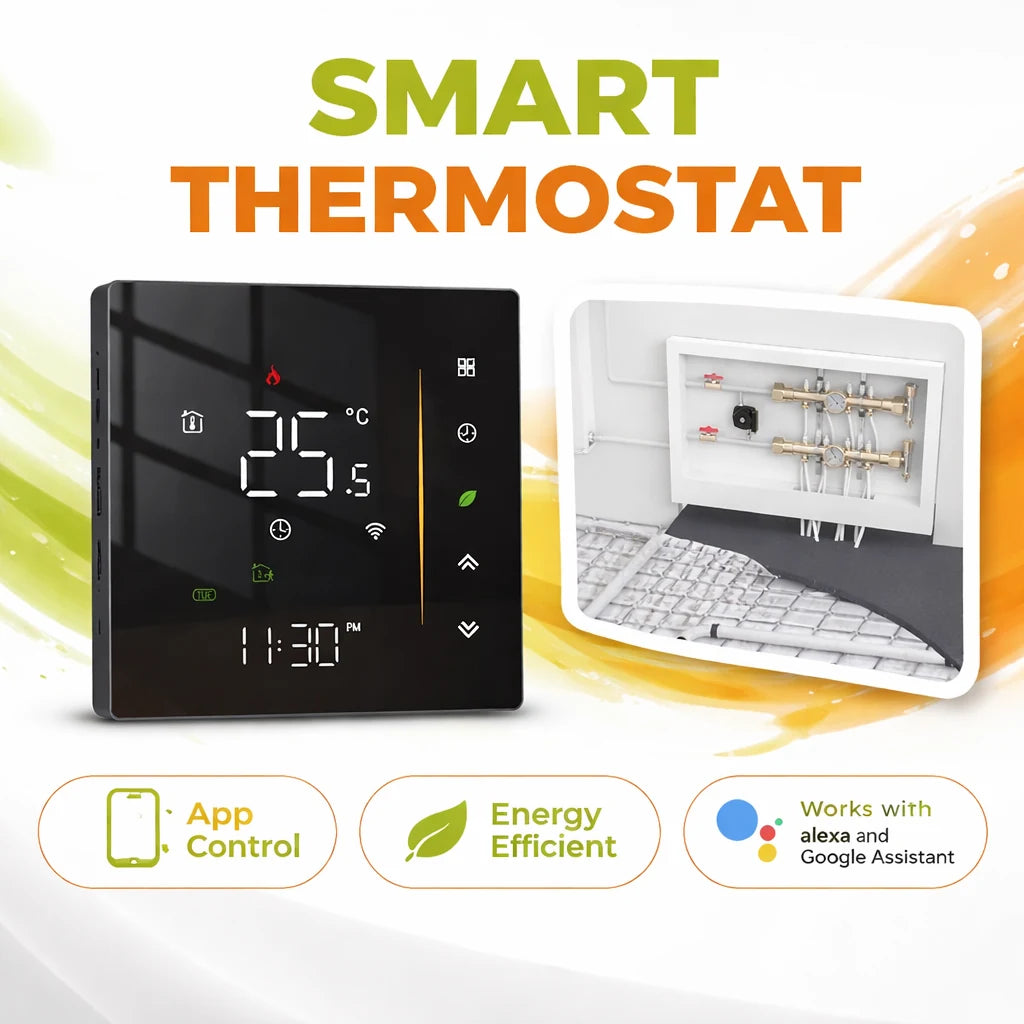
The ClimaIQ is a wall-mounted smart thermostat that works with water floor heating, electric floor heating and gas boiler systems. It comes with a wall plate and two mounting screws. You mount the plate, wire the thermostat following the standard wiring guide, and attach the unit.
After that you connect it to home Wi-Fi, install the app, and set target temperatures and zones. It pairs with room sensors through the app, supports geofencing, and can be controlled by touch, app or voice assistants. Programmed schedules are stored on the thermostat and keep running when the internet connection drops. Use the compatibility checker on the product page before you start wiring.
 In this guideClimaIQ$119.99View
No C-wire or only two wires
A two-wire setup shows up with older heat-only systems and some boilers. The two wires are often R and W, which carry power and the heat call. That is a different case from a system that has a C-wire in the cable but not connected at the equipment.
Here is how to sort out the options:
- Open the equipment panel and look for a spare wire in the cable that is bundled but not terminated. It may be usable as a C-wire if the manual for your thermostat allows it.
- Check whether your thermostat model offers a power adapter or extender kit, and read what the manual says about it.
- If the cable has no spare conductor, ask an HVAC technician about running a new cable.
Do not guess at jumpers or bridge terminals to force power. A wrong connection can damage the control board in your equipment. If a two-wire install is your situation, the compatibility check matters more than anything else on this page.
Verify power is off with a meter
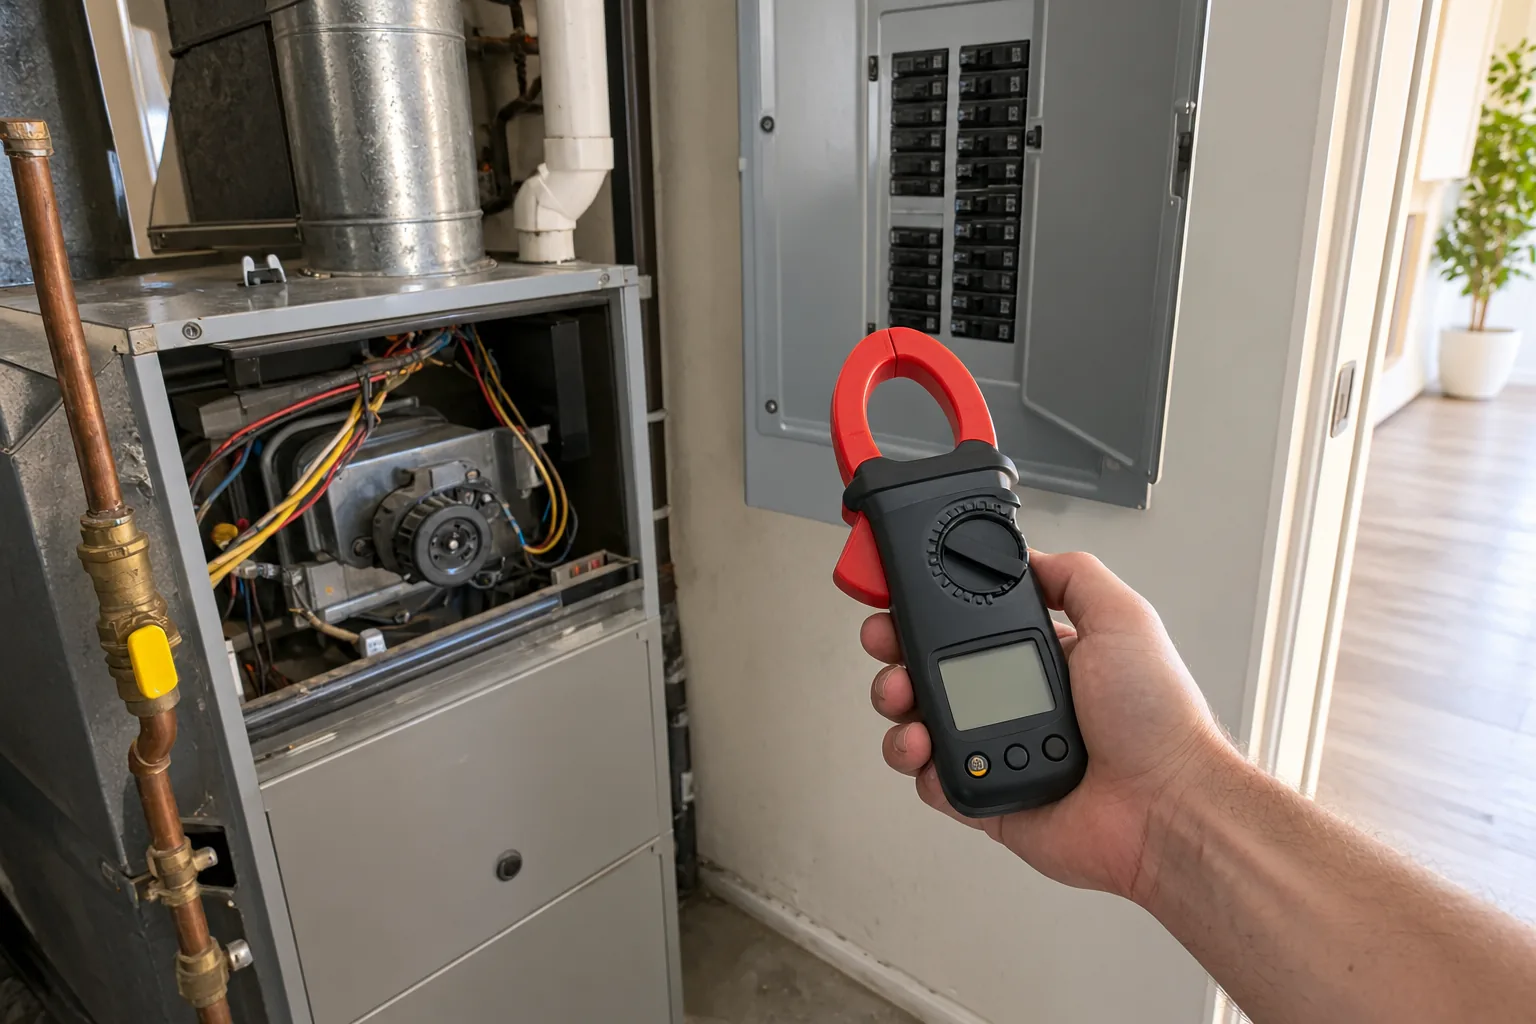
Switching a breaker off is not the same as knowing a circuit is dead. Panels get mislabeled, and some systems have a second power source such as a service switch near the equipment. A meter gives you a reading instead of an assumption.
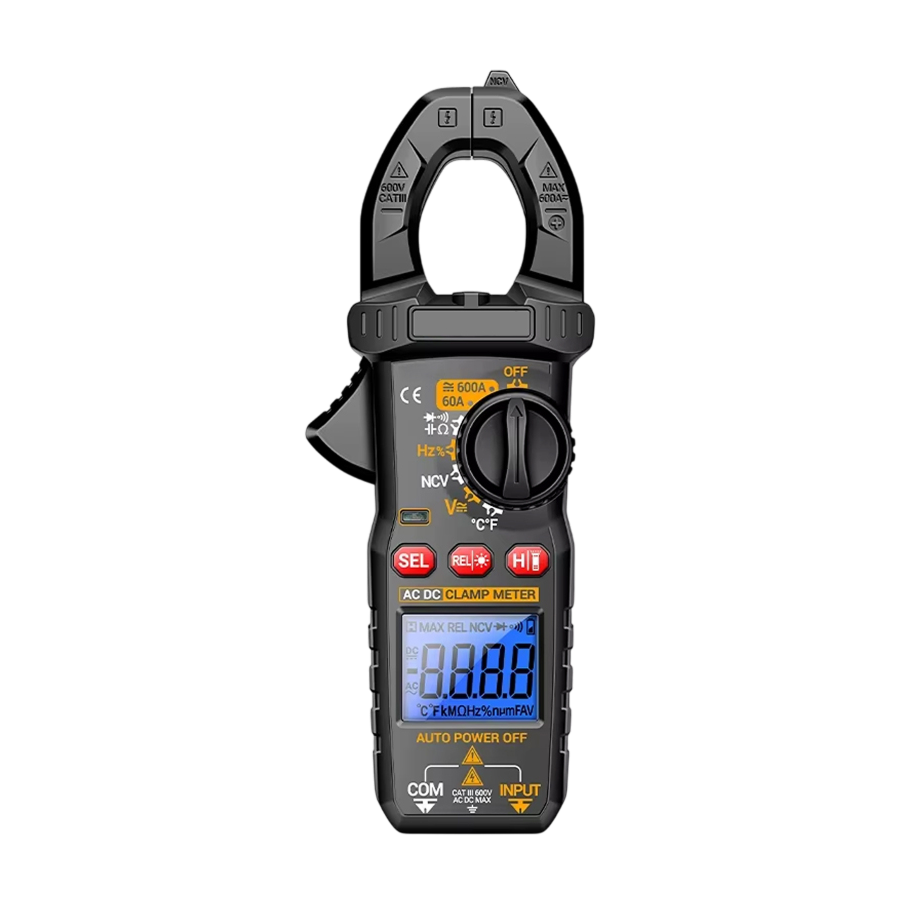
The ElectraPulse is a digital clamp meter with a single mode dial that selects current, voltage, resistance or temperature. It has a backlit display and ships with a test lead, a temperature probe and a protective case. The battery is not included, so install one first. Its CAT III 600V category and Class II insulation are marked on the meter, and you should check those marks against the circuit you plan to work on.
To check a circuit, turn the dial to the voltage setting, connect the test lead as the user manual describes, and read the display. For a current reading, close the jaw around one wire only. Follow the meter manual for every step, and ask an electrician if the readings do not make sense.
 In this guideElectraPulse$89.99View
When to call a smart thermostat installer
If you are comfortable with a screwdriver and the wires match the manual, a wall-mounted thermostat swap is a reasonable DIY job. Some situations call for a licensed electrician or HVAC technician instead:
- You find line-voltage wiring, burned insulation or corroded terminals.
- The wires do not match any terminal layout in the manual.
- You have a multi-stage or dual-fuel heat pump system and cannot tell which wire does what.
- There is no spare conductor for a C-wire and a new cable run is needed.
- The breaker panel is unlabeled or you cannot confirm which breaker feeds the equipment.
- Anything about the job makes you uneasy.
When you hire a smart thermostat installer, tell them the model you plan to use and share your photos of the old wiring. That lets them check compatibility before they arrive.
Field note
Before you remove the old wires, tape a small flag to each one with its terminal letter, then photograph the flagged wires. If a wire slips back into the wall, the flags show where it belongs.
Common mistakes and a first-week check
Mistakes to avoid
- Labeling by wire color instead of terminal letter.
- Working with the breaker on because the display is blank.
- Leaving stray copper strands that can touch a neighboring terminal.
- Skipping the compatibility check for your heating system type.
- Placing the thermostat in direct sun, near a vent, or on an exterior wall where it reads misleading temperatures.
First-week check
Once the unit is running, watch a few heating cycles. Confirm the schedule matches your routine, the equipment turns on and off when it should, and Wi-Fi stays connected. If you added room sensors, place them in rooms you use, such as bedrooms and living areas, and pair them through the app.
If you want more equipment for heating and home systems, browse the Heating, Cooling & Water Heating collection.