Water Filter Systems for Under the Sink: How to Choose and Install
Pick by filter type, measure your cabinet, plan for cartridge changes, then install with a checklist. This guide walks through each decision in order.
The Cobalt Hollow Team
October 14, 2026 · 8 min read
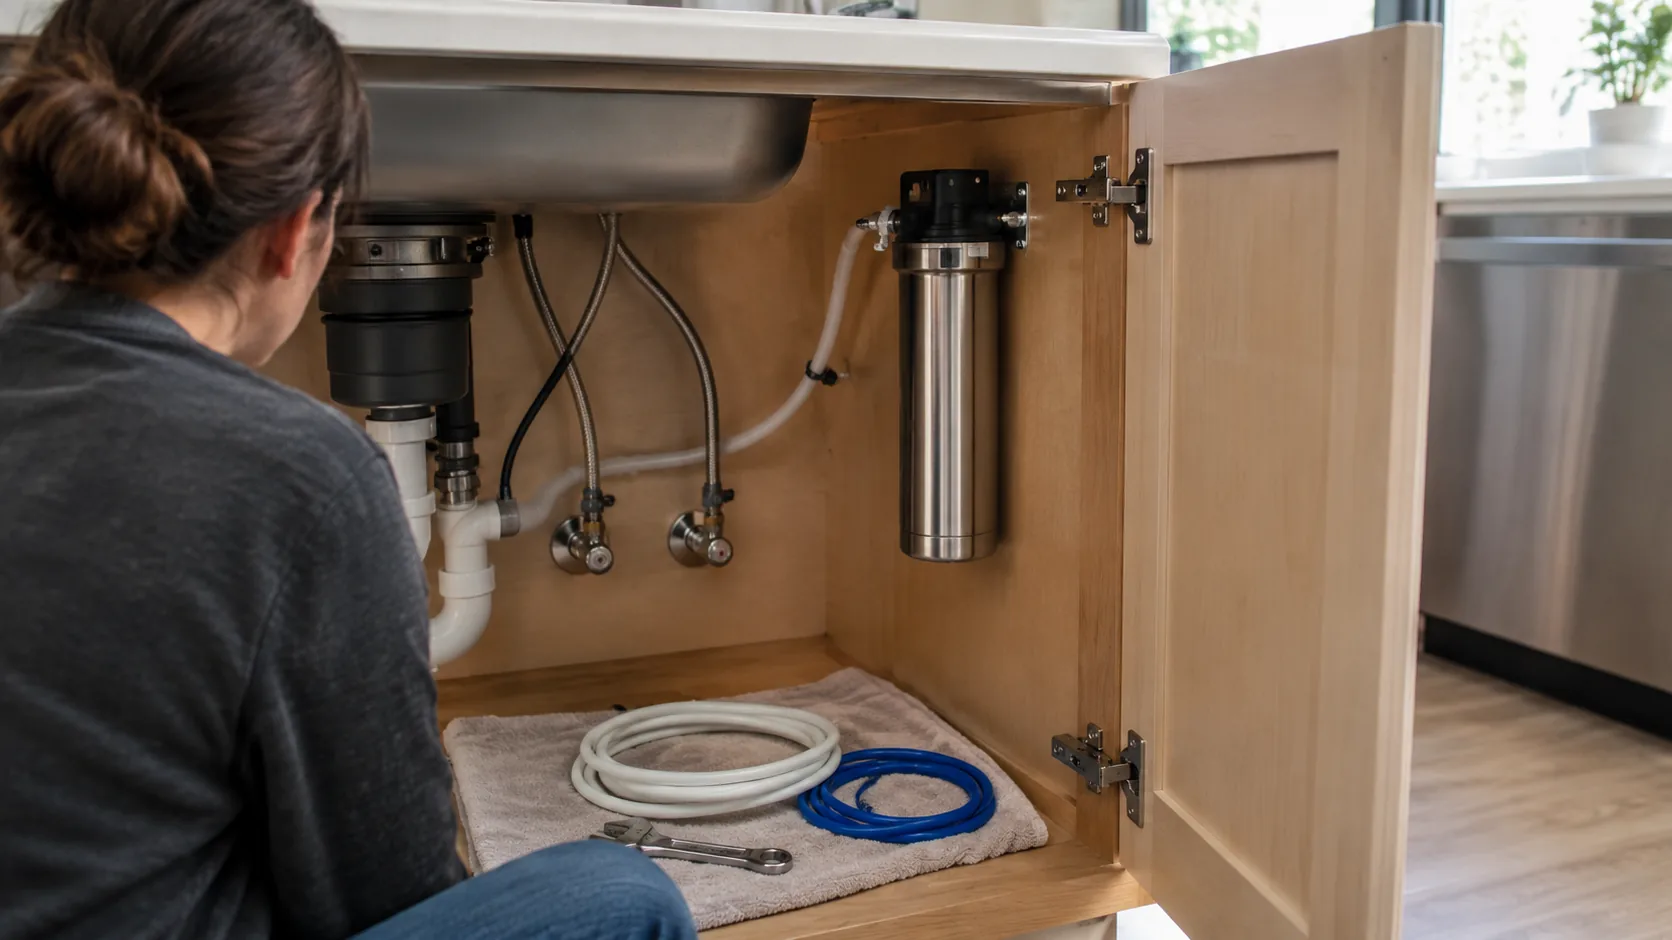
The right choice among water filter systems for under the sink comes down to four decisions: the filter type (carbon cartridge, ultrafiltration or reverse osmosis), the room in your cabinet, the cartridges you will replace, and whether you will install it yourself. Settle those in order and the shortlist gets small quickly.
This guide gives you the decision steps, a comparison table, a space checklist, a cost checklist and a DIY installation sequence. It makes no claims about health effects. For what a given cartridge is designed to address, read the manufacturer's documentation.
How to choose water filter systems for under the sink: five steps
- Know your water source. City supply and private well water call for different starting points (covered in the next section).
- Pick the filter type. Compare the types below and decide whether you want a storage tank and a drain connection.
- Measure the cabinet. Pipes, a garbage disposal and a sprayer hose often take more room than expected.
- Plan the cartridge schedule. Count the stages, the replacement parts, and how you will know when a change is due.
- Decide who installs it. Many units connect to the cold line with basic hand tools, but some need a drain connection or a hole drilled for a faucet.
Start with your water supply, city or well
Filtration choices make sense only once you know what is in your water supply. City users can usually find a water quality report from the local utility. Private well owners have no such report and need a lab analysis.
Once you have a report, compare it with the manufacturer's documentation for each cartridge. Documentation typically lists the contaminants and the taste and odor concerns, such as chlorine taste, that a cartridge is designed to address, and the standards (for example NSF/ANSI listings) it refers to. Read these pages yourself rather than relying on a product title.
Can you use an under-sink filter on well water?
Yes, many under-sink systems connect to a well-fed household line, but the match matters more than with city water. Well water varies by location, and a private supply has no utility reporting on its makeup.
- Have the water analyzed by a water analysis lab (your county office can usually point you to one) so you know what is in it.
- Check the manufacturer's documentation to see whether the system is intended for private wells.
- Consider a whole-house sediment stage ahead of the sink if the water carries grit, since fine particles can clog cartridges sooner.
- Change cartridges on the manufacturer's schedule, or sooner if you notice reduced flow.
If the lab report raises concerns, a water filtration specialist can advise on the right equipment.
Under-sink filter types compared
Every type sends water through one or more stages before it reaches a tap. The differences are in the stages, the extra parts and the plumbing each one needs.
| Type | How it works | Plumbing needed | Extra parts | Good fit if |
|---|---|---|---|---|
| Carbon or sediment cartridge | Water passes through one to three cartridges in housings, often a carbon block | Cold line tee or valve | Usually a dedicated or existing faucet | You want a simple, compact setup |
| Ultrafiltration (membrane) | Line pressure pushes water through a membrane, often after a pre-filter | Cold line connection | No tank or drain line in many designs | You want fewer parts and a tankless layout |
| Reverse osmosis (RO) | A semipermeable membrane with pre- and post-filters | Cold line plus a drain connection | Storage tank, often a dedicated faucet | You have the cabinet room for a tank and drain |
| Add-on remineralization stage | A final cartridge that adds minerals back after RO | Inline after the RO stages | One more cartridge to replace | You choose RO and want that final stage |
Systems without a separate faucet
If you do not want to drill your countertop, look for an under-sink water filter that connects to the cold line and delivers filtered water at your existing faucet through a valve, or that includes a gasket for the existing faucet hole. Either way you keep using your regular faucet for drinking water and cooking. Check the box contents before you buy so you know whether a faucet is included.
Reverse osmosis: what to weigh
An RO under-sink setup involves more parts: a membrane, a tank, a drain saddle and a dedicated faucet. That means more fittings to seat and more cabinet space. If you are comfortable drilling a faucet hole and clamping a drain saddle, RO is a reasonable DIY job. If not, a plumber can handle those two steps.
Remineralization and tankless layouts
Some RO owners add a remineralization cartridge as a final stage. It is one more part to buy and change, so count it in your schedule. A tankless design skips the storage tank, which frees cabinet space but changes how the unit is plumbed, so read the manual for the flow path.
Measure the space and check pressure
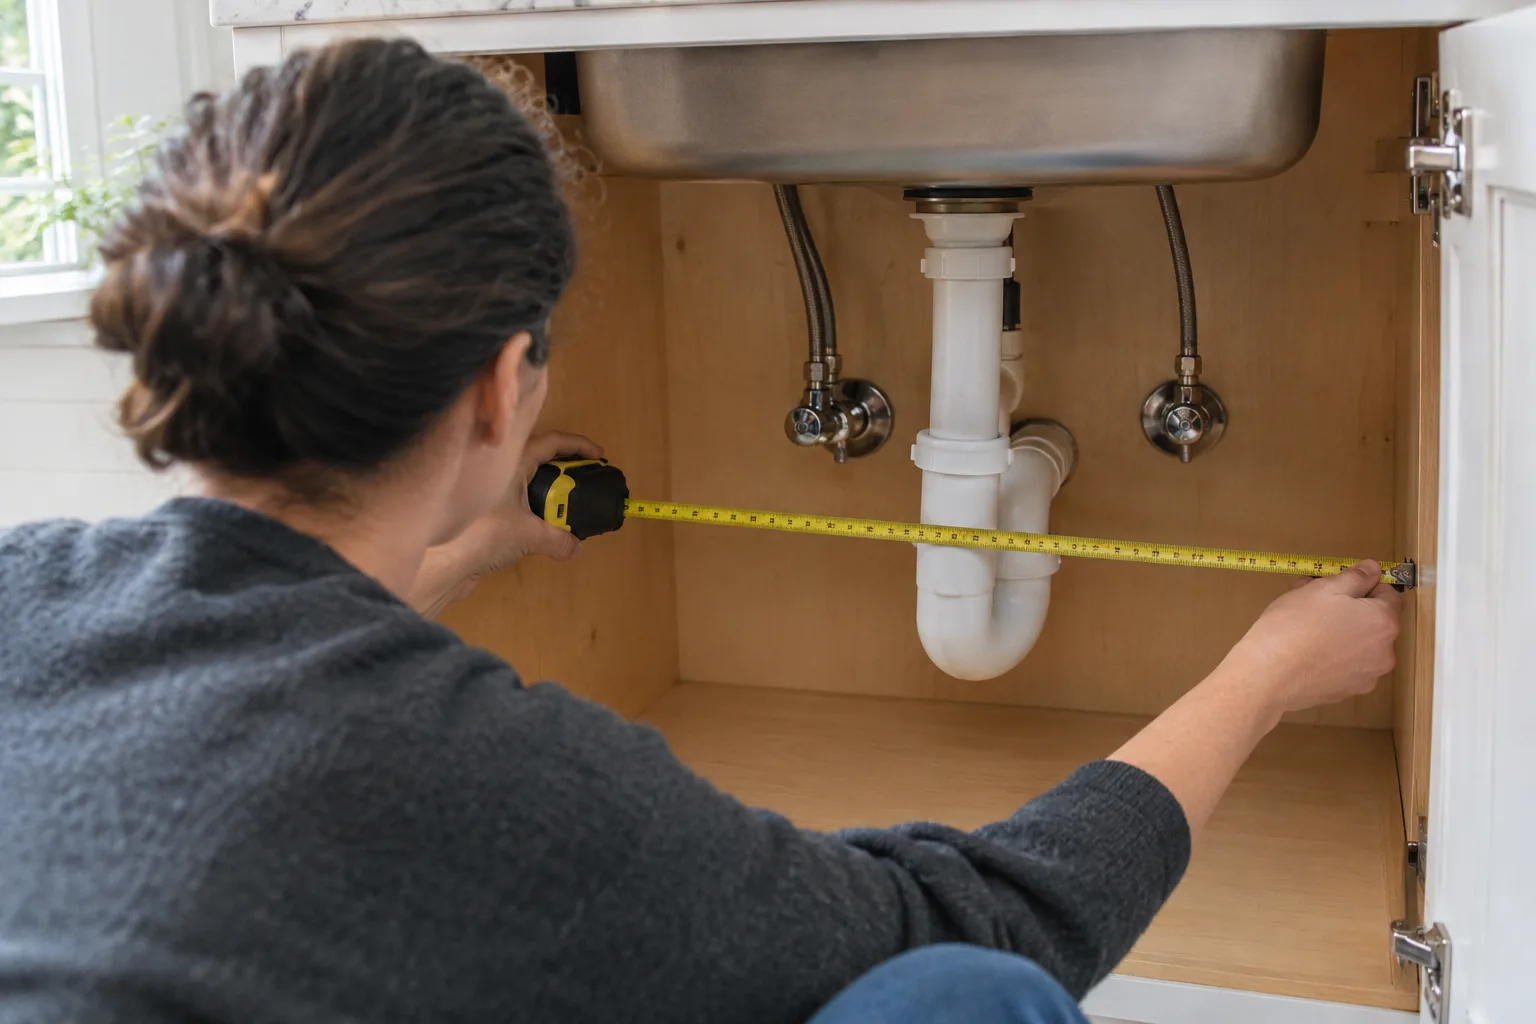
A filter that fits on paper can still collide with a drain trap. Work through this checklist with a tape measure to confirm your cabinet space before you order.
| Check | What to look for |
|---|---|
| Open width and height | Measure from the cabinet wall to the nearest pipe, not the full cabinet width |
| Garbage disposal | It can take most of one side; note where it hangs |
| Wall or floor mount | Decide whether the housing hangs on the wall or sits on the cabinet floor |
| Cartridge change clearance | Leave room below or beside the housing to remove cartridges and any wrench |
| Cold line access | Find the cold shutoff valve and confirm you can reach it with the unit installed |
| Tubing route | Plan a path that avoids sharp bends, hot pipes and the disposal |
Compare your numbers with the product's dimensions on its page, and leave extra room for tubing curves.
Water pressure and flow
Membrane systems work from line pressure, so the pressure at your cold line matters. Low household pressure or a partly closed shutoff valve can reduce water flow at the tap. The manufacturer's documentation lists the operating pressure range for each unit; compare it with your home's supply, and ask a plumber to check pressure if you are unsure.
Flow also depends on the cartridges. More stages and clogged cartridges both restrict the stream, which is one reason to keep the replacement schedule.
A compact no-tank, no-power option
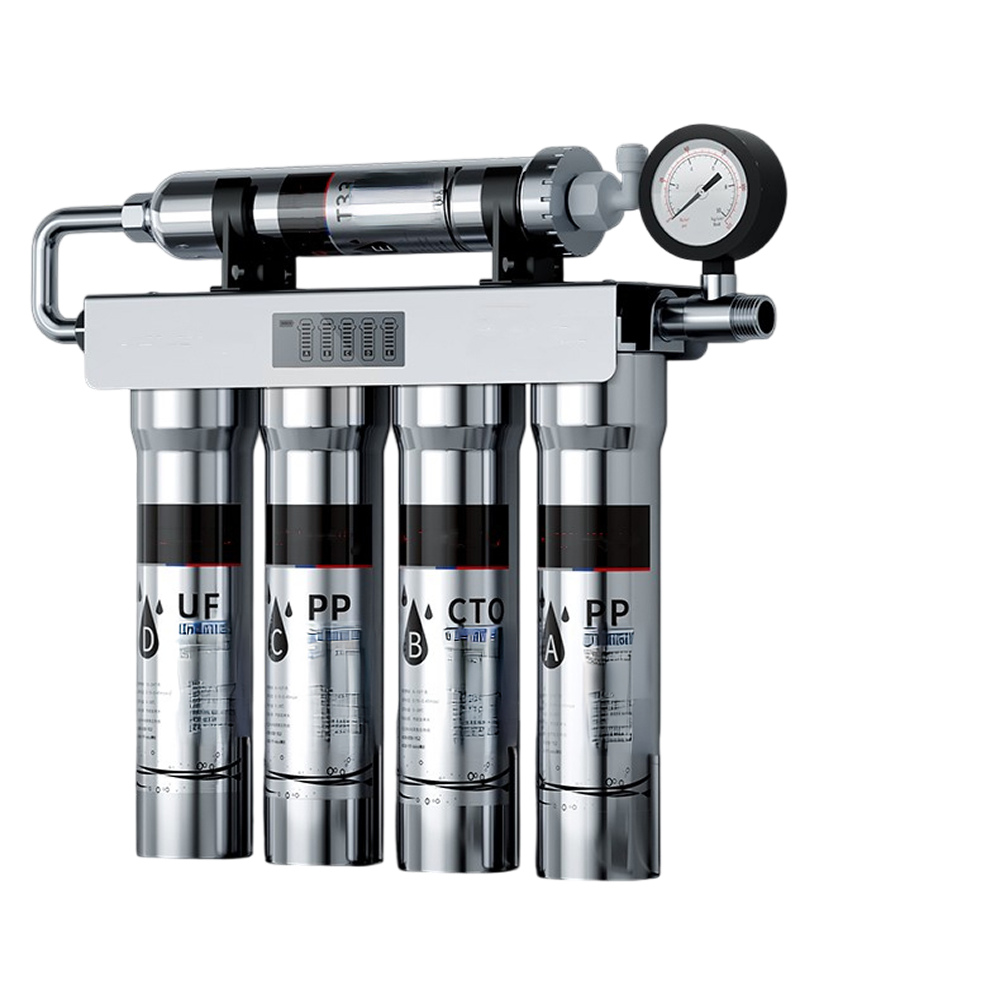
CrystalFlow is a sink water filter system that suits cabinets where a storage tank will not fit, or where you want no tank and no power connection. Water goes through a pre-filter, then an ultrafiltration membrane, then a resin filter. It works from line pressure, so it needs no outlet and no storage tank.
The housing is 304 stainless steel rather than plastic, and it mounts under the sink or on the wall. A built-in LED display tracks filter status, so you can check the display instead of keeping your own calendar. The box includes 1/4 inch and 3/8 inch PE tubing, a faucet gasket and hanging piece, a three-way ball valve, and a feed strip and screw set.
 In this guideCrystalFlow$239.99View
Ongoing costs of water filter systems for under the sink
The purchase is only the first line item. Cartridges are the recurring expense, so compare systems on what you will keep buying, not only what you pay up front. Your filter life schedule drives that spending.
- Number of stages: more stages usually means more replacement parts to track.
- Replacement schedule: look at the manufacturer's stated change intervals, and note whether stages are changed together or separately.
- Availability of parts: confirm the cartridges are sold separately and are easy to reorder before you commit.
- How you know it is time: an indicator, such as an LED display, helps you avoid guessing.
- Extra consumables: RO systems may add a membrane, a post-filter and a remineralization cartridge to the list.
- Installation help: if you hire a plumber, add that visit to the total.
Write the install date on the cabinet wall with a marker, whatever indicator your unit has. It gives you a second reference.
Field note
Before you buy, look up the replacement cartridge for the system you are considering. If you cannot find it easily, treat that as a reason to keep shopping.
DIY installation checklist
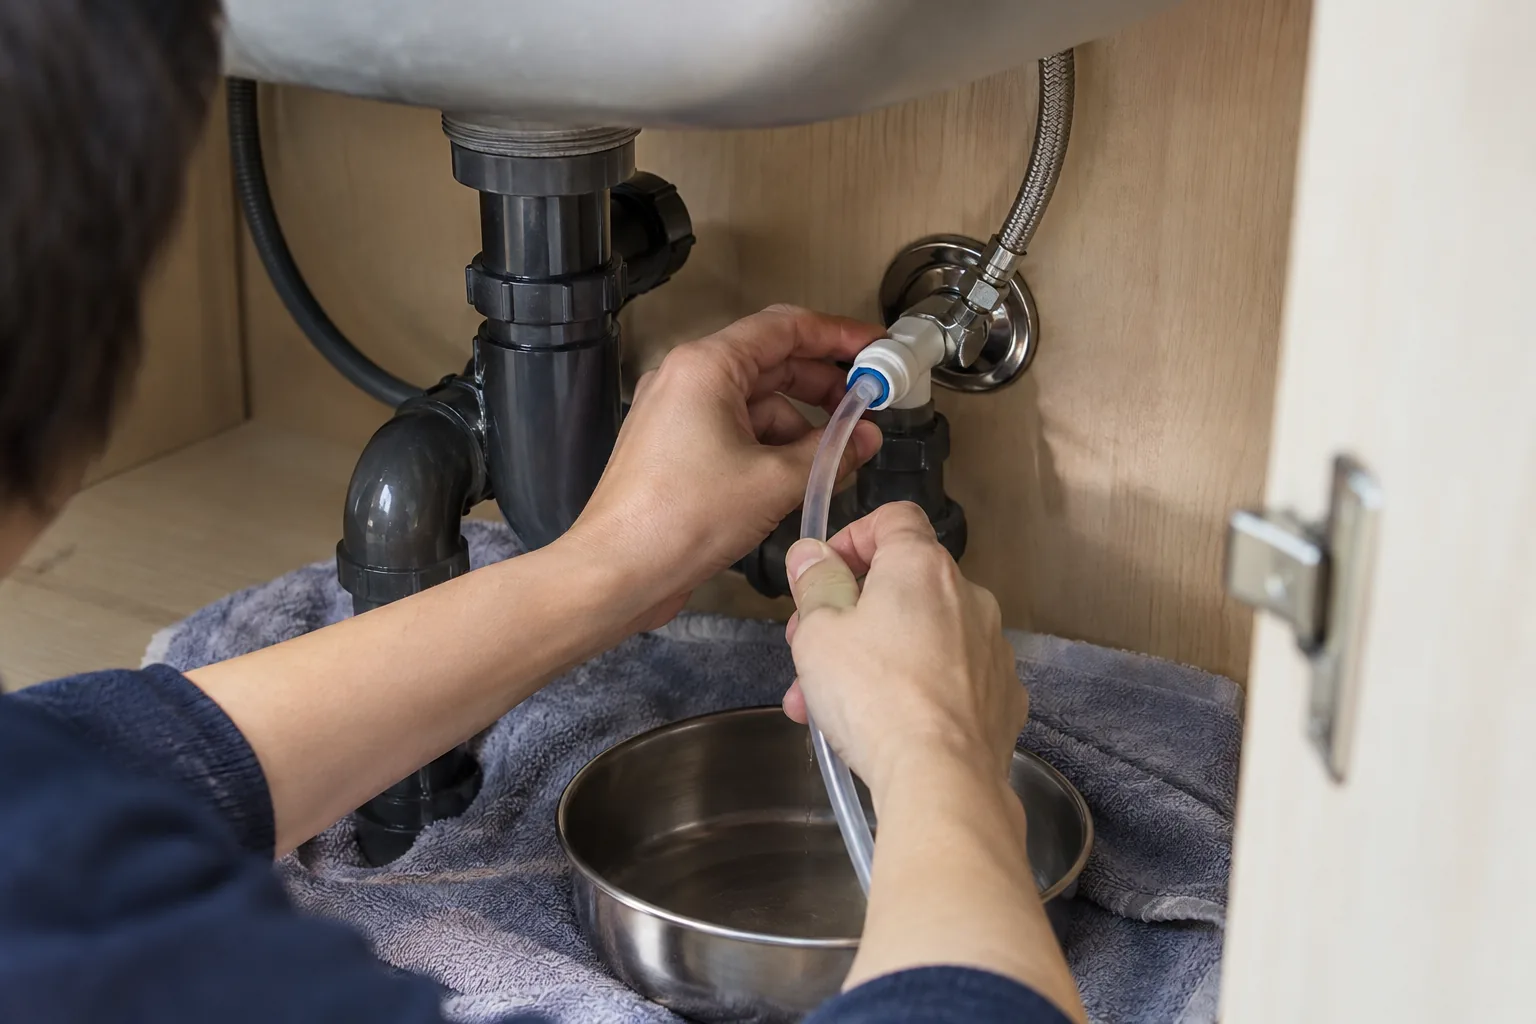
Always follow the manual that comes with your unit. The sequence below is the general shape of an under-sink installation, and it applies to most cold-line systems.
Before you start
- Clear the cabinet and lay down a towel and a shallow pan.
- Gather a tape measure, adjustable wrench, screwdriver, tubing cutter and a drill if the manual calls for mounting screws.
- Read the parts list and confirm everything in the box matches.
Steps
- Shut off the cold water at the shutoff valve under the sink, then open the faucet to release pressure.
- Mount the housing on the wall or position it on the cabinet floor, leaving room to change cartridges.
- Fit the valve to the cold line, using the fittings supplied. Use thread sealing tape only if the manual says so.
- Cut the tubing square and push it fully into each fitting. Mark the insertion depth with a marker so you can check it later.
- Connect inlet and outlet in the direction marked on the housing. Reversed connections are a common error.
- Open the supply slowly and look at every joint for drips.
- Flush the system as the manual directs before you use the water.
- Recheck after a day: dry each joint with a paper towel and look for moisture.
If you find a leak, shut off the supply and reseat the tubing. If you are unsure about any step, ask a licensed plumber.
Common mistakes to avoid
- Buying before measuring: the drain trap and disposal decide what fits.
- Skipping the cartridge plan: a cheap unit with hard-to-find parts becomes an expensive habit.
- Overtightening plastic fittings: snug is enough; follow the manual.
- Ignoring the flush step: run the water as directed before first use.
- Forgetting access: mount the housing where you can still reach it with a wrench.
- Leaving the install unchecked: look for drips the next day and again after a week.
With the type, the space, the cartridge plan and the install sequence settled, you can compare any under-sink filtration system on equal terms. For related kitchen water gear, browse the Food Storage, Cookware & Water Filtration collection. For another home equipment setup, see our guide to an automatic weather station.