How to Install a Sprinkler System: Zones, Pipe, Heads and Controller
Install a sprinkler system in order: map, measure pressure and flow, zone, dig, pipe, set heads, flush, then wire and program the controller. Here is the checklist.
The Cobalt Hollow Team
November 15, 2026 · 8 min read
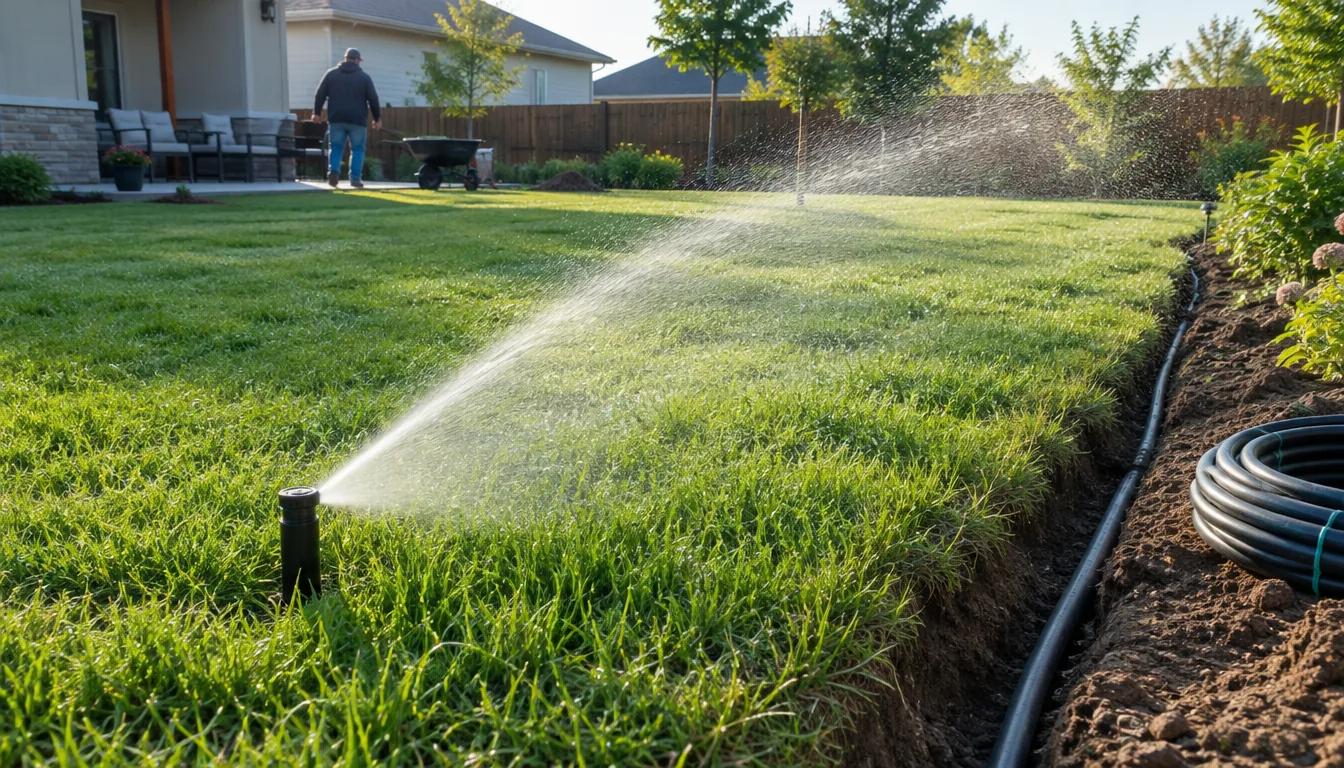
To install a sprinkler system, you map the yard, check water pressure and flow, split the heads into zones, dig trenches, connect to the water supply, lay pipe and valves, set the heads, flush and test each zone, then wire a controller and program it. Do them in that order, because every later step depends on the zone plan. This guide gives you the sequence as a checklist you can work through.
The install sequence at a glance
Use this table as a punch list. Each row is expanded in the sections below.
| Stage | What you do | Check before moving on |
|---|---|---|
| 1. Map | Sketch the property, house, beds, walks and the water source | Every planted area is on the sketch |
| 2. Measure | Read static pressure and time a bucket fill for flow | You have a pressure number and a flow number written down |
| 3. Zone | Group heads by type, sun and plant needs | Each zone fits within your flow number |
| 4. Mark | Locate utilities, then paint the pipe routes | Utility lines are marked before any digging |
| 5. Connect | Tie into the supply and add a backflow preventer where local code requires it | Connection matches local rules |
| 6. Pipe | Dig trenches, set the valve manifold, run mainline and laterals | Joint cement has dried for the time on its label before water goes in |
| 7. Heads | Flush the lines, then install heads | Heads sit level with the soil |
| 8. Control | Wire valves to the controller and program zones | Each zone runs on its own |
| 9. Finish | Backfill, restore the lawn, adjust heads | Coverage overlaps with no dry gaps |
Can you install a sprinkler system yourself?
Yes, if you are comfortable digging trenches, cutting and gluing pipe, and doing low-voltage wiring. The work is repetitive rather than technical. Some jurisdictions require a permit, a licensed installer for the supply connection, or a backflow preventer, so call your local water utility or building office first. A licensed plumber or irrigation contractor can handle the tie-in while you do the digging and pipe.
How a lawn irrigation system works
Water enters from your supply line and passes a backflow preventer. It then travels through the mainline to a group of electric valves, called a valve manifold. When the controller sends a low-voltage signal, one valve opens and water flows through the lateral pipe for that zone to its sprinkler heads. When the run ends, the valve closes and the controller moves to the next zone.
What the work involves and what it costs
Time depends on yard size, soil, and how many helpers you have, so split the job into stages: plan and buy parts, dig and pipe, then flush, wire, and program. Cost depends on pipe length, head count, valve count, the controller, and any permit or backflow fees. Add up your own parts list from the zone plan rather than relying on a general number. Renting a trenching tool, or hand-digging narrow trenches, are the main ways to adjust the labor side.
Plan zones and check pressure and flow
Measure pressure and flow
Thread a pressure gauge onto an outdoor faucet with nothing else running in the house and read the static pressure. Then time how long a bucket of known size takes to fill from the same faucet, and convert that to gallons per minute. These two numbers set how many heads can run at once.
Group heads into zones
Add up the gallons per minute of the heads you want on a zone and keep the total under your measured flow. Do not mix head types on one zone, because spray heads and rotors put water down at different rates. Separate zones also help when the sun side of the yard needs more water than the shade side.
- Lawn spray heads on one zone, rotors on another.
- Flower beds and shrubs on their own zone.
- Vegetable patch on a separate zone, since it has its own schedule.
- Drip lines on their own valve, since they run at a different flow than heads.
Lay out heads for head-to-head coverage
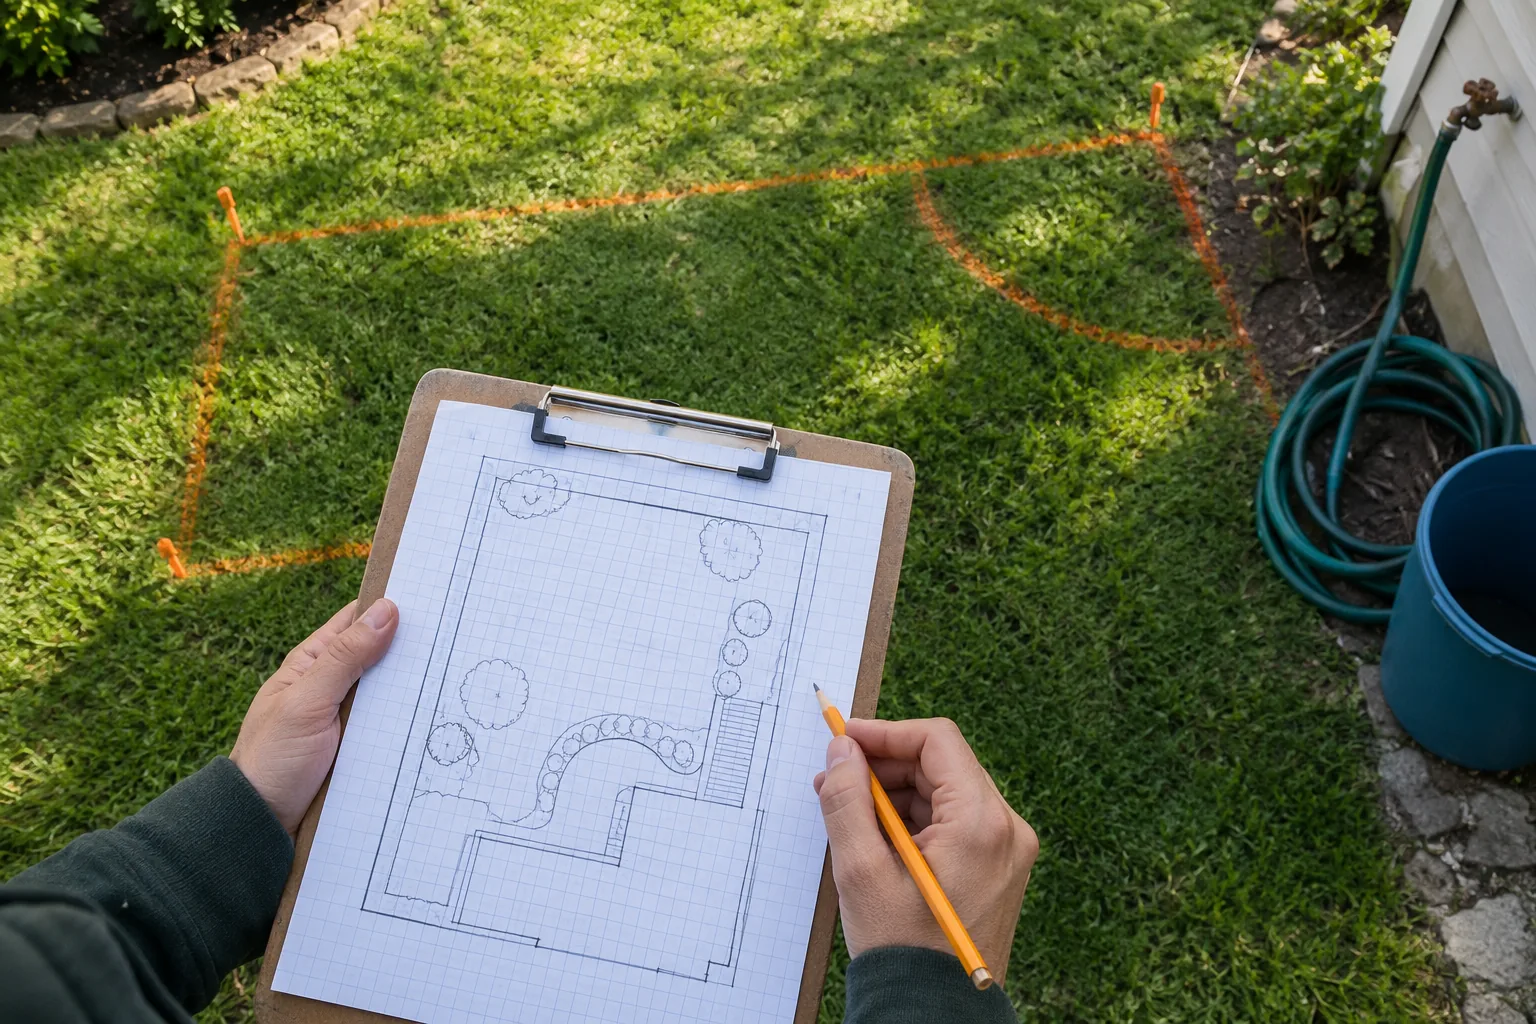
Space heads so the spray from each one reaches the next head. This overlap, called head-to-head coverage, fills the dry gaps between heads. Draw each head on your diagram, label its zone, and count fittings before you shop.
Dig, connect and lay pipe
Mark utilities first
Call the national utility locating line before you dig, and wait for the lines to be marked. Then paint your own routes with a different color so you and any helper see the whole plan on the grass.
Make the connection and set the manifold
Tie into the supply where your local rules allow, and install a backflow preventer if code asks for one. Ask a licensed plumber if you are unsure about the tie-in. Group the valves in a manifold box near the connection so the wires and mainline stay in one spot, and follow the valve manual for flow direction.
Assemble pipe correctly
Rigid PVC pipe is joined with primer and solvent cement; follow the cement label for ventilation and drying times. Flexible poly pipe uses insert fittings and clamps. Cut ends square, remove burrs, and dry-fit before gluing. Slope runs slightly toward a low point if you plan to drain the system before winter.
| Pipe type | Typical use | Joining method |
|---|---|---|
| PVC | Mainline and laterals | Primer and solvent cement |
| Poly | Laterals, flexible runs | Insert fittings and clamps |
| Drip tubing | Beds and shrubs | Barbed connectors and stakes |
Dig trenches to the depth your local code lists, and keep rocks out of the backfill near pipe. Lay the pipe in the trench along the painted route, keep the bottom of the trench free of stones, and set the valve manifold so every valve can be reached later for service.
Flush, set heads and test each zone
Before any head goes on, open each valve and flush the lines so dirt and cut shavings leave the pipe. Cap the risers, then install the heads and nozzles for that zone. Pop-up bodies should finish level with the soil so a mower passes over them.
Run each zone by hand at the valve or from the controller. Look for leaks at fittings, heads that spray into the street or house, and dry spots between heads. Fix problems with the trench still open, then backfill. If you are reseeding any patches you disturbed, our guide on planting grass seed on bare soil covers prep, spreading, and watering.
Field note
Leave the trench open at every fitting until each zone has run once under full pressure, so you can reach any leak before backfill.
Wire and program the controller
Run multi-strand irrigation wire from the manifold to the controller location. You need one conductor for each zone plus a common wire, and spare conductors give you room to add a zone later. Cut power to any existing controller before disconnecting it, label each wire with tape, and photograph the terminals.
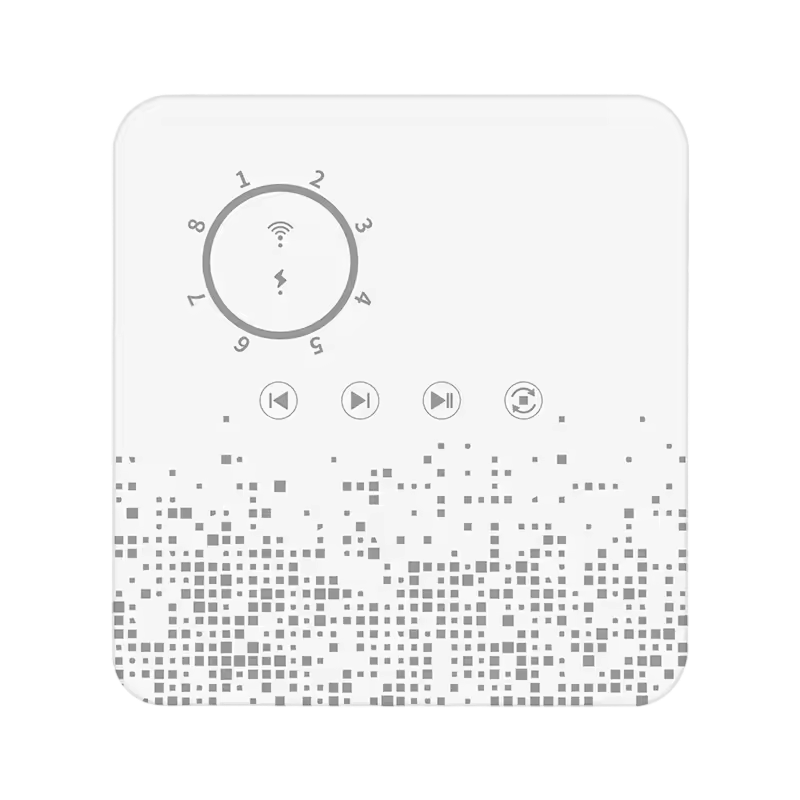
A smart controller adds scheduling by plant type, soil, and sun. The AquiLogic is a WiFi sprinkler controller that takes the place of a standard residential irrigation controller and handles 8 zones. Its companion app guides the wiring swap by having you photograph your existing controller. Mount it, connect your existing sprinkler valves, join it to home WiFi, and build a schedule for each zone. It reads local forecast data and can hold or trim a cycle when rain, snow, or strong wind is in the forecast, and it keeps schedules in its own memory if the WiFi drops. The box includes a power cable, a screw mounting kit, and a manual.
 In this guideAquiLogic$139.99View
Set the schedule
- Name each zone for what it waters, such as lawn, beds, or vegetables.
- Enter plant type, soil, and sun exposure for each zone.
- Start each zone by hand and confirm the right valve opens.
- Set start times and days, then check the system status in the app after the first scheduled run.
Water lawns deeply and less often rather than a little every day. Our guide to aerating your lawn explains how compacted soil affects how water soaks in.
Above-ground and temporary sprinkler setups
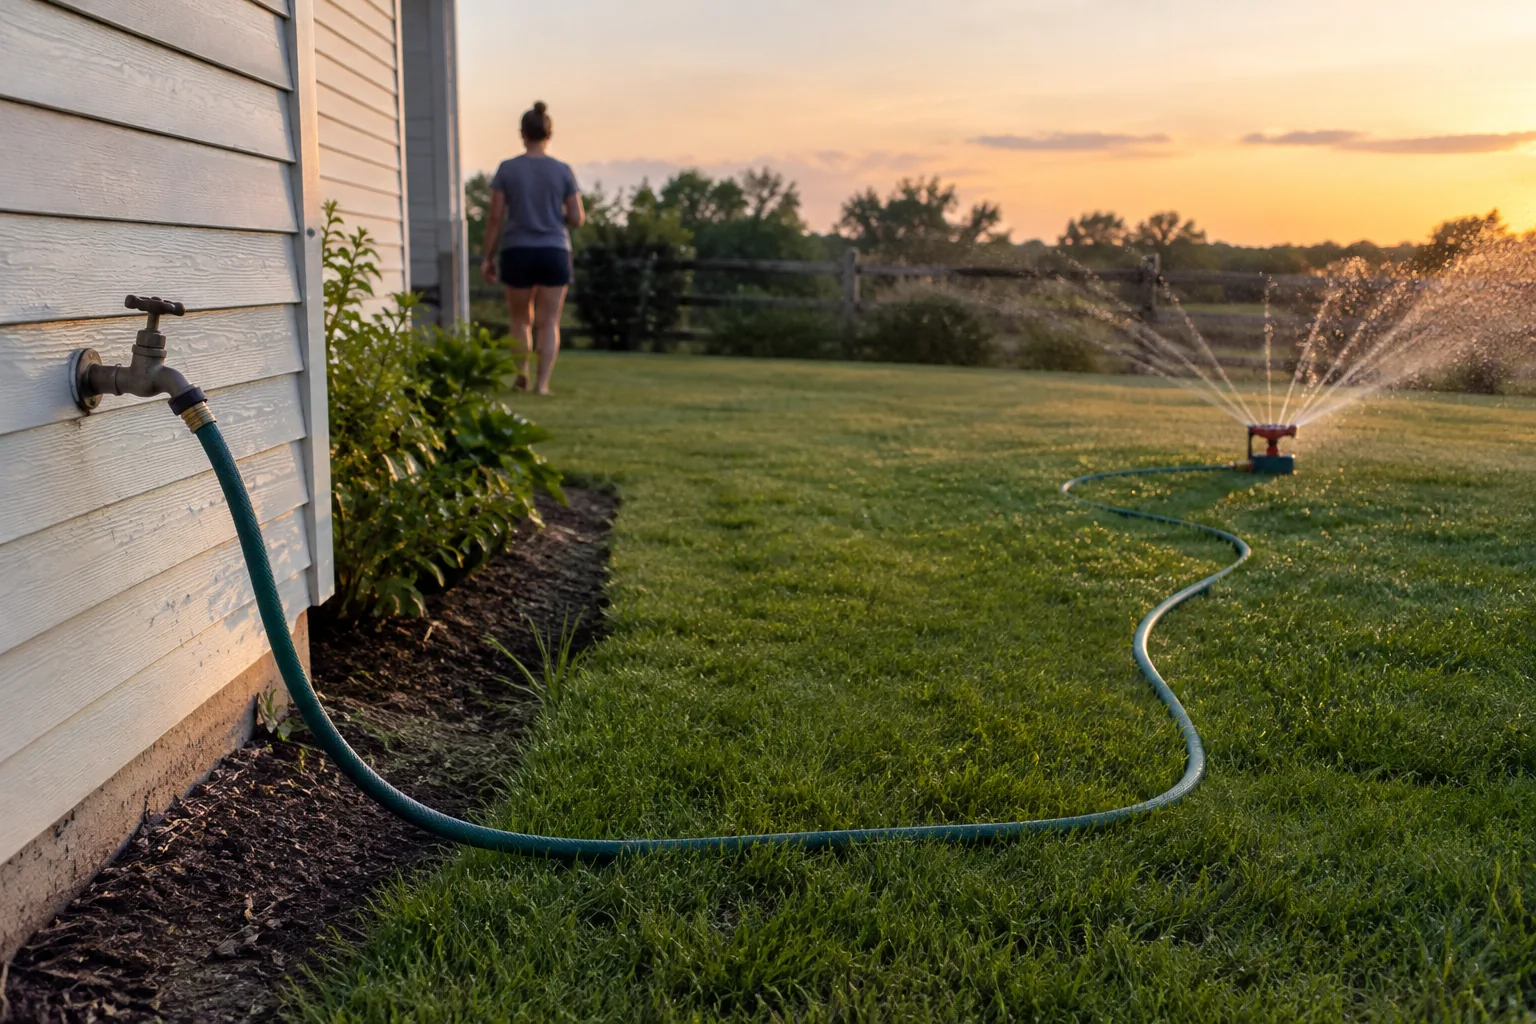
If you rent, or you want to try a layout before digging, a hose-fed above-ground setup works for a temporary sprinkler system. Run hose or surface tubing from the faucet to portable heads and move them as needed. There are no valves in the ground, so zones come from how you split the hose runs.
For a faucet-based schedule, the GardenPulse Pro is a battery-powered controller that attaches to an outdoor faucet. It has two independent watering zones, each with its own start times and days, and you program it with its rotary dial and display, with no app or Wi-Fi. A rain delay setting pauses watering for one to seven days. It comes with 2 thread reducers, 2 three-quarter inch GHT male thread adapters, and 2 thread seal tape strips. It is a different tool from a buried 8-zone system, so choose it for faucet-fed setups only.
 In this guideGardenPulse Pro$79.99View
Common mistakes to avoid
- Skipping the flow measurement, then putting too many heads on one zone.
- Mixing spray heads and rotors on one valve.
- Gluing joints without dry-fitting, or turning on the water before the cement has dried for the time on its label.
- Backfilling before every zone has run.
- Leaving wire connections exposed instead of using wire connectors made for outdoor irrigation wiring.
- Forgetting to plan how you will drain or blow out the lines before freezing weather.
Browse our Watering & Irrigation collection for controllers and related gear once your zone plan is done.